


2
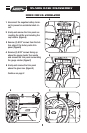
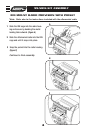
95-5816 DASH DISASSEMBLY
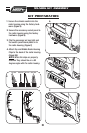
Continue to kit preparation.
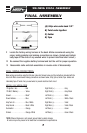
Unclip and remove the vent panel at
the top of the factory radio trim panel.
(Figure E)
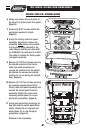
6
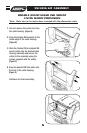
Remove (4) T-20 Torx screws securing
the climate controls to the factory
radio trim panel assembly and
remove the controls from the assem-
bly. (Retain the screws and climate
controls for re-use during kit prepara-
tion.)
(Figure G)
9
Remove (4) T-20 Torx screws securing
the accessory socket panel to the
factory radio trim panel assembly and
remove the socket panel from the
assembly. (Retain the screws and
accessory socket panel for re-use
during kit preparation.)
(Figure G)
10
Unclip and remove the passenger air
bag light and the switch panel blank
plates. (Retain the air bag light and
blank plates for re-use during kit
preparation.)
(Figure G)
11
Unclip the factory radio trim panel
assembly. Unplug and re
move the
assembly. Note: Some early models
had a ground strap attached to the
radio chassis and the sub dash with
an 8 MM bolt. You will need to unbolt
this strap to remove the factory radio
trim panel assembly.
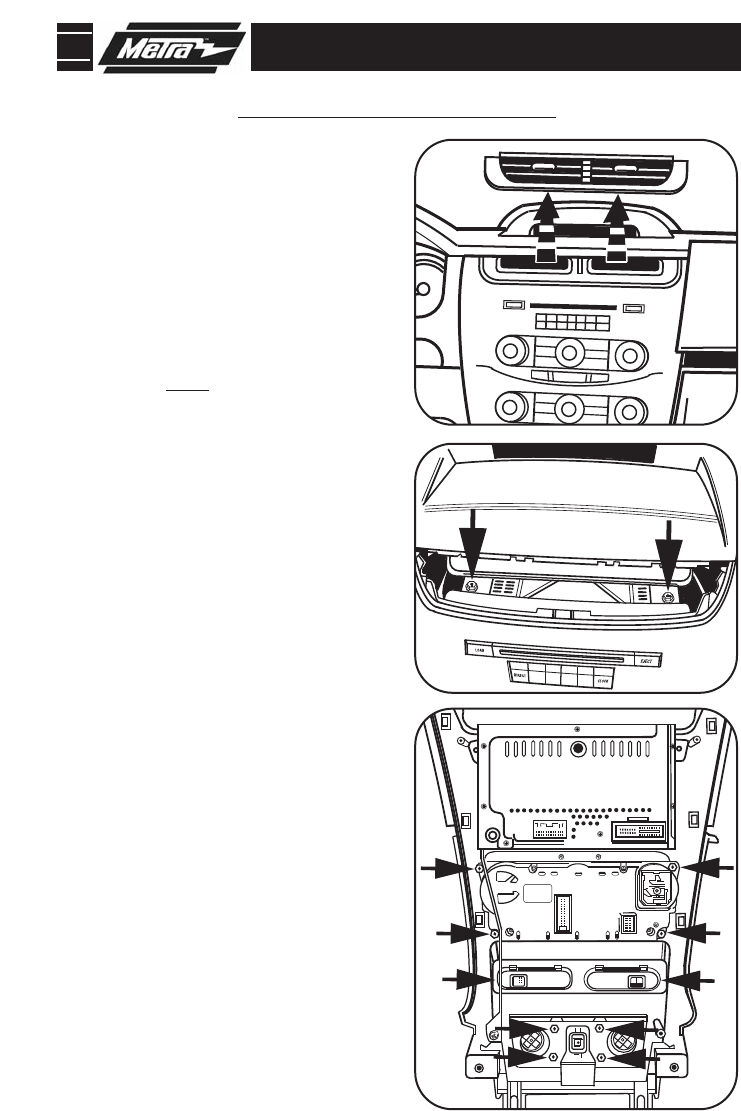
8
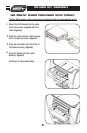
Remove (2) 9/32” screws behind the
vent panel removed in step 6.
(Figure F)
7
FORD FOCUS 2008-2011
1
2
3
4
5
7
8
9
0
6
G
F
E