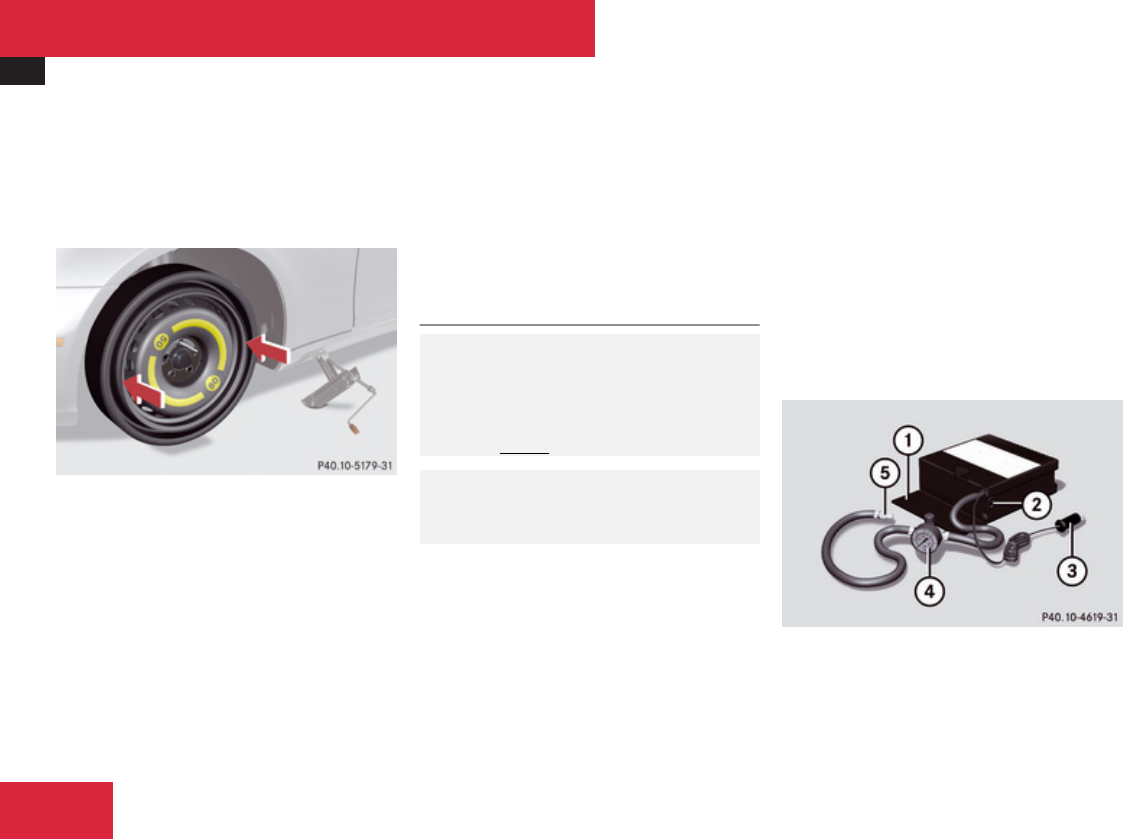
Flat tire
318
X
Clean contact surfaces of wheel and wheel
hub.
!
To avoid paint damage, place wheel flat
against hub and hold it there while instal-
ling first wheel bolt.
X
Guide the spare wheel onto the alignment
bolt and push it on.
X
Insert the wheel bolts and tighten them
slightly.
X
Unscrew the alignment bolt.
X
Install last wheel bolt and tighten it slightly.
X
Vehicles with spare wheel with collaps-
ible tire: Continue the procedure by fol-
lowing the instructions under “Inflating the
collapsible tire” (Y page 318) and then
“Lowering the vehicle” (Y page 320).
or
X
Vehicles with Minispare wheel: Continue
the procedure by following the instructions
under “Lowering the vehi-
cle” (Y page 320).
Inflating the collapsible tire
G
Warning!
Inflate collapsible tire only after the wheel
is properly attached.
Inflate the collapsible tire using the electric
air pump before lowering the vehicle.
G
Warning!
Observe safety instructions on air pump
label.
!
Do not lower the vehicle before inflating
the collapsible tire. Otherwise the rim may
be damaged.
Your vehicle may be equipped with either of
two versions of the electric air pump:
R
Version 1: The air hose with pressure
gauge and the electrical plug are located
behind a flap.
R
Version 2: The pressure gauge is located
in the pump housing. The air hose and elec-
trical plug are located at the bottom of the
pump housing.
The following description applies to both ver-
sions. Differences in usage are expressly
declared.
Version 1
1
Flap
2
Air pump switch
3
Electrical plug
Practical hints


