Assembly Instructions
Description: Tachometer, Bar Clamp Model:
VN1700 Nomad, Classic
and Classic LT
Part-Number: K53020-386 Approximate
Assembly Time:
30 min
Before you begin installation, read through the installation instructions and check to be sure all parts are
present.
If you are in doubt as to any part of the installation, please ask your authorized Kawasaki dealer to complete the
installation. Please note that Kawasaki cannot assume any responsibility for damage resulting from incorrect
installation.
Parts List Tools Required:
Seq.
Part Number Description Qty.
1.
T.B.D.
Tachometer
Assembly
1
2. 99-0605 4” cable ties 3
Cross-point screwdriver
Small flat blade screwdriver
Wire connector crimping pliers
8mm Hex Socket 3/8“ drive
Ft.lb. torque wrench
(Range minimum: 20 Ft lbs)
Installation Instructions
Tachometer Installation Preparation
Parts Removal
• Refer to the Service manual for specific information in removing
the bar clamp components if further instruction is needed.
•
Remove the two screws holding the headlight assembly and
carefully disconnect the 3-pin connector on the back of the
headlight reflector to remove the headlight, set it aside for now.
•
Remove the four chrome handlebar clamp caps and bolts and the
two clamps, being careful not to move the handlebars, see side
note.
Install Tachometer
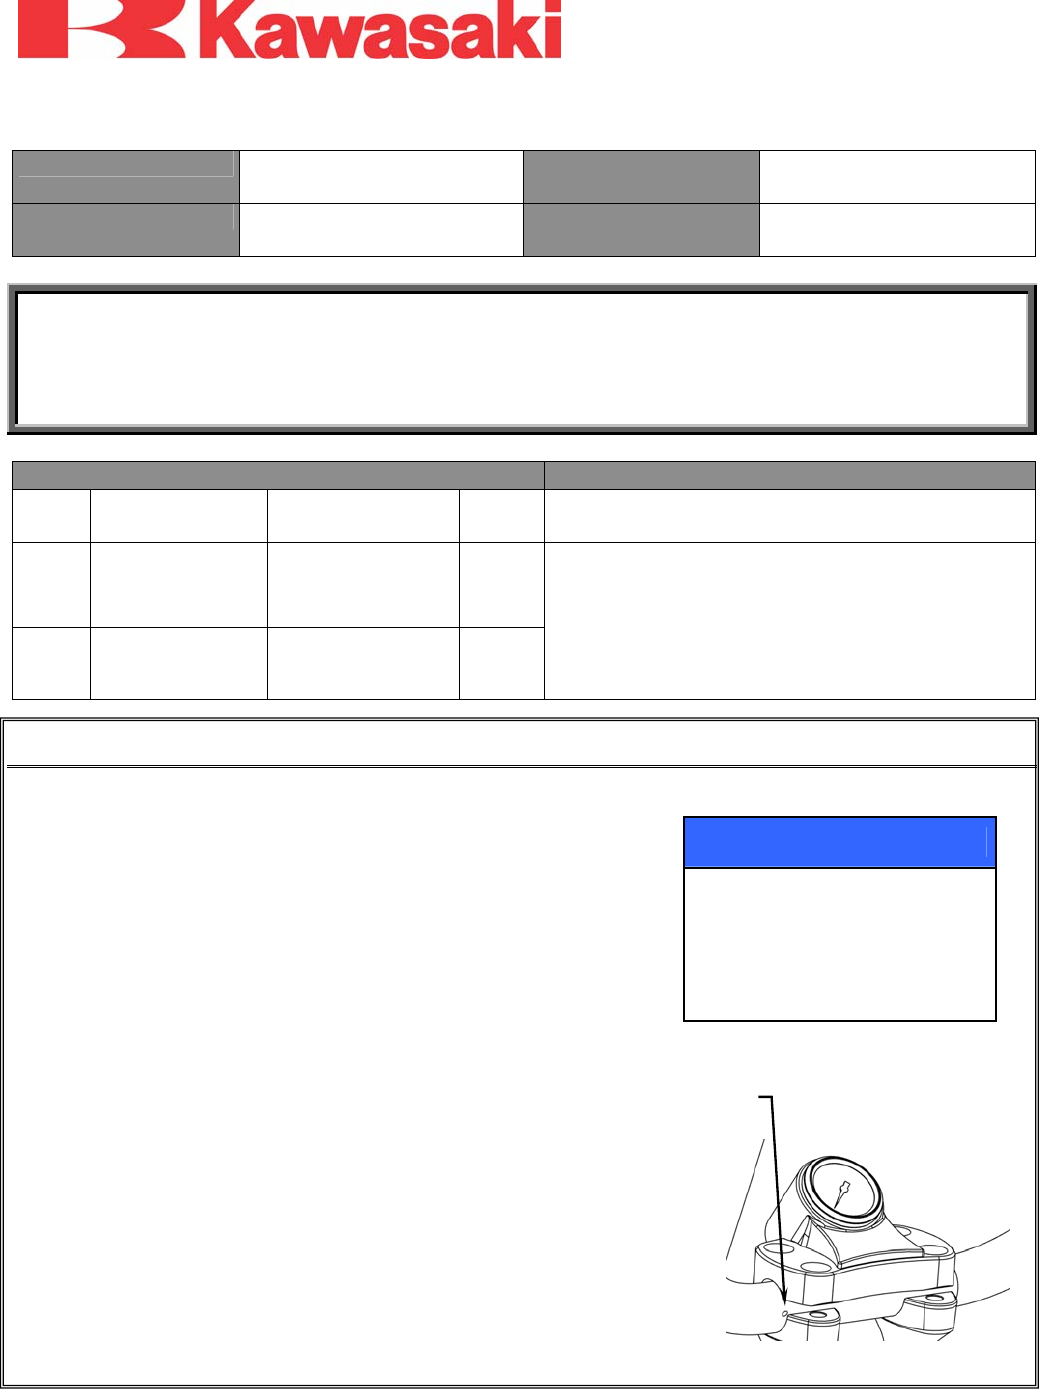
• Apply 2-stroke oil to the threads of the clamp bolts. Place the
tachometer onto the handlebar clamp area and reinstall the four
bolts. Make sure the handlebar punch mark aligns with the lower
mating surface of the bar clamp at the rear edge. Tighten the front
clamp bolts first, and then the rear bolts.
Tighten the bolts to 34 Nm (25 Ft-lbs)
NOTE:
o There will be a small gap at the back of the clamp.
NOTICE
It is recommended that you
have an assistant stabilize the
handlebars at this point to
prevent the handlebars from
moving away from the original
position and possibly causing
damage to the fuel tank
Punch mark
aligned with
top surface of
lower clamp


