


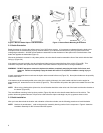
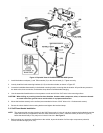
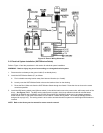
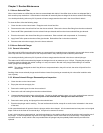
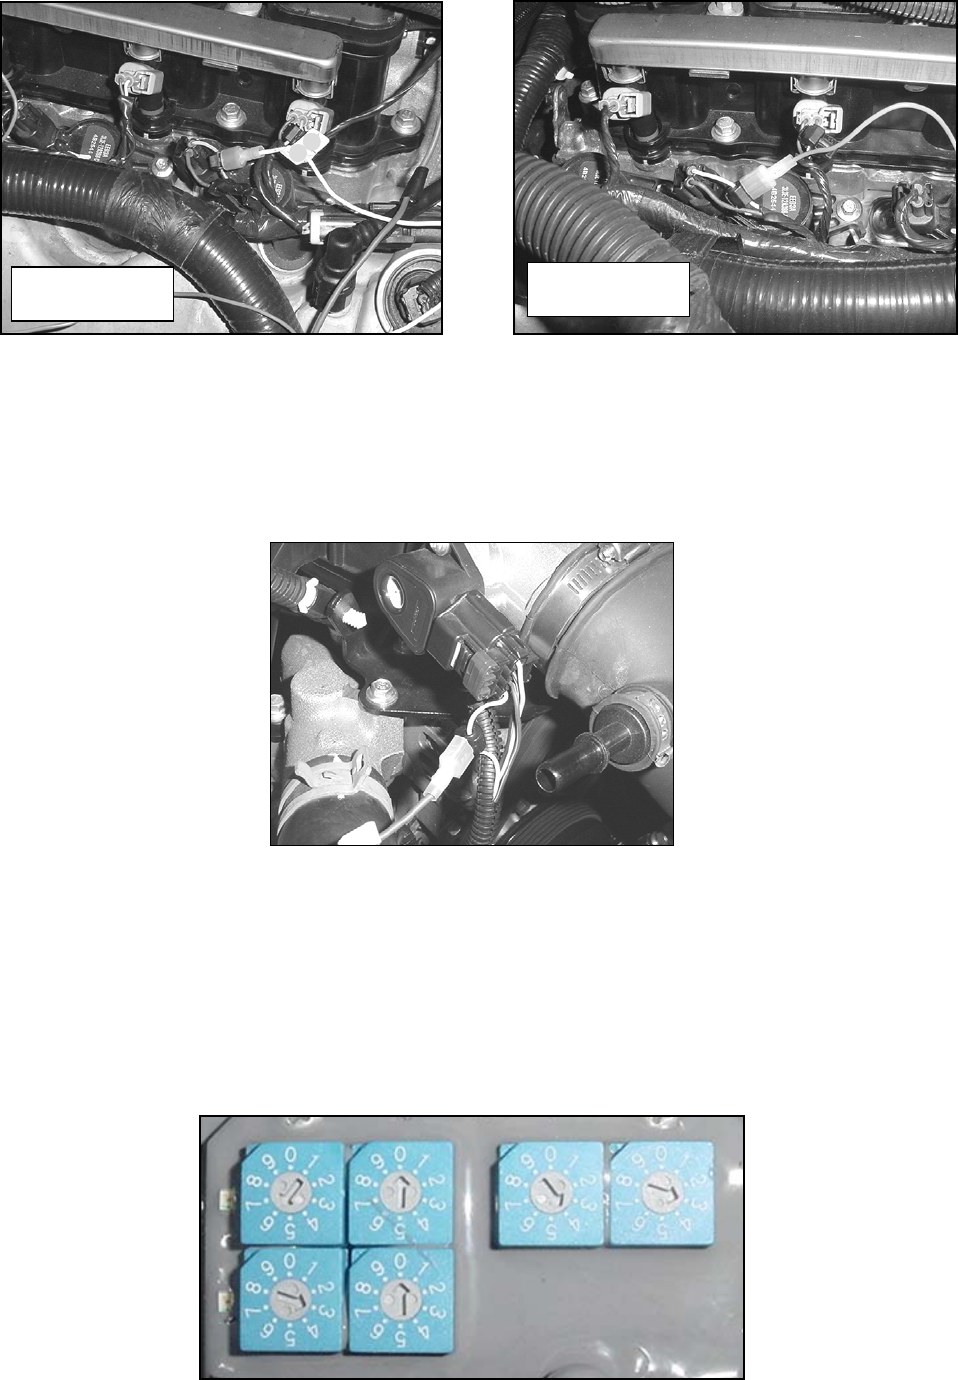
Coil #3 is closest
to the firewall.
Coil #1 is closest
to the radiator.
Figure 18 Figure 19
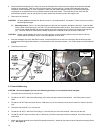
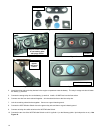
11. Connect the brown / yellow striped wire on the WOT/Window Switch to the green / white striped wire of coil #3 (cylinder 3)
on the car. See Figure 19.
12. Connect the black wire of the WOT/Window Switch to a ground.
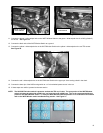
13. Connect the yellow / white striped wire on the WOT/Window Switch to the yellow / white striped on the car TPS sensor.
See Figure 20.
Figure 20
14. Connect the red / white striped wire on the WOT/Window Switch to the upper pin of the arming switch in the dash.
15. Connect the lower pin of the NOS arming switch to a 12 volt switched power source in the car.
16. If these steps are verified, proceed to the next section.
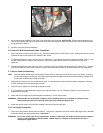
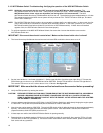
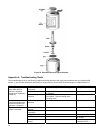
NOTE: The NOS WOT/window switch is preset to activate the TPS at 4.3 volts. The rpm portion of the WOT/Window
switch activates the solenoids at 3000 rpm, and turns them off at 6000 rpm. This is the recommended factory
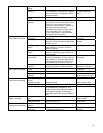
preset for the WOT/Window switch. To verify the WOT/Window switch operation or to troubleshoot this switch
refer to the WOT/Window switch troubleshooting section. See Figure 21.
Figure 21 = Default Settings
15