


C-3610-CV_INST_1-07
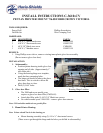
• Place latch “L” bracket on the glove box
door – mark and drill a 5/32” pilot hole.
(“L” bracket is attached to slide rail and can be
accessed through opening in housing) Mount
bracket using (1) #10 X ½” Sheet metal screw.
Check and adjust slide rail bolt as needed.
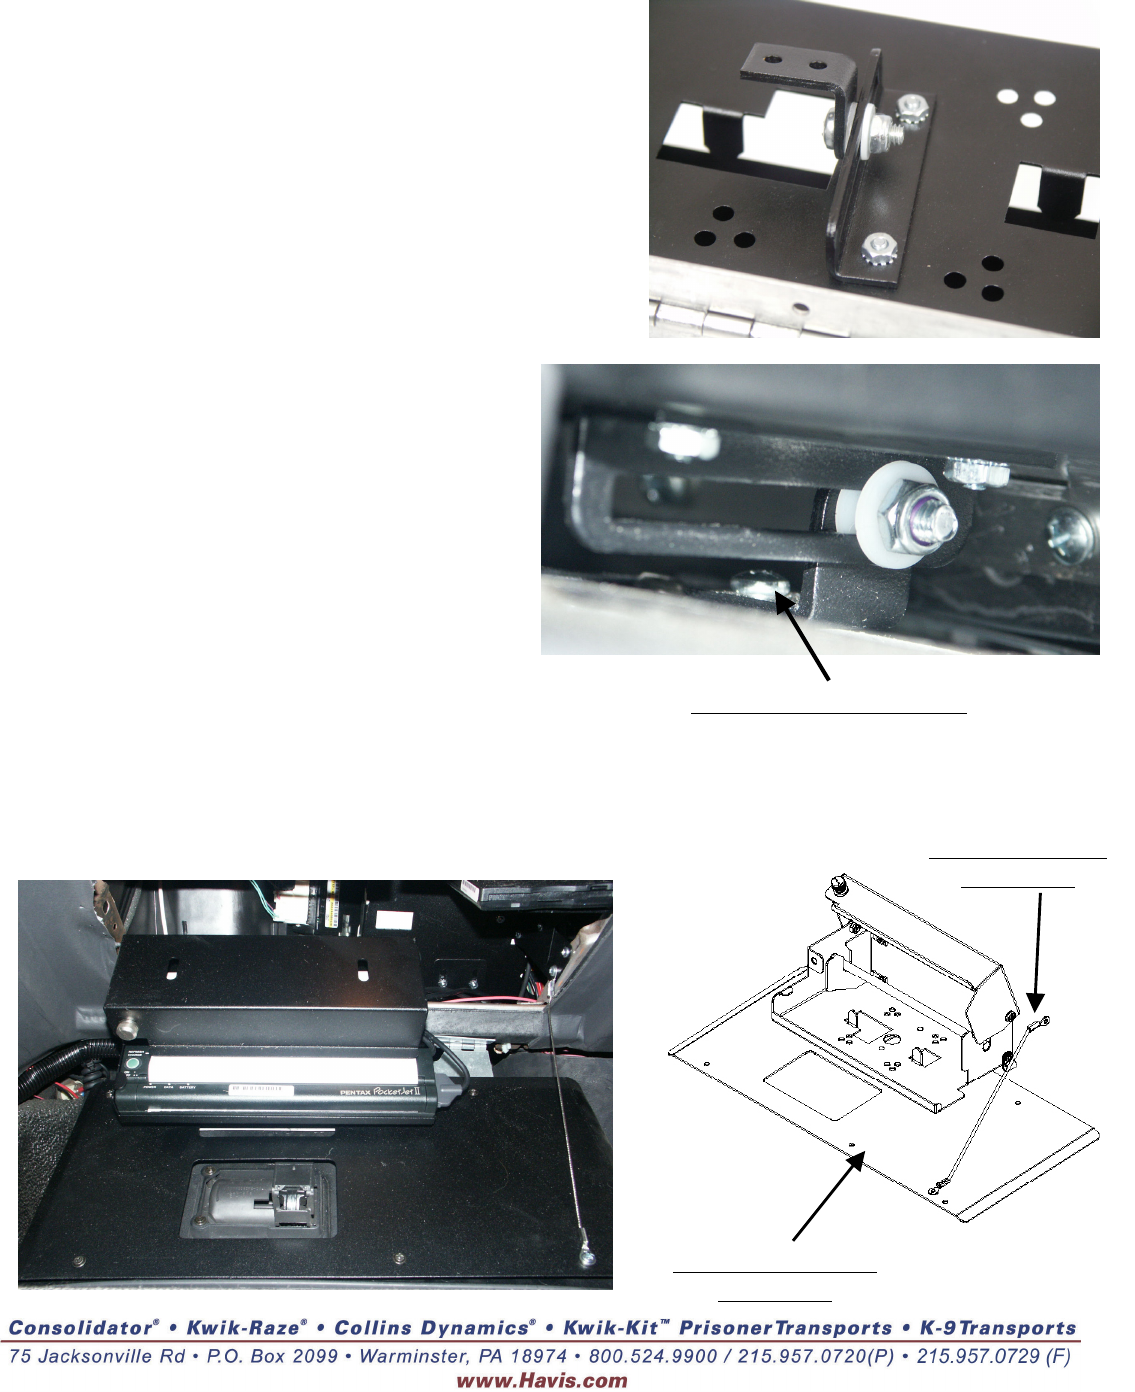
4. Pentax Printer:
• Put printer into housing.
• Plug in the power and data cable to printer.
• Run data cable to Monitor or CPU.
(Depending on application)
• Run power and ground to a
12volt battery or ignition source.
Note: Be sure to fuse appropriately.
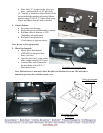
5. Glove box lanyard:
• Mount glove box lanyard
(CM93606) to the glove box
door. (see note)
• Open the glove box so the printer
slide is approximately 95% open.
• Connect other end of lanyard to
the doorframe with #10 X ½”
Sheet metal screw.
Note: 2000 and newer is attached to Glove Box filler with Machine Screw and 1999 and older is
attached to glove box door with Sheet metal screw.
Mounting on glove box door
Glove box lanyard
(CM93606)
Glove box door filler
(CM93605)