


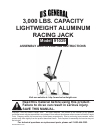
Page 4SKU 91039
Unpacking
When unpacking, check to make sure the following parts are included. Refer to the Parts
Lists and Assembly Drawings at the end of this manual for more detail.
If any parts are missing or broken, please call Harbor Freight Tools at the number on the
cover of this manual as soon as possible.
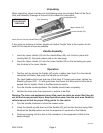
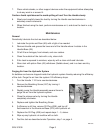
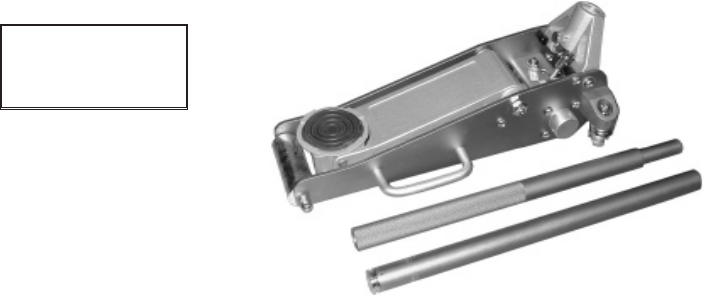
Handle Assembly
1. Insert the Lower Handle (33) into the Handle Base (29) until it locks in place with
Locking Bolt (X). See photo above and on the next page.
2. Insert the Upper Handle (31) into the Lower Handle (33) so that its locking pin goes
into the hole in the Lower Handle.
Operation
1. Test the Jack by placing the Saddle (40) under a stable, dead load. Turn the Handle
completely clockwise, and pump the Handle up and down.
The Jack Saddle should rise and stay at that level. If it slowly goes down, tighten the
Breathing Screw (A37). If it still goes down, the Power Unit may need to have the air
purged from its system. Refer to the Maintenance section.
2. Turn the Handle counterclockwise. The Saddle should lower completely.
3. Position the Jack under the equipment or vehicle to be lifted.
Warning: The Jack, and equipment being lifted, must be stable so when lifted, they do
not fall and cause personal injury. Keep spectators away from the work area. Read the
vehicle manual to find the proper lifting points for the vehicle.
4. Turn the Handle clockwise to close the release valve.
5. Pump the Handle up and down until the Saddle (40) just touches the item being lifted.
Readjust the Saddle position so that the equipment is centered on the Saddle.
6. Continue pumping until the Jack is fully extended, or the equipment is lifted to the
desired height.
NOT TO BE USED
FOR AIRCRAFT
PURPOSES.
REV 04c
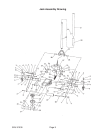
Jack Assembly
Upper Handle (31)
Lower Handle (33)
Insert this end into the Handle Base (29)
Handle Base (29)