EXHAUST INSTALLATION #617000
When installing this exhaust system make sure to use proper safety precautions. Use jack stands when under
the truck, set parking brake, block tires and use safety glasses and gloves.
DO NOT WORK WITH HOT PIPES!
SUGGESTED TOOLS:
½” ,9/16”, 15mm wrench and socket, Wd-40, Hacksaw, Jack Stand
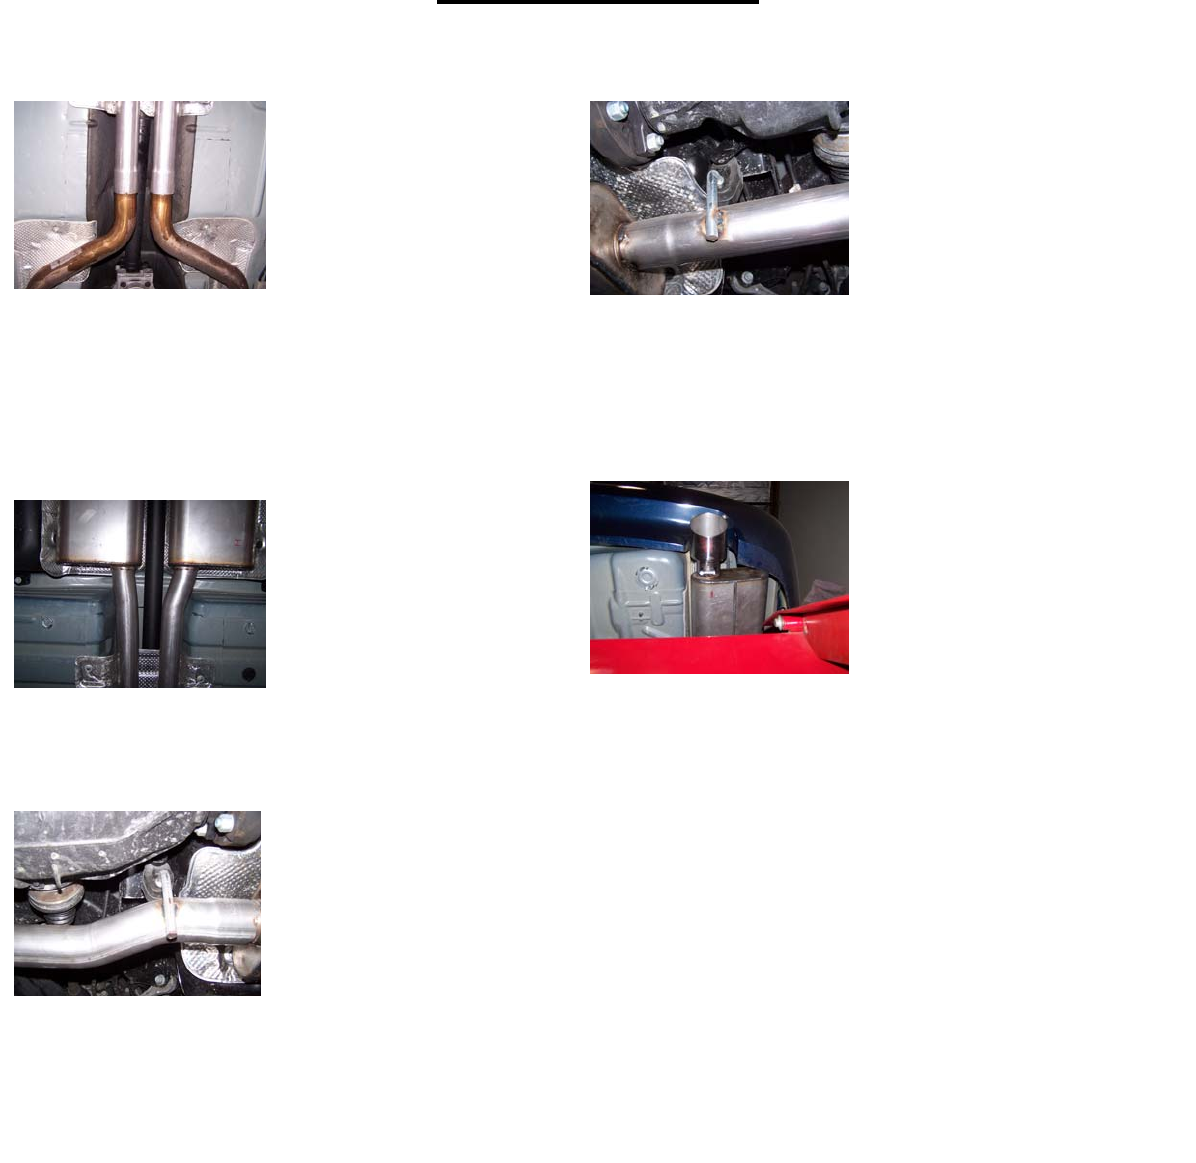
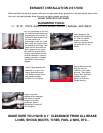
Lay out the exhaust on the floor
so it looks like the drawing and
compare parts with manual. To
remove the stock exhaust, first
you must remove the
crossmember under the X-pipe.
Then unbolt and remove driver
side tailpipe at the flange. Now
unbolt and cut tack welds on
factory clamps at the X-pipe
and carefully remove factory
exhaust, save clamps for new
exhaust installation. Leave all
rubber grommets on hangers.
Use WD-40 to help remove
hangers.
Install driver side
tailpipe/muffler assembly
#B. Insert all welded
hangers into rubber
grommets. Secure
tailpipes with clamp #D.
Do not tighten.
Install passenger side
tailpipe/muffler assembly
#C. Insert all welded
hangers into rubber
grommets. Secure tailpipe
with clamp #D. Do not
tighten.
Now go back and make
sure the first two
mufflers in the middle
are level. Then tighten
X-pipe. Next, with both
tailpipes in place
tighten all bolts and
clamps securely.
MAKE SURE YOU HAVE A 1” CLEARANCE FROM ALL BRAKE
LINES
,
SHOCK BOOTS
,
TIRES
,
FUEL LINES
,
ETC…
Install X-pipe assembly #A
assembly on to your front
factory pipes and secure
with factory clamps. Use a
jack stand to support
mufflers. Do not tighten.


