


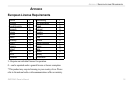


GMR 20/40 Owner’s Manual 17
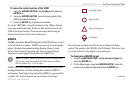
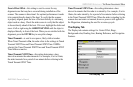
To select an AFC Mode:
1. Using the ARROW KEYPAD, highlight the AFC Mode field
and press the ENTER key.
2. Using the ARROW KEYPAD, highlight the desired selection
and press the ENTER key.
To manually adjust the scanner frequency:
1. Using the ARROW KEYPAD, highlight the Freq button and
press the ENTER key.
2. Using the ARROW KEYPAD, adjust the scanner frequency up
or down to achieve the desired effect.
3. Press the ENTER key to accept the frequency change.
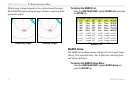
Note: The Signal Strength bar graph is damped and may be slow
when responding to frequency tuning changes.
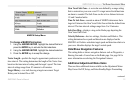
Enter Standby/Begin Transmitting
Selecting Enter Standby places the Scanner into Standby Mode
While in Standby Mode, the Scanner does not transmit, but power
remains applied to the Magnetron.
If the scanner is in Standby Mode, Begin Transmitting is enabled.
Selecting Begin Transmitting removes the scanner from Standby
Mode and after “Spinning Up” the scanner begins transmitting.
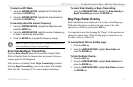
To select Enter Standby or Begin Transmitting:
Using the ARROW KEYPAD, highlight the Enter Standby or
Begin Transmitting and press the ENTER key.
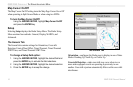
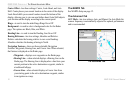
Map Page Radar Overlay
Radar information can be displayed as an overlay on the Map page.
With radar information overlaid on the map, many of the radar
options are available by pressing the ADJ key.
It is important to note that changing the “Range” of the map does not
change the scanner range. When the Map page is zoomed in or out,
the radar overlay is scaled to fit.
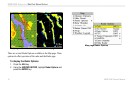
To overlay Radar Data on the Map page:
1. Press the ADJ key.
2. Using the ARROW KEYPAD, highlight Show Radar and
press the ENTER key.
To hide the Radar Overlay:
1. Press the ADJ key.
2. Using the ARROW KEYPAD, highlight Radar Options and
press the ENTER key.
3. Using the ARROW KEYPAD, highlight Hide Radar and press
the ENTER key.
GMR 20/40 OPERATION > THE RADAR ADJUSTMENT MENU—MAP PAGE RADAR OVERLAY