


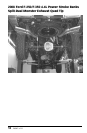


16. Adjust the Tailpipe Tips under the
rear fender such that the tip position is
aesthetically pleasing.
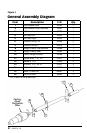
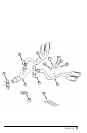
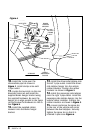
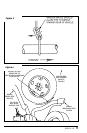
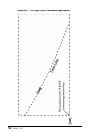
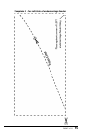
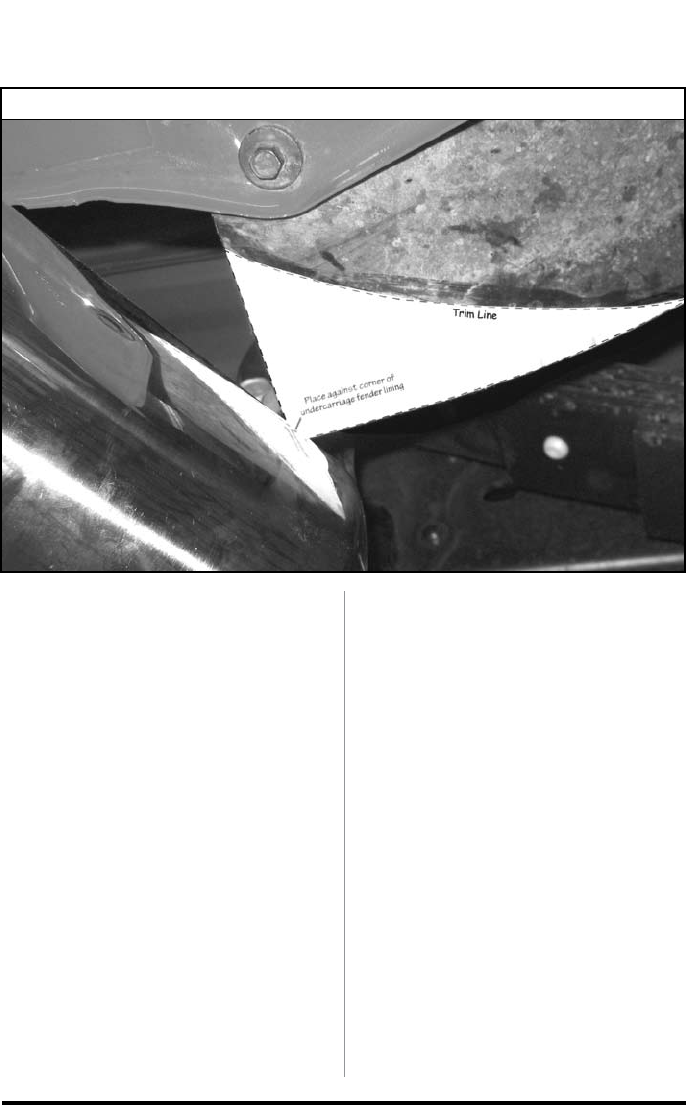
17. Use Template 1 and/or 2
on page 14 & 15 to trim the rear
undercarriage fender lining as shown
in Figure 7 for the LEFT and RIGHT
side of the vehicle.
18. With everything positioned
properly, begin to tighten the clamps
starting with the ones closest to the
turbo and working your way back.
Evenly torque the exhaust clamps to
35 ft-lbs. Make sure that each slip is
fully inserted (+/-
1
⁄4 inch).
19. Remove the protective covering
from the tailpipe tip.
Caution: The protective covering
may ignite and burn if not removed
prior to running the engine.
20. Re-route any vent hose or brake
lines away from the tailpipe using the
supplied Cable ties.
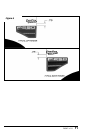
21. Your system includes two “Banks
Power” logos designed to complement
the Ford badging on your truck. Use the
provided measurements (see
Figure 8) to position the logos for a
clean factory look.
22. Re-connect battery terminals.
Start the engine and listen for exhaust
leaks. Tighten the exhaust clamps
as necessary. Whenever possible,
tack weld slip connections to prevent
disengagement is recommended.
23. The Banks Monster Exhaust
installation is now complete.
Figure 7 Placement of template on Passenger side rear undercarriage lining.
10 96547 v.1.0