


Battery Installation
2
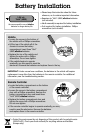
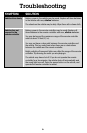
Remote Controller
•
Locate the battery compartment on the bottom
of the remote controller.
• Loosen the screw in the battery compartment
door with a Phillips screwdriver. Remove the
battery compartment door and insert three
“AAA” (LR03) alkaline batteries.
• Replace the battery compartment door and
tighten the screw with a Phillips screwdriver.
Do not over-tighten.
• If the remote controller begins to operate erratically, you may
need to reset the electronics. Remove the batteries
and replace them in the remote controller.
1.5V x 6
“AAA” (LR03)
We recommend the use of alkaline
batteries for longer battery life.
IMPORTANT! Under normal use conditions, the batteries in the vehicle will require
replacement more often than the batteries in the remote controller. For additional
information, see the troubleshooting section.
• Protect the environment by not disposing of this product with
household waste
(2002/96/EC). Check
your local authority for recycling advice and facilities
(Europe only).
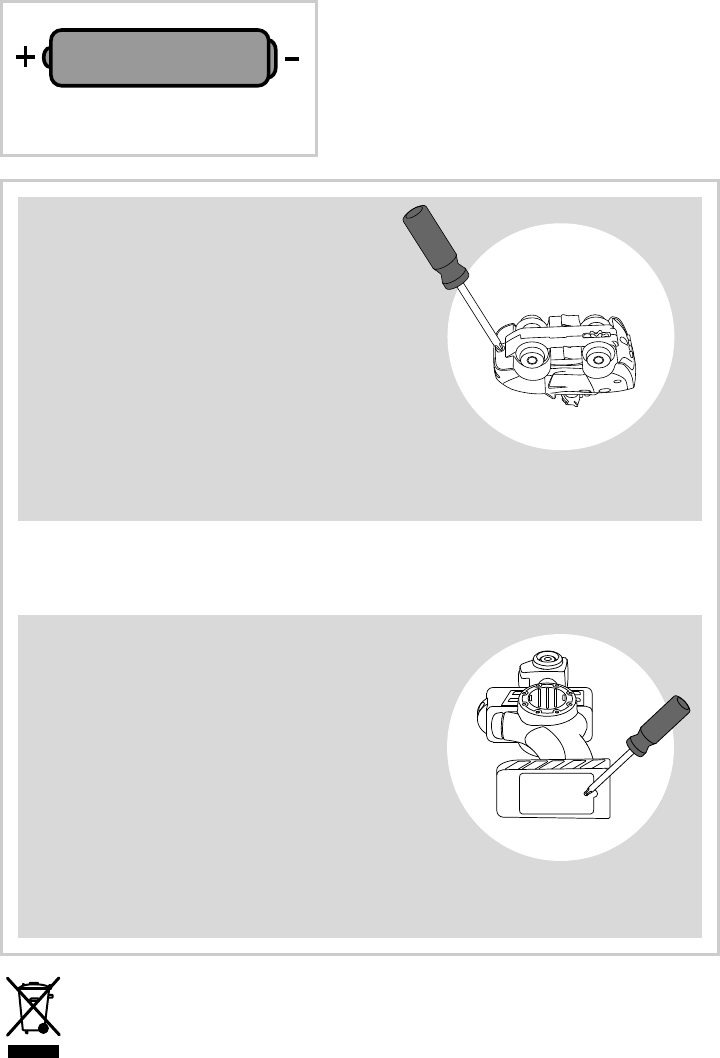
Vehicle
• Loosen the screws in the bottom of
the vehicle with a Phillips screwdriver.
• Lift the top of the vehicle off of the
chassis to access the battery
compartment. Insert three “AAA”
(LR03) alkaline batteries.
• Replace the top of the vehicle and
tighten the screw with a Phillips
screwdriver. Do not over-tighten
• If the vehicle begins to operate
erratically, you may need to reset the
electronics. Remove the batteries and replace them in the toy.
• Please keep this instruction sheet for future
reference, as it contains important information.
• Requires six “AAA” (LR03) alkaline batteries
(not included).
• Adult assembly is required for battery installation.
• Tool required for battery installation: Phillips
screwdriver (not included).