


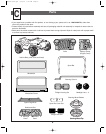
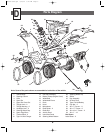

Assembly
Radio Knobs
Activity
Panel
Shifter
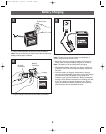
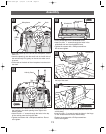
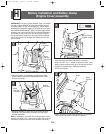
• From the front of the activity panel, insert and “snap” the
radio knobs.
• With the wide part of the shifter handle outward, insert
and snap the shifter into the activity panel.
• Set the activity panel aside.
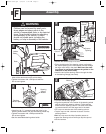
Instrument
Panel
Key
Assembly
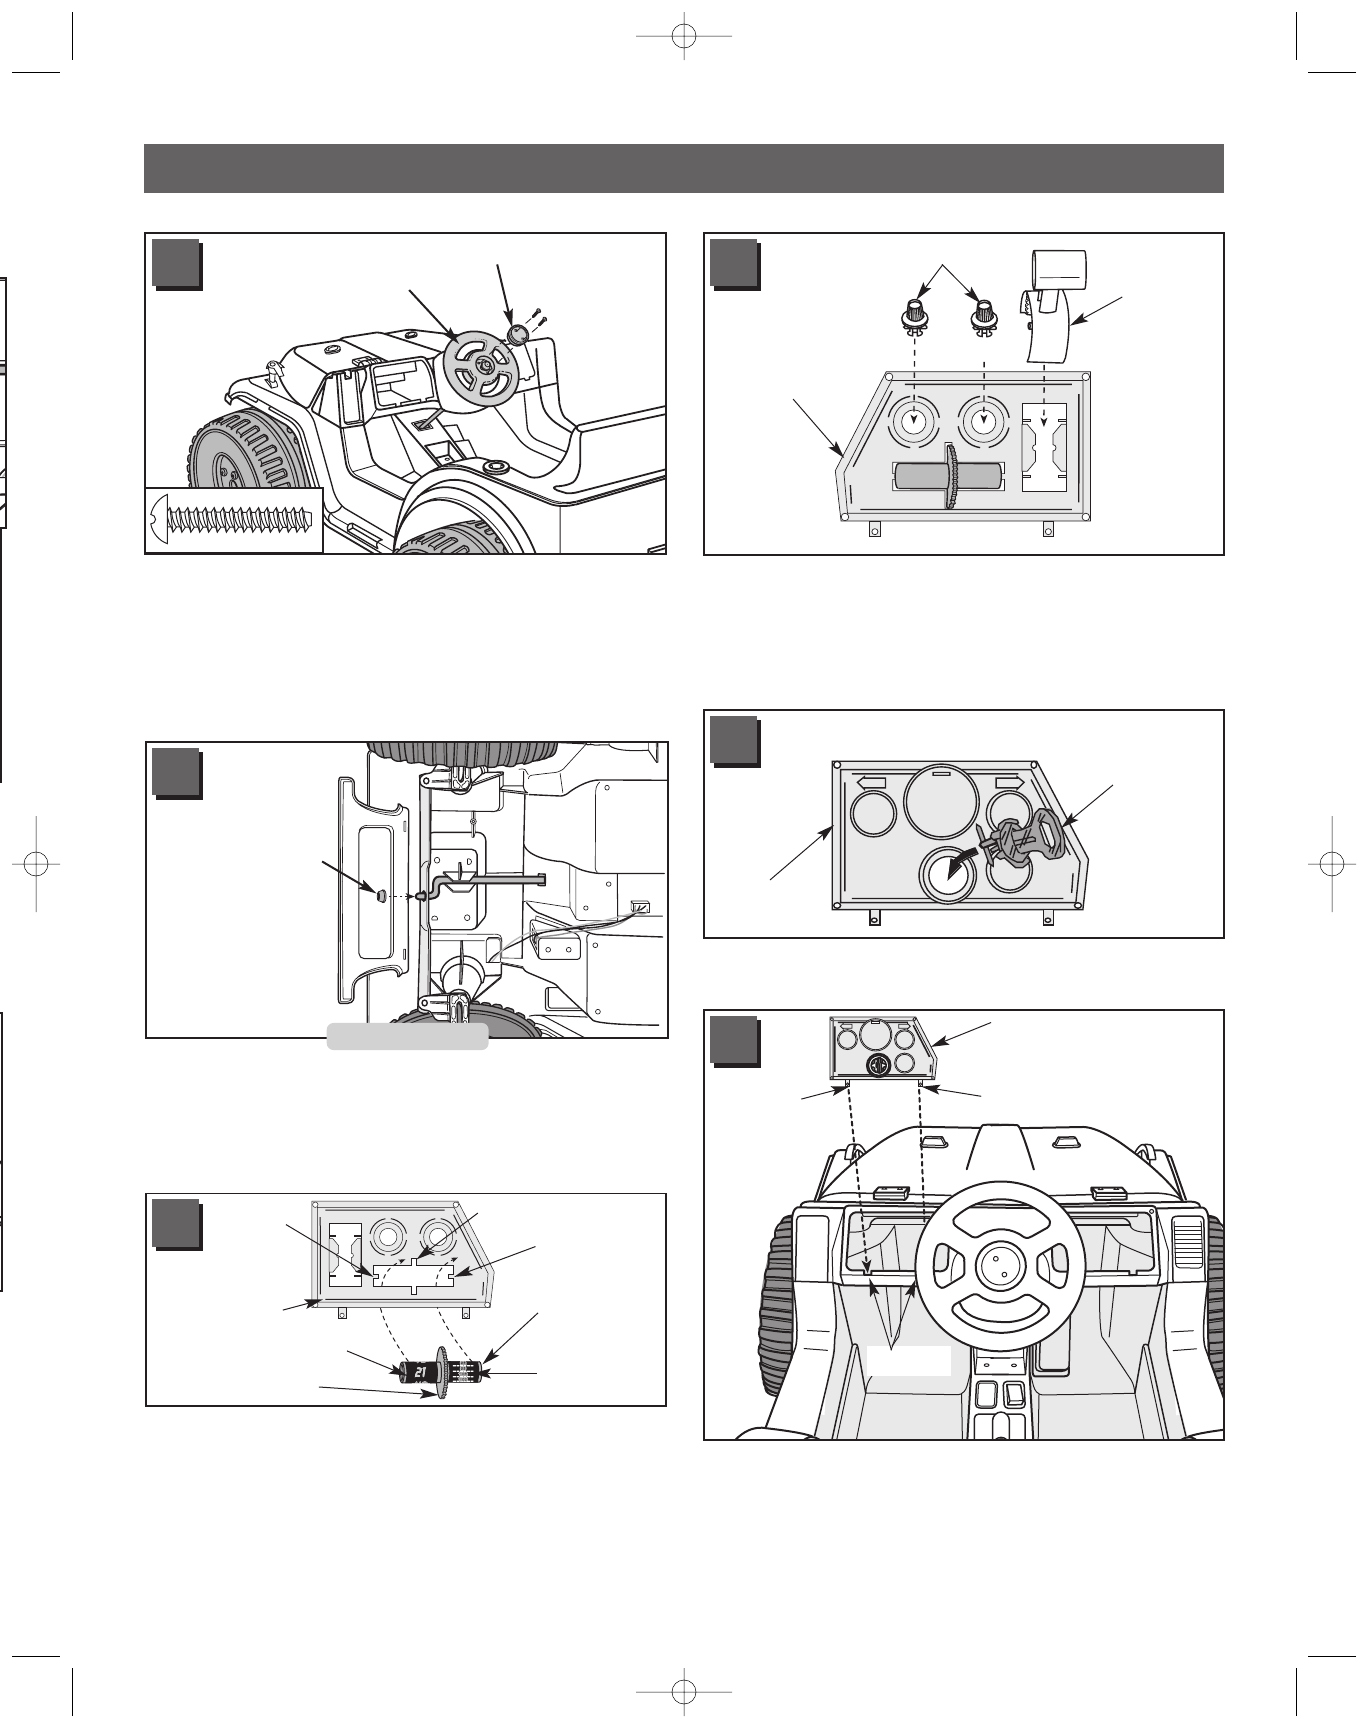
• Insert and “snap” the key assembly into the hole in the
instrument panel.
• Fit the tabs on the bottom of the instrument panel into
the notches in the dash opening to the left of the
steering wheel.
• Press near the top of the instrument panel to snap
the top tab on the back of the instrument panel into
the dash.
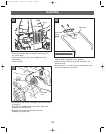
Instrument
Panel
Tab
Tab
Notches
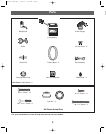
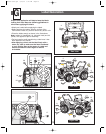
• Fit the steering wheel cap into the center of the steering
wheel. Align the screw holes in the steering wheel cap
and the steering wheel.
• Insert two #8 x 1" screws through the holes in the
steering wheel cap and into the steering wheel.
• Tighten the screws with a Phillips screwdriver.
Do not over-tighten.
Steering Wheel
Steering Wheel Cap
10
5
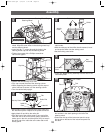
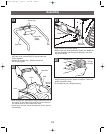
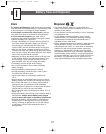
• Using safety scissors, separate the activity panel and
the instrument panel. Dispose of the plastic connector.
• Apply labels 20 and 26 to the radio dial.
• From the back of the activity panel: fit one end of the
radio dial onto a tab on the activity panel; position the
center gear in the slot; and then press firmly to snap in
the other end of the radio dial to the other tab on the
activity panel.
Radio Dial
Label 20
Label 26
Activity Panel
Gear
Slot
Tab
Tab
Bottom View
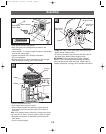
• Position the vehicle body on its side.
• Fit a cap nut onto the end of the steering column.
• While supporting the steering column tap the cap nut
with a hammer to secure it on the steering column.
• Turn the vehicle body upright.
Cap Nut
6
7
8
9
10
74547a-0920.qrk 6/29/01 8:20 AM Page 10