


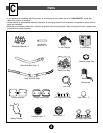
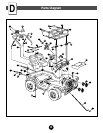
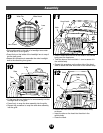
HI LO KC
COOL
HEAT
Dash View
30
13
3
6
12
4
11
5
25
16
24
4
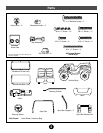
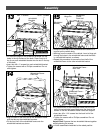
• Before applying labels to the dash, wipe the dash with a
clean, dry cloth to make sure it is free of dirt and oils.
Make sure your hands are clean and dry.
• Apply labels as shown. For best results, avoid
repositioning a label once it has been applied.
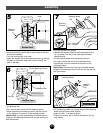
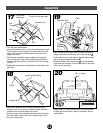
• Position the dash on the vehicle body. Make sure the
holes in the dash tabs align with the holes in the vehicle
body and that the channel cover is captured by the dash.
• Insert two #10 x 1" screws through the holes towards the
rear of the dash (closest to the hood area) and into the
vehicle body .
• Insert two #10 x
1
/
2
" screws through the holes towards the
front of the dash (closest to the passenger compartment)
and into the vehicle body .
• Tighten each screw with a Phillips screwdriver. Do not
over-tighten.
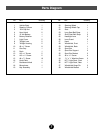
11
2
11
1
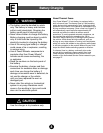
Assembly
F
1
2
3
10
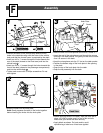
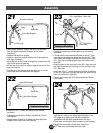
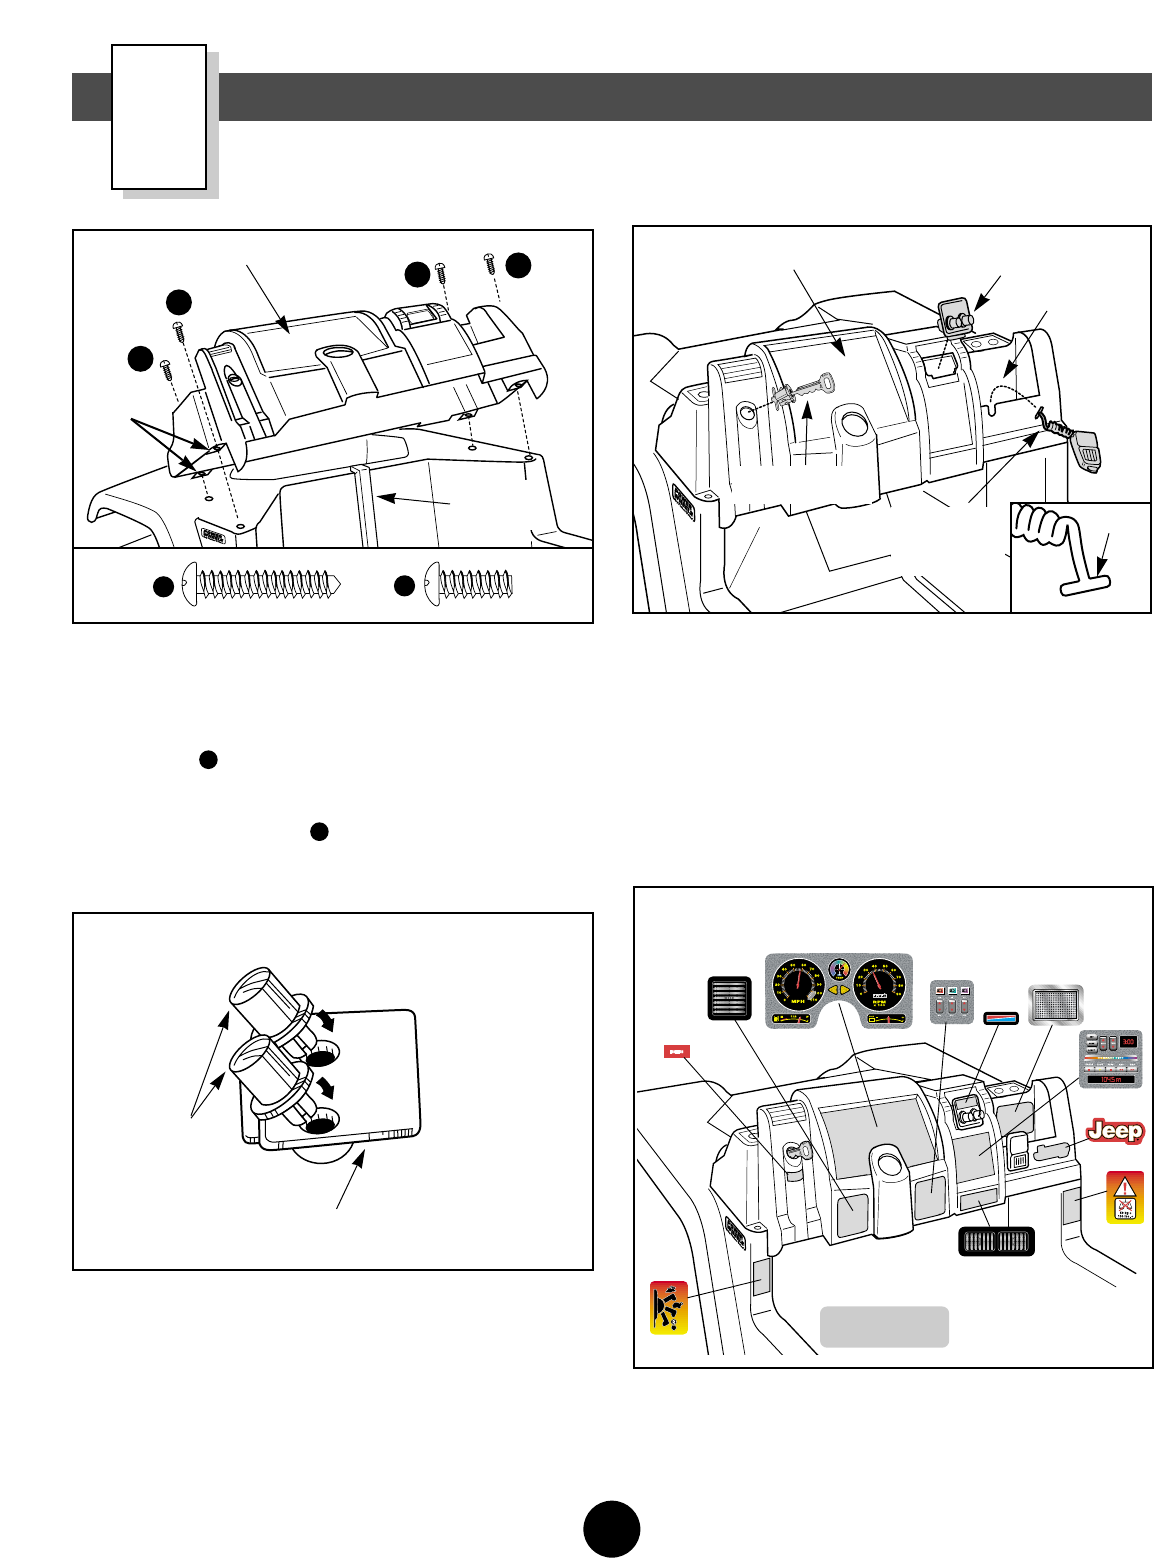
• Snap the knobs into the knob plate.
Note: Gently squeeze the tabs on the knobs together
before inserting the knobs into the knob plate.
Knob Plate
Knobs
Dash
Knob Plate
Pocket
Key Assembly
Microphone
Cord
• Bend the end of the microphone cord sothat it forms a “T”.
• Insert the end of the microphone cord through the square
opening in the dash pocket. Pull gently on the cord to make
sure it is secure in the dash.
• Hook the microphone onto the “U” slot on the dash pocket.
• Position the bottom edge of the knob plate in the opening
in the dash.
• Snap the top of the knob plate into the dash.
• Snap the key assembly into the dash.
T-End
2
1
1
2
1
2
Dash
Channel
Cover
Tab