10
General System Functions
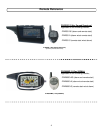
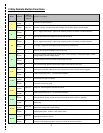
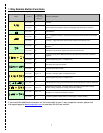
The remote transmitter functions have been predetermined and programmed from the factory. The four
button configuration allows for many functions to be performed through a series of tapping, holding and /
or multiple presses of buttons. Although CompuStar PRO remotes have numerous button functions and
capabilities, please keep in mind that the most common functions are performed in one simple step.
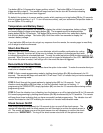
Sending Commands
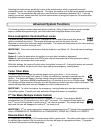
When in range, and a command has been sent, the remote pager backlight will illuminate, the remote will
beep and the appropriate icon will be displayed. For example, to send a remote start command from the
pager, hold down button (II) for 2.5 seconds. The backlight will illuminate and the remote will beep once
to confirm the command has been sent and that the remote is in range. Once the vehicle has
successfully remote started, the remote will receive a command indicating the vehicle is running.
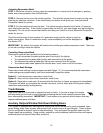
Receiving Commands
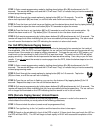
The remote pager will receive commands indicating the status of the vehicle, confirmation of sending
commands and alarm notifications. For example, after sending the lock command, the pager will be
updated with the lock icon to confirm the vehicle has been successfully locked/armed. To see if your
pager is in range to receive commands, tap button (IV) for 0.5 seconds – if the pager backlight
illuminates and beeps, the pager is in range to receive commands.
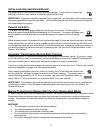
P2WSSR Auto Synchronization (Sync)
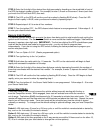
The P2WSSR uses one of fifty different frequencies each time the remote and antenna communicate. If
the remote fails to communicate with vehicle after sending a command, the system may be out of sync.
The remote will auto sync if it fails communicate after 8 sending commands or more. During auto sync,
the remote automatically and quickly transmits a lot of frequencies in search for the location of the
antenna. You will know the system is in auto sync because the remote will display “sync” for 5 to 8
seconds. To re-sync manually, remove and re-insert the battery from the remote while in range of the
vehicle.
2
n
d
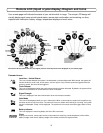
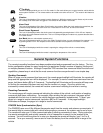
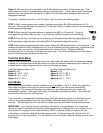
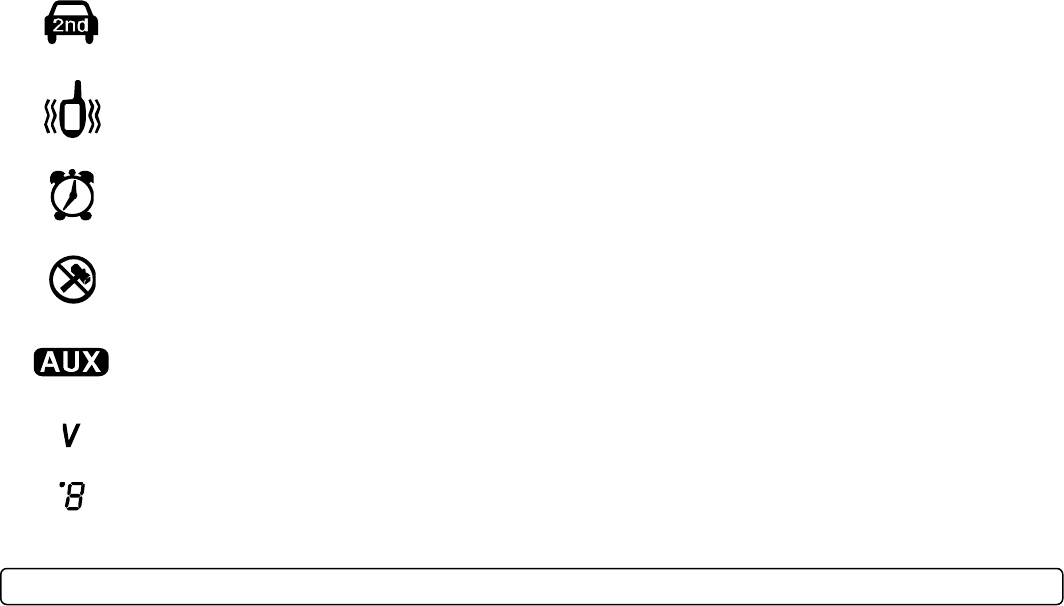
Car Mode
This will be displayed while you are in 2
nd
Car mode. 2
nd
Car mode allows you to control another vehicle with the
same system installed in it. The remote needs to be coded to the other vehicle in 2
nd
Car mode for this feature to
work.
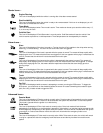
Vibration
This icon will be displayed if the remote is set to vibrate only. While the remote is set to vibrate only the remote
will not beep, even if the alarm is triggered. The remote will still vibrate in this mode.
Alarm Clock
This icon will be displayed if the Alarm Clock function is turned on. When the clock reaches the preset time, the
remote will beep and flash the alarm clock icon. Press button IV for 0.5 sec. to silence the remote.
Shock Sensor Bypassed
This icon will be displayed when the shock sensor is bypassed by pressing buttons I+III for 2.5 sec. Impact to
the vehicle will not be detected at this time. This icon is always displayed on starter only systems because there
is no shock sensor.
Aux Mode (Alarm or alarm/starter systems only.)
This icon will be displayed while you are in Aux mode. During this time, you can activate auxiliary outputs 1 or 2
by pressing button II or III. Aux outputs can be used to activate various systems or functions in a vehicle.
Voltage
This icon will be displayed while the remote is reporting the voltage of the vehicle or remote battery.
Temperature
This icon will be displayed while the remote is reporting the temperature of the vehicle.


