©2004 Edelbrock Corporation
Brochure No. 63-0190 - DC/mc
Rev. 03/04
Catalog #70003 & #70004
Page 13 of 28
2.5.2 Performer Solenoid Assembly
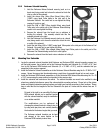
1. Hold the Performer Nitrous Solenoid securely (such as in a
bench vise) being careful not to harm the solenoid or block the
inlet or outlet of the solenoid.
2. Install the nitrous filter fitting (Blue filtered fitting 4AN x
1/8NPT) using liquid Teflon paste in the inlet port of the
Performer Solenoid. Be careful not to over tighten the fitting
causing it to strip or gaul.
3. Install the 3AN x 1/8NPT (Blue straight fitting) using liquid
Teflon aste in the outlet port of the Performer Solenoid being
careful not to over tighten the fitting.
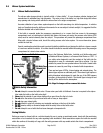
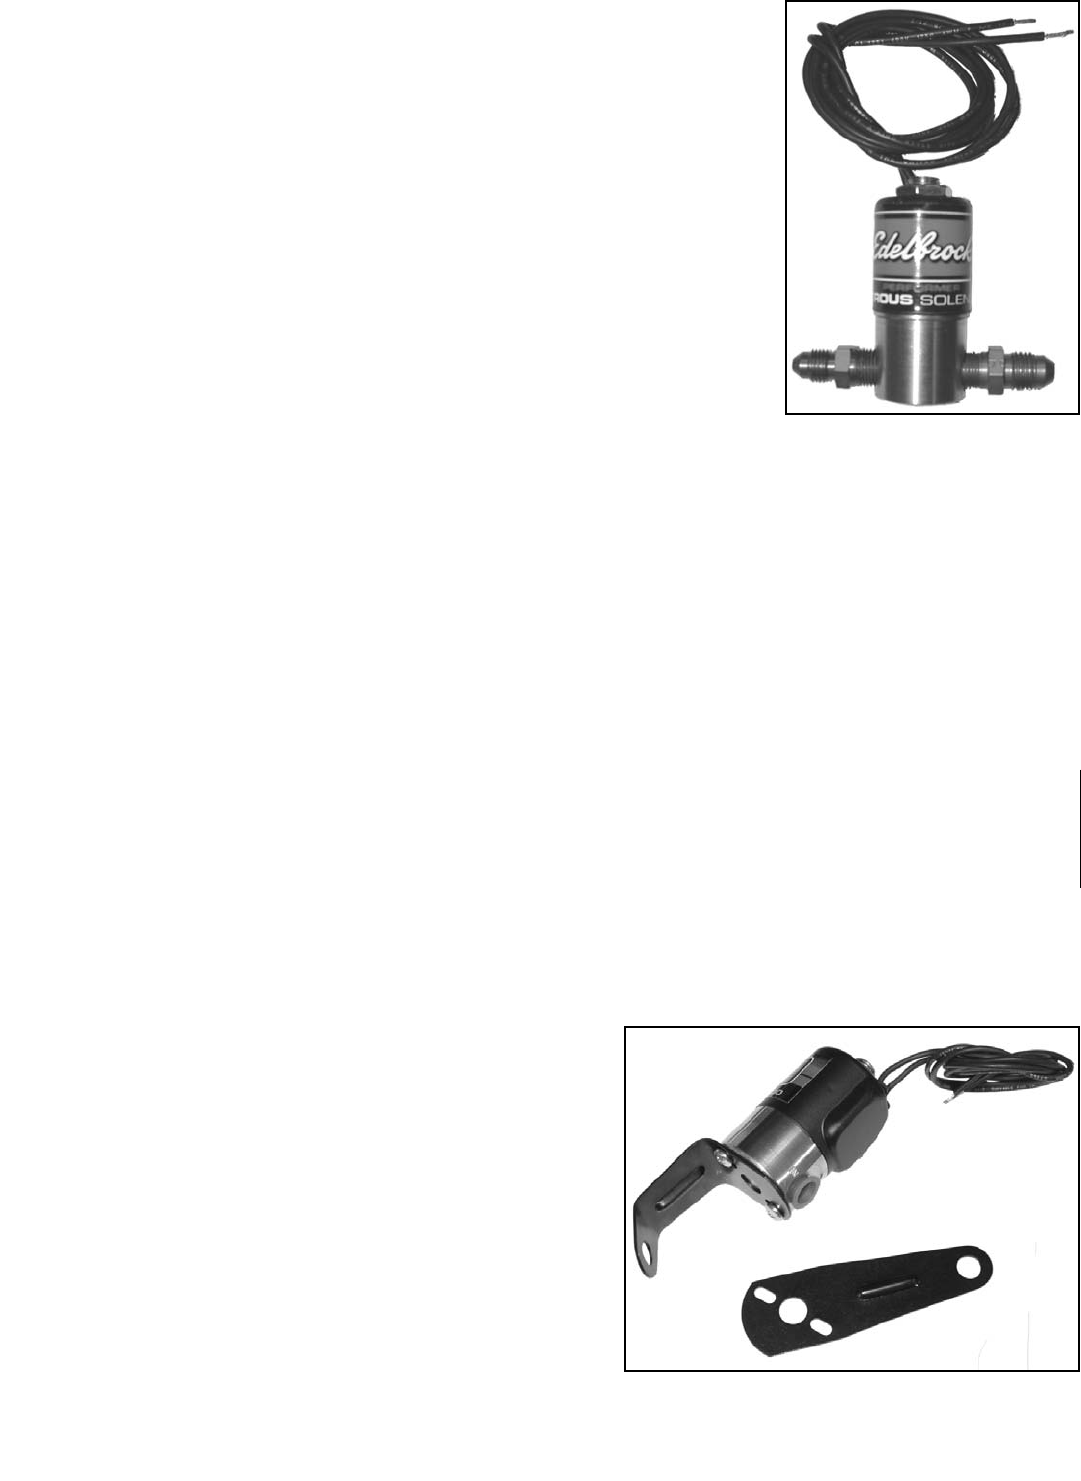
4. Remove the solenoid from the bench vise or whatever is
holding the solenoid. The assembly should look like the
solenoid pictured to the right.
5. Hold the Performer Fuel Solenoid securely (such as in a bench
vise) being careful not to harm the solenoid or block the inlet
or outlet of the solenoid.
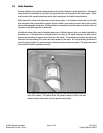
6. Install the fuel fitting (4AN x 1/8NPT) using liquid Teflon paste in the inlet port of the Performer Fuel
Solenoid. Be careful not to over tighten the fitting.
7. Install the 3AN x 1/8NPT (Blue straight fitting) using liquid Teflon paste in the outlet port of the
Performer Fuel Solenoid being careful not to over tighten.
8. Remove the solenoid from the bench vise or whatever is holding it.
2.6 Mounting Your Solenoids
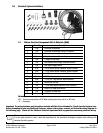
1. Locate the universal solenoid brackets (both Performer and Performer RPM), solenoid mounting screws (you
will find eight screws, four of which are for the Performer Brackets and Solenoids (8 x 32 UNC x 5/16”) and
four for the Performer RPM Brackets and Solenoids (10 x 32 UNC x 5/16”)), and the solenoids that you
assembled in the previous segment.
2. Install the Performer Solenoid assemblies on to the Performer Solenoid Brackets using the 8 x 32 UNC x 5/16”
screws. Secure the screws into the solenoids using a small drop of removable thread lock on each screw.
3. Install the Performer RPM Solenoid assemblies on to the Performer RPM Solenoid Brackets using the 10 x 32
x 5/16” screws using the same method as described in the previous step.
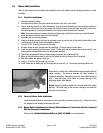
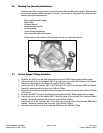
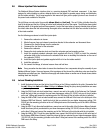
4. Install the solenoids and brackets on the vehicle. The solenoid brackets are meant to be modified to clear
almost any potential interference around the carburetor/plate mounting surfaces. Please look at the picture
below and potential solenoid mounting locations and adapt your brackets according to their locations. Please
keep in mind that the line lengths for the Fuel Solenoid to the plate is 8 inches and the nitrous lines are 12
inches.
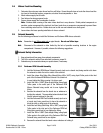
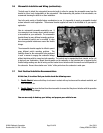
Pictured to the right is an unmodified Performer
RPM solenoid bracket and a modified bracket
with the solenoid installed, ready for installation
on an intake manifold.
The modifications can be performed by
clamping the solenoid bracket in a bench vise, or
by using wide jaw pliers, and carefully bending
the bracket to the desired angles that you need.
The Performer solenoid brackets can be bent
and shaped in the same fashion as the
Performer RPM brackets pictured here.


