


©2007 Edelbrock Corporation
Catalog #65903
Page 2 of 2
Rev. 8/07
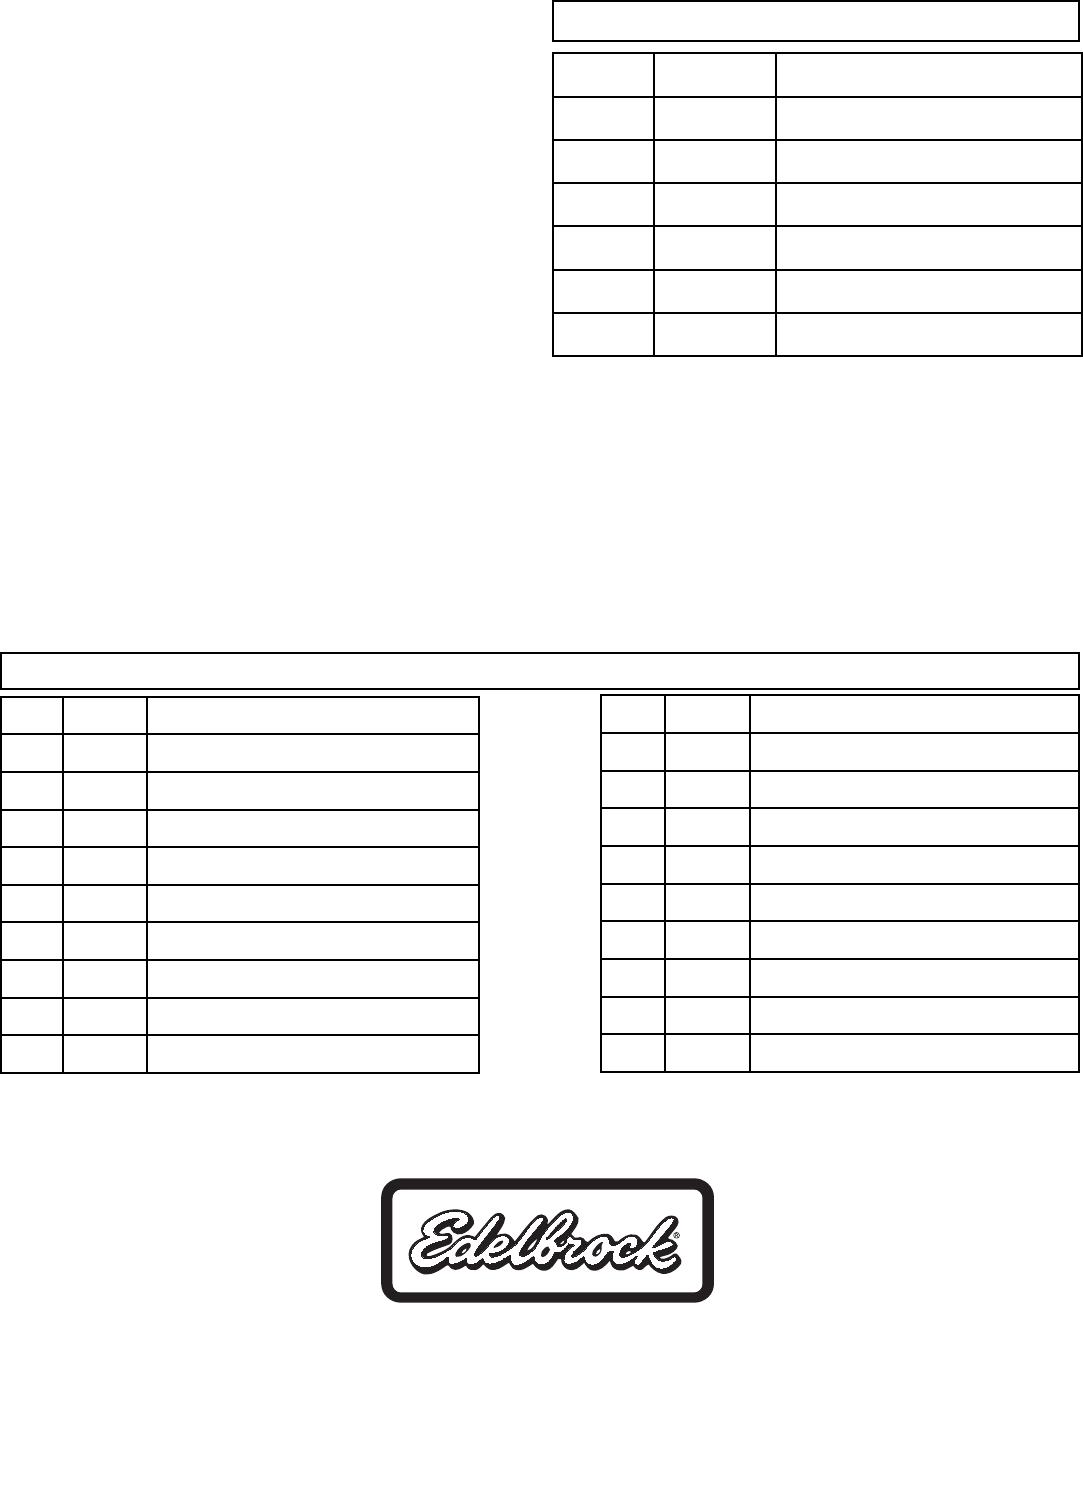
KIT CONTENTS
Edelbrock Corporation, 2700 California St., Torrance, CA 90503
Toll-Free Tech Line: 1-800-416-8628
Office: 310-781-2222
E-Mail: Edelbrock@Edelbrock.com
Qty. Part # Description
❑ 1 25-9808 Header, Left Side
❑ 1 25-9809 Header, Right Side
❑ 2 25-9222 Merge Collector
❑ 1 25-9814 Collector Extension (Left)
❑ 1 25-9815 Collector Extension (Right)
❑ 1 22-6590 Installation Kit
Qty. Part # Description
❑ 2 24-9716 A.I.R. Adapters
❑ 11 36-0710 Header Bolts
❑ 1 36-2860 C/B Bolt 3/8 - 16 x 2-1/4” (for port flange)
❑ 2 52-9710 O2 Sensor Bungs
❑ 2 54-6590 Port Flange Gaskets
❑ 3 56-6569 Heat Sleeves
❑ 4 60-8541 Hex Nut; 5/16”
❑ 4 68-6550 Hex Cap Screw; 5/16”
❑ 2 78-2004 Tie Wraps
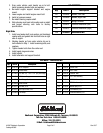
Qty. Part # Description
❑ 1 79-9534 Spacer Tube
❑ 2 79-9749 Evac. Tubes
❑ 8 79-9750 Collector Tabs
❑ 1 79-9841 A.I.R. Sub-Assembly
❑ 2 79-9842 A.I.R. Sub-Assembly
❑ 1 79-9888 EGR Sub-Assembly
❑ 8 82-3600 Washer (AN); 5/16”
❑ 12 82-5590 Lock Washers; 3/8”
❑ 12 82-7231 Hardened Washers; 3/8”
#22-6590 - Installation Kit
3. From under vehicle, work header up on to bolt.
Install remaining header bolts and washers.
4. Re-install engine support bracket and engine
mount.
5. Lower engine and install engine mount bolt.
6. Install oil pressure sensor.
7. Re-install steering coupler shaft.
8. Slide steering rack back into location and re-install
and torque steering rack bolts to factory
specifications.
Right Side
1. Install one header bolt, lock washer, and hardened
washer with port gasket into front bolt hole on right
side of engine.
2. Working header up from under vehicle slip on to
bolt installed in Step 1. Install remaining bolts, and
washers.
3. Tighten header bolts from the center out.
4. Install spark plugs and wires.
5. Install starter.
6. Install alternator and support bracket.