10
EXPLORING THE PAGES : The MAP Page
The many functions and features of your ONIX400 are organized into
seven “pages” or screens of related information. Press MENU, then
use the 5-way button to select (highlight) a page, then press “OK”
(center button) to view that page. The current page you are on is
always indicated in the box at the top of the display, just below the
“Bushnell” logo. Let’s take a tour of the various pages and the options
they provide:
The MAP Page
You will primarily refer to the MAP page while navigating with the
ONIX400. Using Bushnell’s exclusive screen layering, this page can
display multiple location and navigation related information in a single
view. The following items are always displayed on this page:
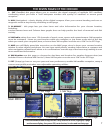
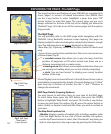
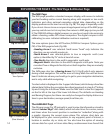
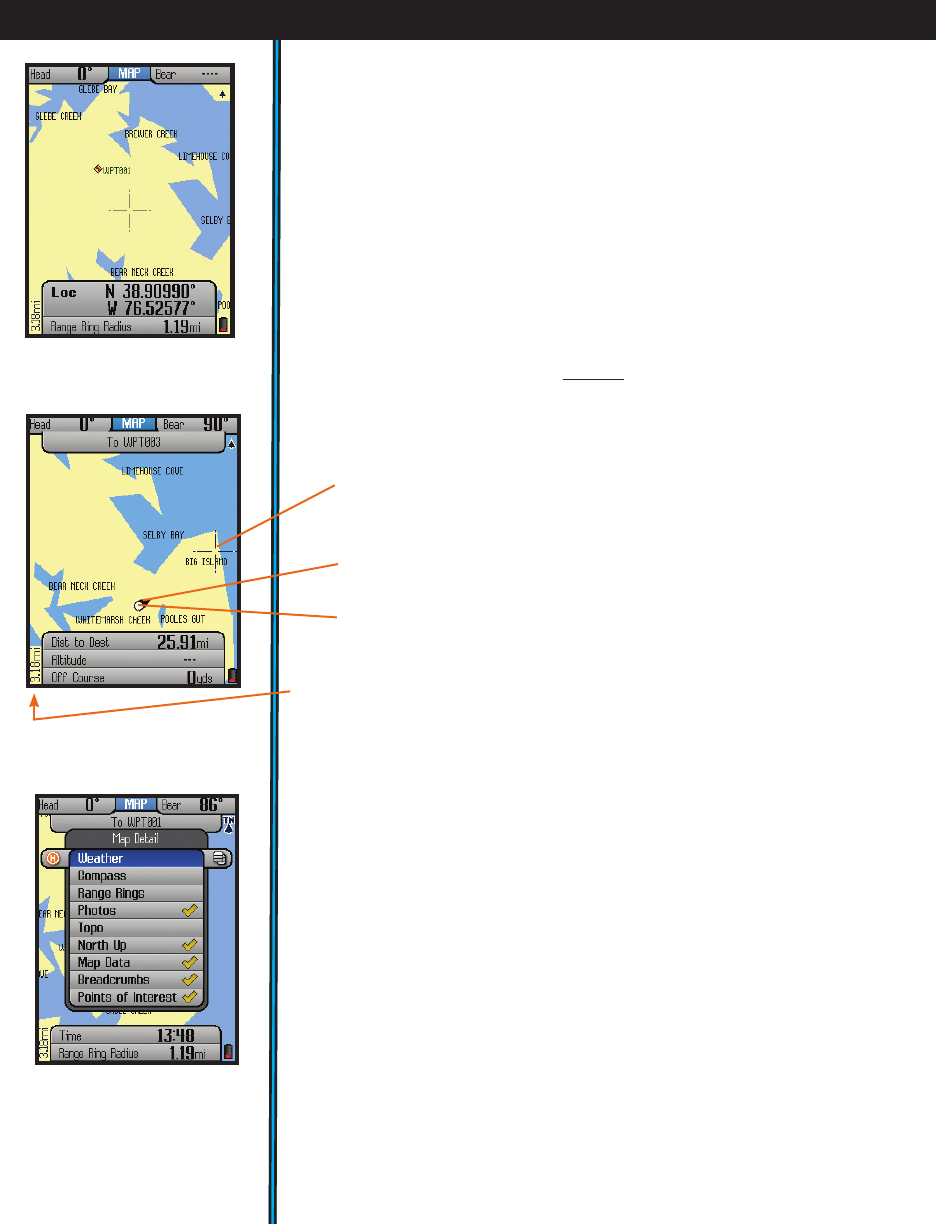
• Base Map (Fig. 1)-primary streets and location, similar to a basic road
map.
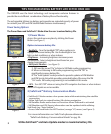
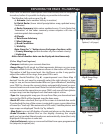
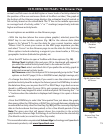
• Cursor-shows your location and direction. The cursor can assume one
of three shapes (Fig. 2):
-a crosshairs cursor that allows you to pan the map, check the
position of waypoints or POI when moved over them, use as a
distance measuring tool, or create routes.
-a bearing arrow that shows your navigation direction when you
are moving (or heading when you are not actively navigating)
-a circle-“you are here locator” to display your current location
relative to the map
•Zoom Display Level-on lower left next to the Info Boxes. Shows scale or
actual distance represented by height of current display (e.g. “10.2km”
span from top to bottom of screen). Use the “+” and “-” buttons to
change the zoom level.
MAP Page Details (Layering Options)
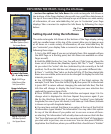
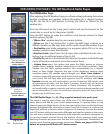
You may choose to add other items to your view of the MAP page.
To select these items, press the HOT button, then press the DOWN
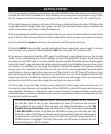
button to highlight “Map Detail”, and press OK. Use the 5-way button
to move up and down the options (Fig. 3), press the center button to
select (check) or deselect (uncheck) the items you wish to include in
your view.
The Map Detail options list:
•Weather-display a variety of weather info, including weather radar.
Press the Right button to see a list of these weather info options,
use the Up/Down buttons to select, then “checkmark” any items you
wish to view layered on the map screen by pressing the OK button.
Fig 1.
Base Map
Fig 2.
MAP Page
Cursors
Fig 3.
MAP Page
Map Details
(Layer Options)


