5
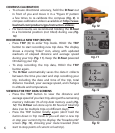
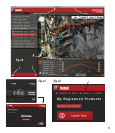
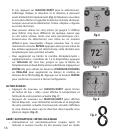
Fig. 8
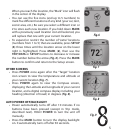
Fig. 7
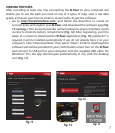
Fig. 9
8
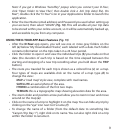
When you reach the location, the “Mark” icon will flash
in the center of the display.
• You can use the five icons (and up to 5 numbers) to
mark five different locations of any kind (your car, tent,
scenic area, etc.). Be sure you select a different icon or
# to store each new location. If you hold down MARK
with a previously used location icon still selected, you
will replace that one with your current location.
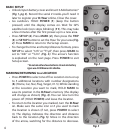
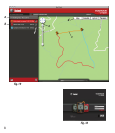
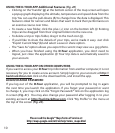
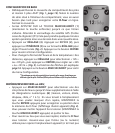
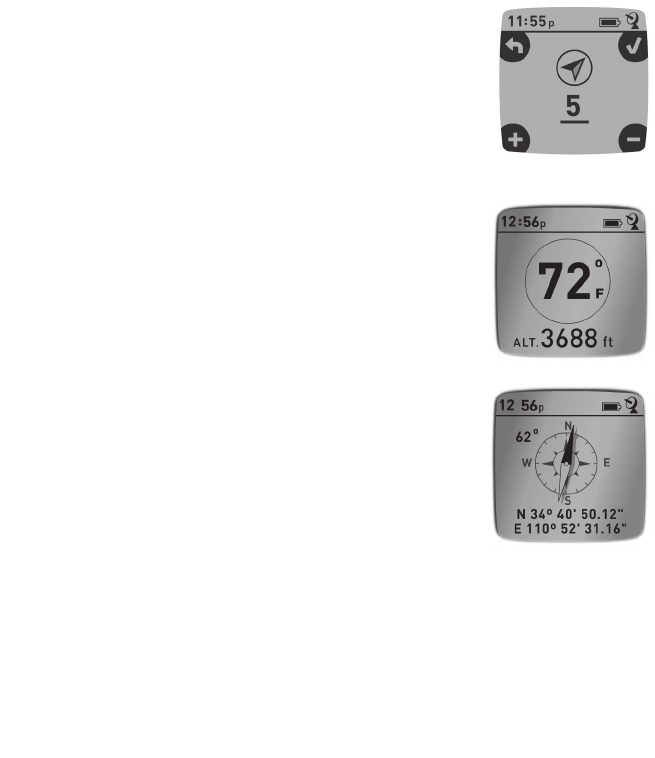
• To expand or restrict the number of “extra” locations
(numbers from 1 to 5) that are available, press SETUP
(4) three times until the location arrow on the lower
right is highlighted. Press MARK (2), then use the
TRIP/DATA or SETUP buttons to decrease or increase
the number below the arrow (Fig. 6). Press the MARK
button to confirm and return to the Setup screen.
OTHER SCREENS
• Press POWER once again after the “Target” location
icon screen to view the temperature and altitude at
your current location (Fig. 7).
• Press POWER again to view the Compass screen,
displaying the Latitude and Longitude of your current
location, and a digital compass display including your
heading (direction of travel) in degrees (Fig. 8).
AUTO POWER OFF/BACKLIGHT
• Power automatically turns off after 10 minutes if no
buttons have been pressed (except in Trip mode,
described next). HOLD POWER to turn the unit off
manually.
• Press the MARK button to turn the display backlight
on. It automatically turns off after 30 seconds.
Fig. 6


