Importing Scanned Documents to Computer (continued)
3-51
2. Set the processing for the scanned data importing.
In the default settings, document data is deleted after it has been imported in.
To delete scanned data from the hard disk
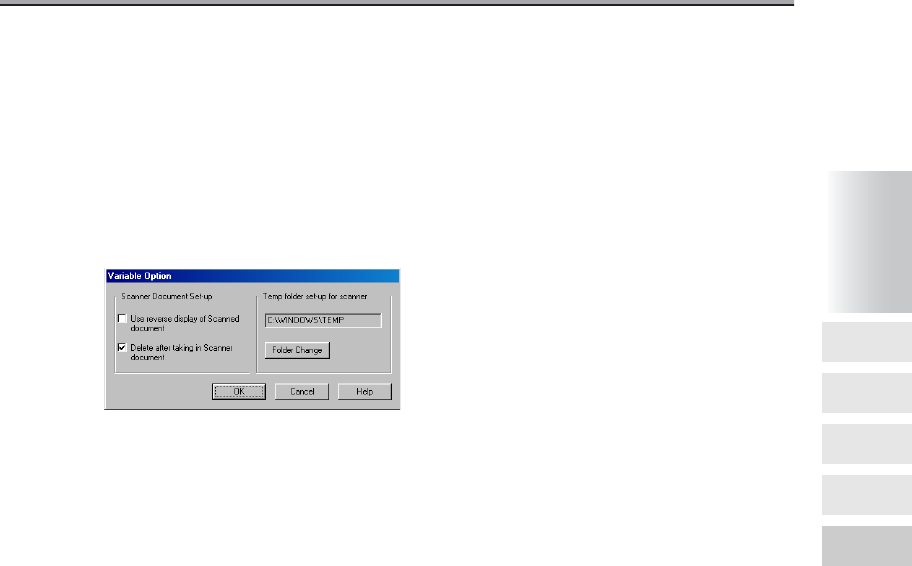
1. Click the [Option] button.
The [Variable Option] screen is displayed.
2. Check the [Delete after taking in Scanner document] checkbox.
To leave the scanned data in the hard disk
1. Click the [Option] button.
The [Variable Option] screen is displayed.
2. Uncheck the [Delete after taking in Scanner document] checkbox.
3. To import scanned data with the white sections and black
sections of the document reversed, check the [Use reverse
display of Scanned document] checkbox.
4. To change the computer’s temporary storage location, click
the [Folder Change] button.
The [Browse for Folder] screen is displayed.
How to See
the Document
List Screen
Printing the
Documents in
Box
Operating the
Re-Print
Function
Transmit or
Transfer a
Document in
the Box
Importing
Scanned
Documents to
Computer
3
Chapter


