media type, and you choose to keep the conflicting settings, the settings are processed in the following
order: media size, media type, and then media source.
Because driver settings are overridden by media-size settings in most software programs, it is generally
best to use the driver to set media size only for software programs that lack a media-size setting, such
as NotePad, or when you are producing a book or a booklet that does not require different media sizes.
NOTE When you use a software program with a media-size setting, you can specify different
media sizes within a single document by using the Use Different Paper/Covers options. For
more information, see the
Size is: section of this chapter.
For information about media sizes, see the Media types and sizes section of this guide.
Custom Paper Size
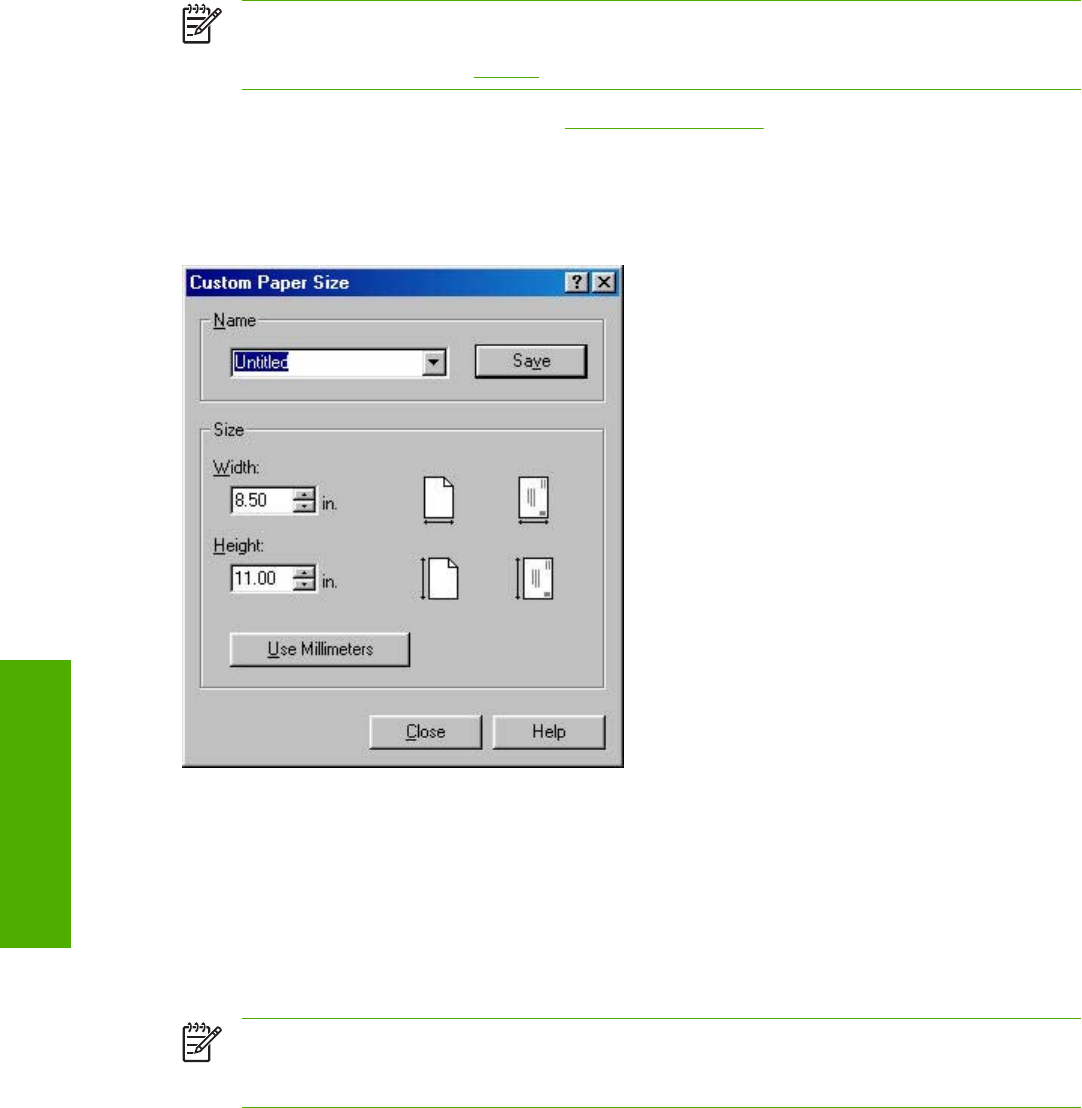
The Custom Paper Size dialog box appears when you click the Custom button on the Paper tab. The
following illustration shows the initial appearance of the Custom Paper Size dialog box.
Figure 4-12 Custom Paper Size dialog box
When the Custom Paper Size dialog box appears, the drop-down menu in the Name group contains
one of two things, depending upon the current paper size selection in the Paper tab:
■ If the paper size selection is a previously defined custom size, then the drop-down menu contains
the name of that custom size.
■ If the paper size selection is a standard paper size, then the drop-down menu shows the default
name Untitled for a custom paper size.
NOTE Two names for the same size media can coexist (for example, "big" and "BIG" can both
be used as names for custom-size paper measuring 213.4 mm x 279.4 mm (8.4 inches x 11
inches).
122 Chapter 4 Windows HP traditional driver features ENWW
Windows HP traditional
driver features
