SECTION 2
INSTALLING THE PRINTER
7
4. Loosen the knobs on the side guides. Adjust the side
guides to within 1/32-inch of the media. Then tighten
the knobs.
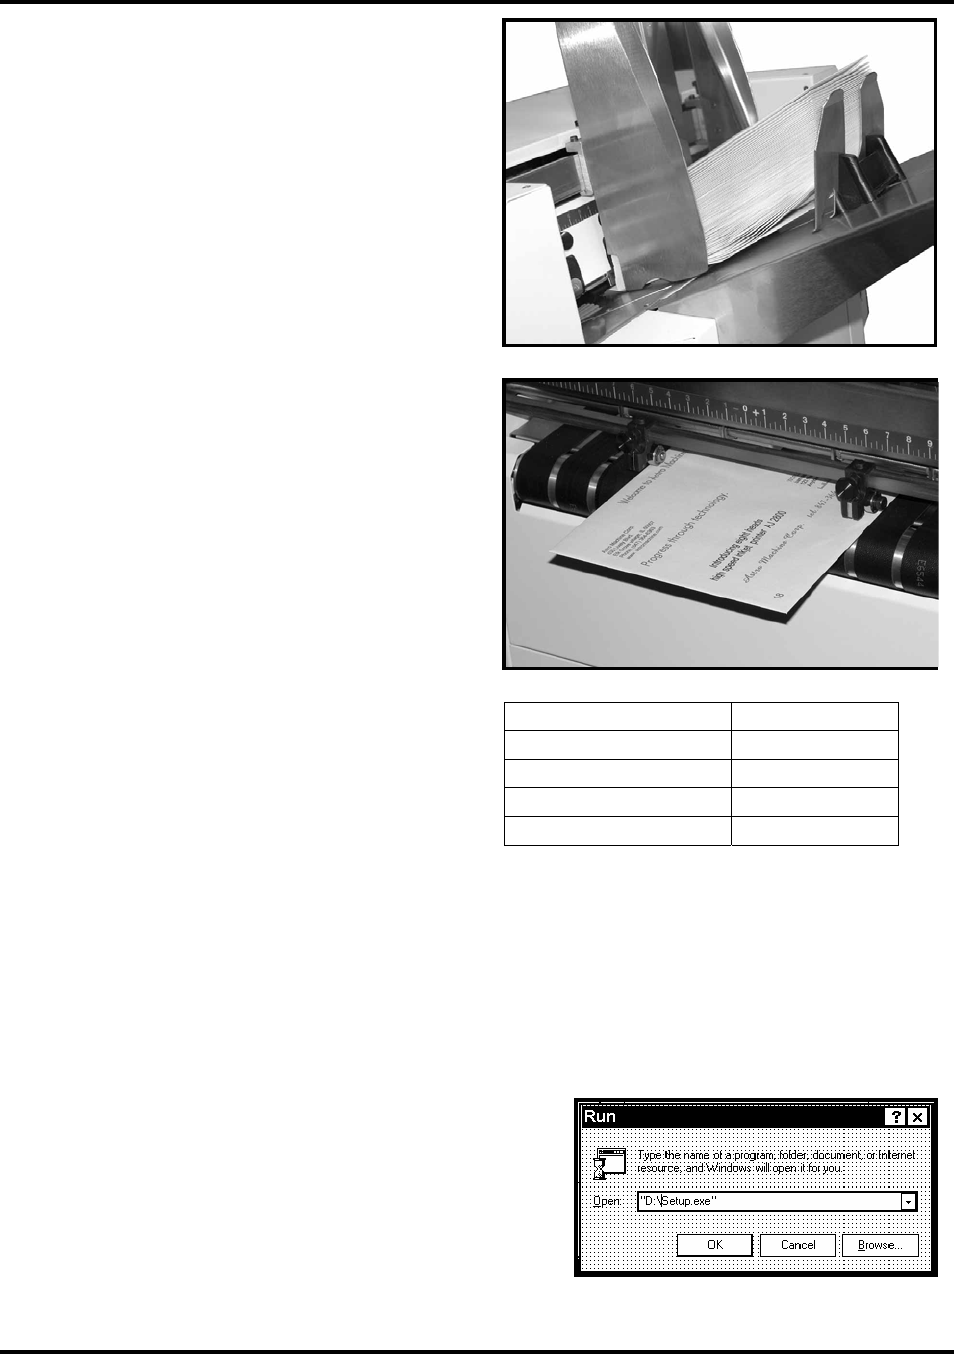
5. Adjust the back guide so that the media is raised
approximately 1/2-inch and rests on the curve of the
back guide. When running 10 inch or longer or heavy
media you may have to set the back guide so that it
just touches the back of the media.
6. Feed a piece of media through the printer and adjust
the two exit guides so that they ride on the media. To
prevent smearing, make sure that the exit guides do
not track over any printed information
7. Turn the AstroJet 2600P/2800P on and then turn the
media thickness knob to set the initial print head
height as follows:
NOTE: These are initial settings. It may be necessary to adjust the MEDIA THICKNESS control to
optimize the print quality
8. Press the ONLINE key, and then press the ENTER key, to test feed media.
Installing the Printer Driver
A dedicated printer driver is included with the printer. It must be installed on your computer before you install the
AstroPrint Software. Follow the steps below to install the driver:
NOTE: The driver for the printer should be installed using
the steps below.
Media Thickness Dial Setting
.004” to 1/32” 0 to 2
1/32” to 1/8” 2 to 3
1/8” to 5/16” 3 to 7
5/16” to 3/8” 7 to 10


