


OPERATION
Power On And Self-Test
Each time your Whistler detector is turned on, an auto-
matic self-test sequence confirms that the speaker and
visual displays are functional.
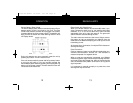
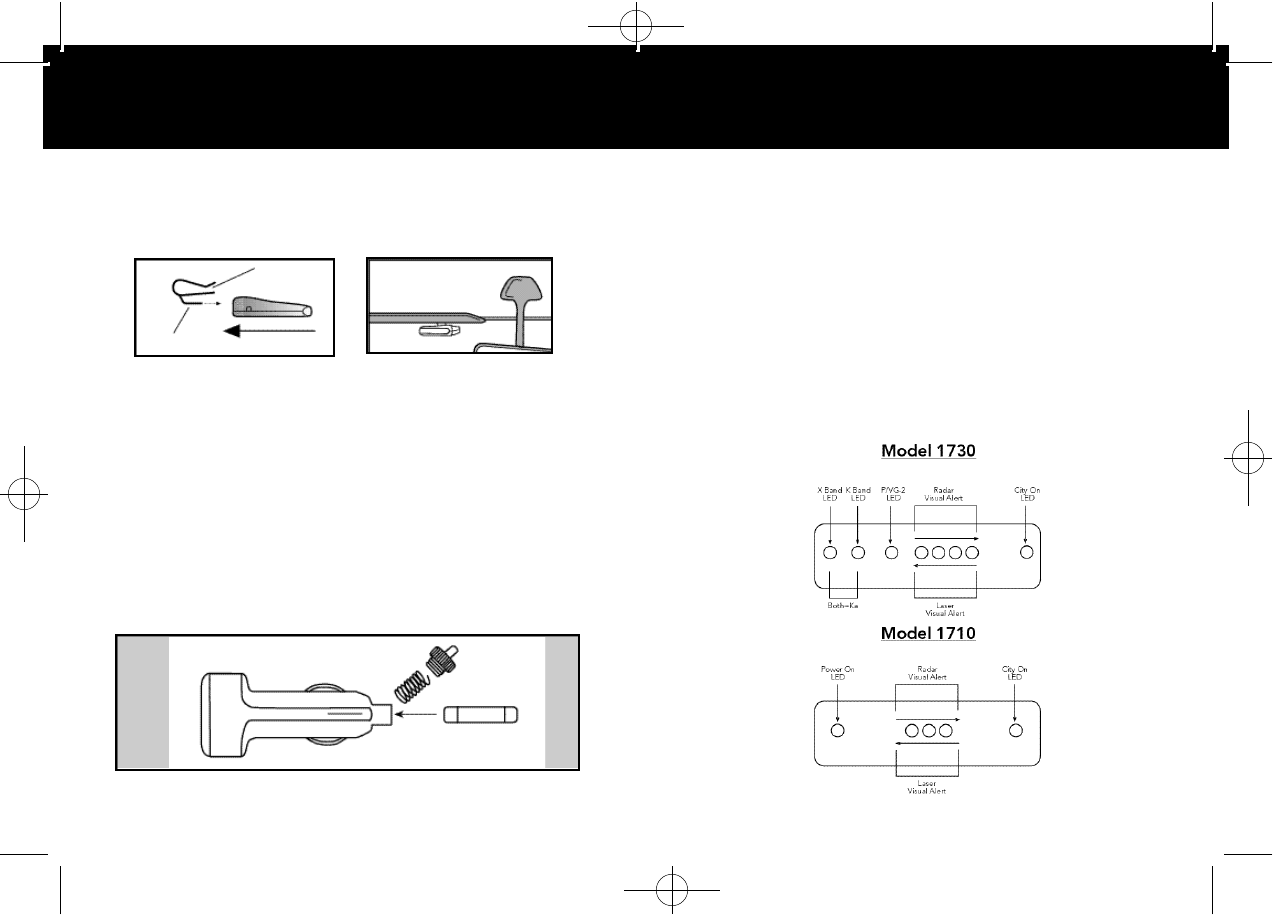
During Power Up, all the LEDs illuminate, while the X, K,
and Ka alerts are sounded in sequence. Immediately after
the radar alerts, the red LEDs are momentarily canceled,
then illuminated from right to left while the laser alert is
sounded.
After the laser alert the 1st and 4th (3rd on 1710) alert LEDs
flash and the Safety Radar alert is sounded. At the end of
the self-test sequence the unit is in the highway mode.
9
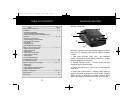
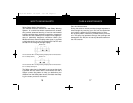
INSTALLATION
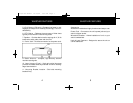
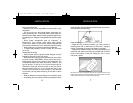
Visor Mounting (optional accessory )
• Slide the visor bracket into the bracket mounting slot.
• Clip the visor bracket onto the visor making sure it is
relatively level and has a clear view of the ro a d .
Power Connection
• Plug the small end of the power cord into the unit’s power
j a c k .
• Plug the large end into the vehicle’s cigarette lighter.
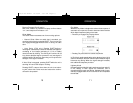
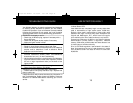
Fuse Replacement
The lighter socket plug is equipped with a replaceable 2
amp 3AG fuse located behind the silver tip. To replace the
fuse, carefully unscrew the tip of the plug. (I M P O RTA N T:
U n s c r ew slowly. The tip contains a spring which may fly out
when disassembling.) Insert the new fuse with the spring and
s c r ew on the tip. With use, screw cap on plug may loosen.
Retighten occasionally.
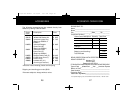
U n s c r ew the tip of the lighter socket plug carefully when replacing the 2 amp
f u s e .
8
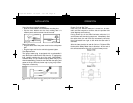
Insert into bracket mounting slot. Do not bend this
section of bracket.
Slide on view
1710/1730 manual 10/19/01 3:57 PM Page 11