


Chapter 11: Working with sonar 99
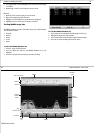
11.8 Isolating objects near the bottom
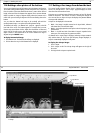
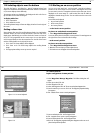
The white line feature - see White line - page 97 separates echoes from
objects near the bottom and the bottom itself. When white line is switched
on, the sonar displays echoes differently.
The strongest echoes are displayed in the background with a thin line on
top. All other echoes remain unchanged.
To display white line:
1. Click
Presentation
.
2. Click
White Line
to ON.
The scrolling bottom image will start to display white line from the right of
the screen.
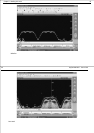
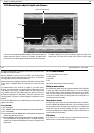
Getting a closer view
Zoom enlarges all or part of the scrolling bottom display. You should select
automatic zoom if you want to keep the bottom in the lower half of the
display page. Alternatively you can select the level of zoom to a factor of
x2,x3, x4 or xR, proportional to the current range. You can also split the
sonar image vertically to show the zoomed area on the left of the screen
and the scrolling bottom on the right of the screen.
1. Click
Zoom
. The Zoom softkeys will be displayed.
2. Click
Zoom
to On. The Zoom image replaces the scrolling bottom
image.
3. Click appropriate softkeys to set up zoom as required.
11.9 Marking an on-screen position
You can use a sonar mark (sm) - see Sonar mark - page 98 to indicate a
position on the sonar image. The sm is stored in the waypoint list so that
you can name it, save it as a waypoint and return to the same spot. A sm is
displayed on the sonar image as a solid vertical line with the label sm
displayed at intervals along the line. The sm scrolls across the screen with
the image.
Sonar marks can be placed:
• At your boat’s position.
• At the cursor position.
• At a known position.
... at the boat’s current position
To place a sm at the boat’s current position:
1. Select Waypoint/Place Waypoint at Vessel.
A new sm will be placed at the boat’s current position. The mark appears at
the right of the screen and scrolls with the image.
...at the cursor’s position
To place a sm at the cursor position:
1. Select Waypoint/Place Waypoint at Cursor.
2. Move the cursor to where you want to place the sm.
3. Click and a new sm will appear in the selected position.
100 RayTech RNS V6.0 - Users Guide
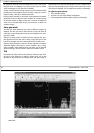
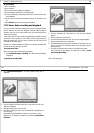
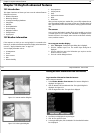
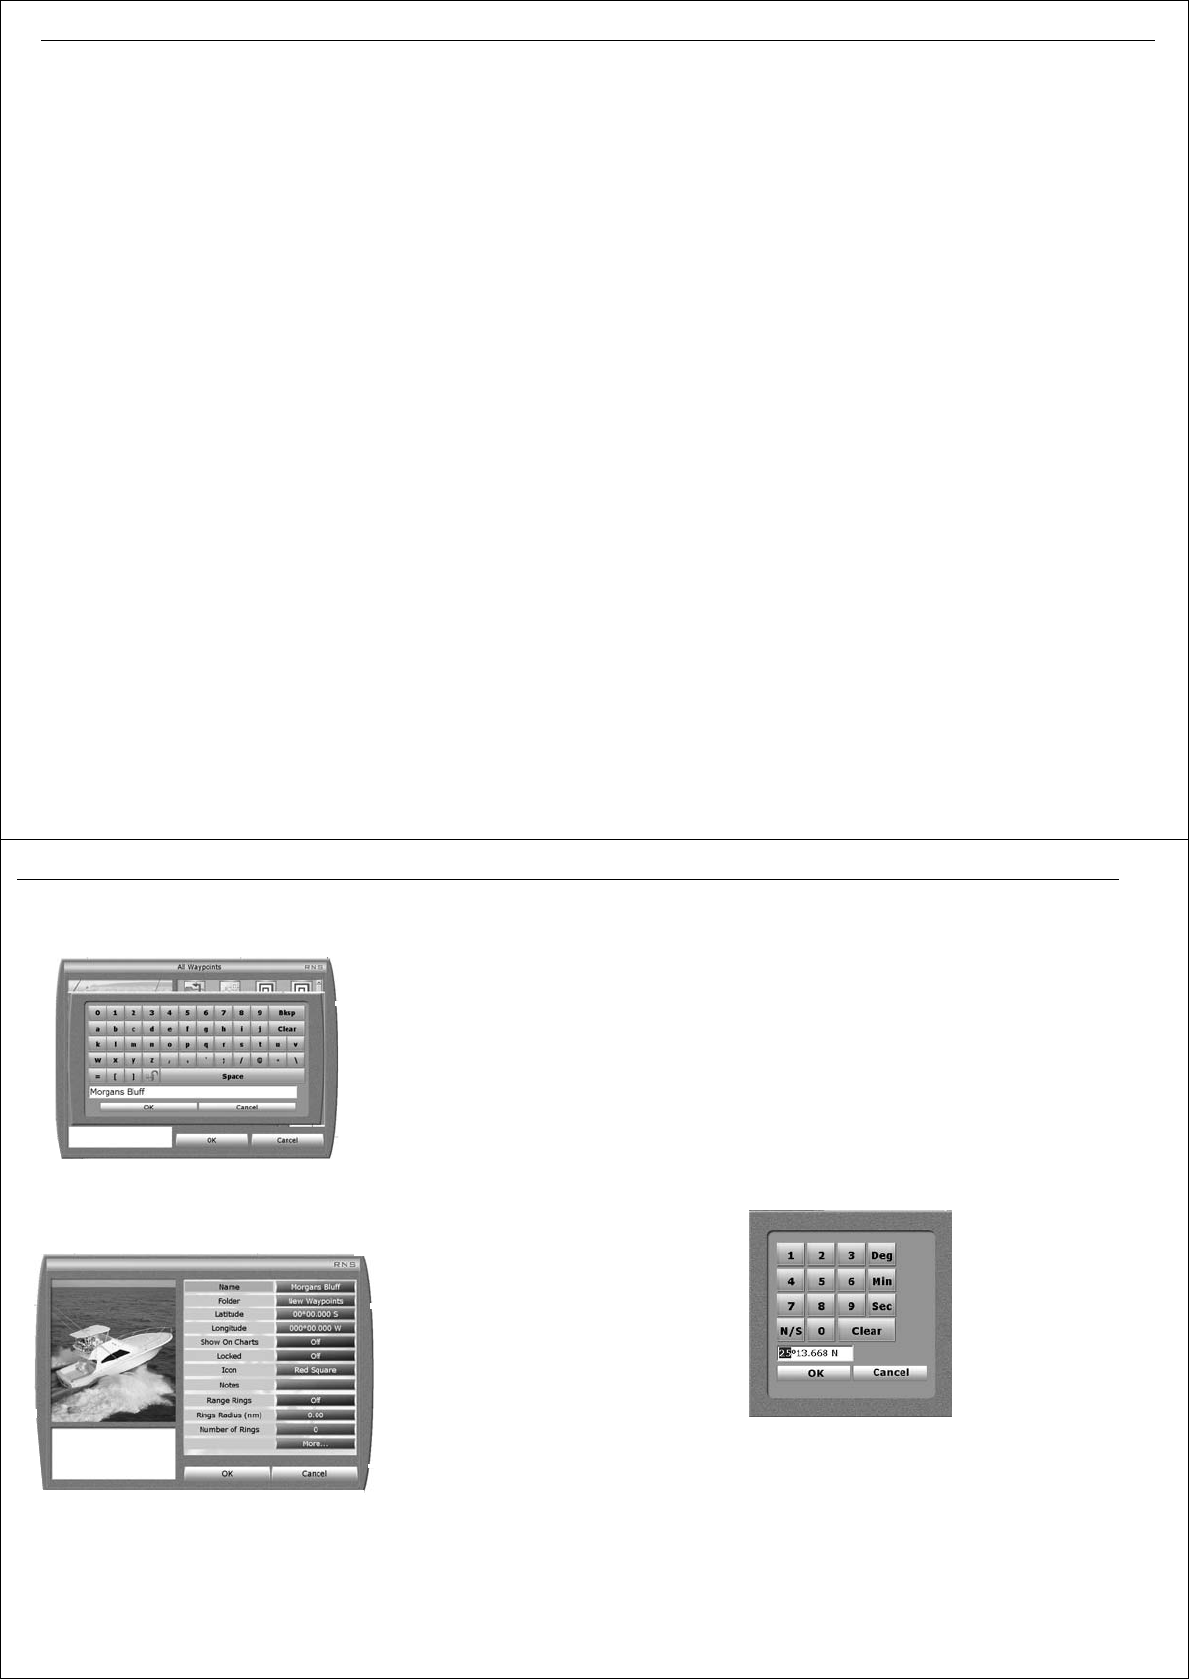
Figure 11-1: On-screen keyboard
Figure 11-2:
at a known position
To place a waypoint at a known position:
1. Select Waypoints/ Manage Waypoints. The folders dialog box will
appear.
2. Select
Up one level
. Click
OK
.
3. Select
Waypoints
. Click
OK
4. Select
New Waypoint
. Click
OK
. The on-screen keyboard appears.See
5. Enter the name for your new sm. Click
OK
. The waypoint properties dialog
box appears.
6. Click
Latitude
. The on-screen numeric pad appears.
7. Enter correct latitude. Click
OK
. The keypad closes.
8. Click
Longitude
. The on-screen numeric pad appears.
9. Enter correct longitude. Click
OK
. The keypad closes.
10.Click
OK
. The waypoint properties dialog box disappears and a new sm is
placed at the position specified.
D6932_1
D6937_1
D6934_1