


Chapter 3: Standard Radar Operations 3-15
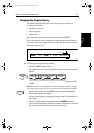
Measuring Range and
Bearing to Target
from Vessel
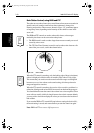
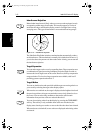
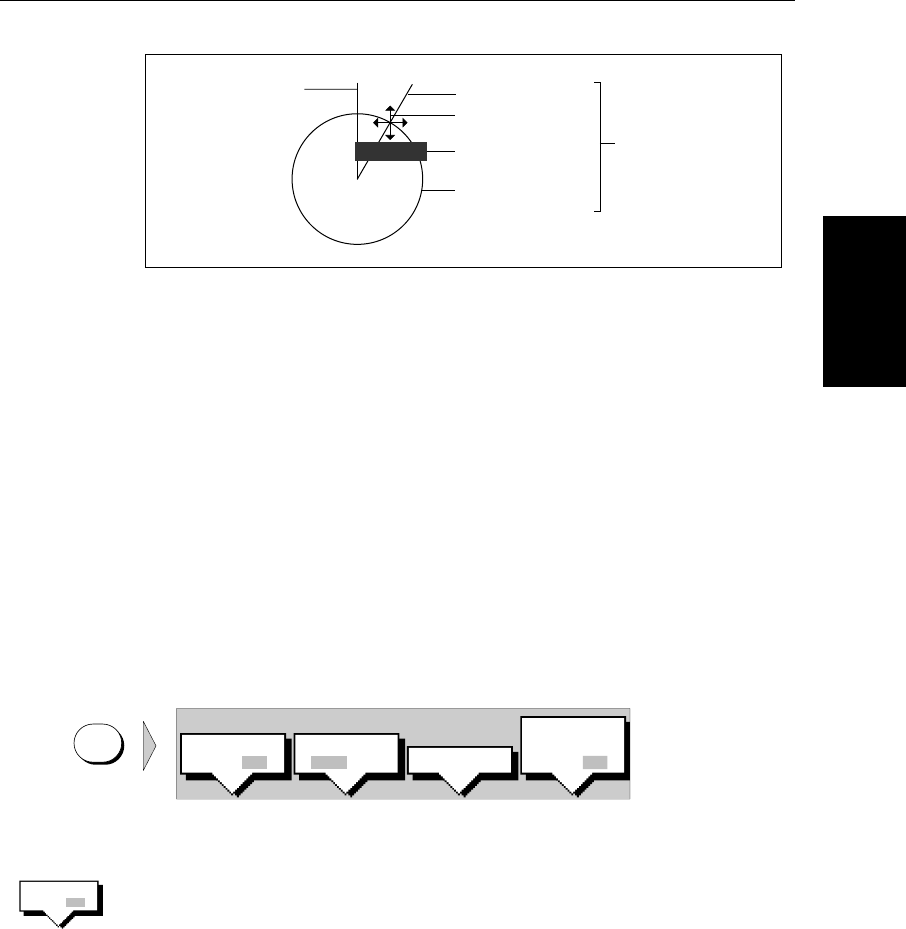
Figure 3-12: Placing a VRM
2. If required, use the trackpad controls to change the radius (range) of the
VRM circle and the angle of the EBL until they cross the required target.
The range and bearing information in the VRM/EBL data box is updated
as you move the cursor.
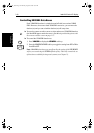
3. Press ENTER to drop the VRM/EBL. The radar shows this
VRM/EBL asa short-dashed line,and thecursor returnsto normalcontrol.
4. Readthe range and bearing to the target or point, which is shown in the
VRM/EBL data box.
5. If required, you can move or delete the VRM/EBL data box using the con-
text-sensitive cursor.
➤ To place a VRM/EBL when one is already displayed:
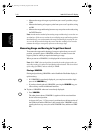
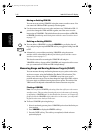
1. Press VRM/EBL to display the VRM/EBL soft keys.
The labels for the two left-hand soft keys indicate the current status of the
two VRM/EBLs.
2. Pressthe softkey forthe VRM/EBL you require,to togglethe setting from
OFF to ON.
The softkey labelsare cleared,and the radar picture showsthe VRM/EBL
and its associated data box.
3. Position the EBL/VRM using the trackpad, and press ENTER to drop it.
The radar shows the VRM/EBL as a short-dashed line (VRM/EBL1) or a
long-dashed line (VRM/EBL2), and the cursor returns to normal control.
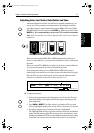
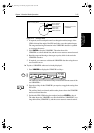
D3970-1
Ship's Heading Marker
VRM as solid line
Cursor symbol
as four-way arrow
Cursor text in
inverse video
Indicate cursor control
of VRM/EBL
EBL as solid line
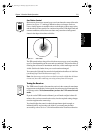
VRM/EBL
VRM/EBL
D3645-2
FLOAT¬
VRM/EBL2
OFF ON
VRM/EBL1
OFF ON
VRM/EBL
DATABOX
OFF ON
VRM/EBL1
OFF ON
81186_3.book Page 15 Thursday, August 22, 2002 8:23 AM