OWNER’S MANUAL
Please read before using this equipment.
www.radioshack.com
SM
Bracket Slot
DASHBOARD MOUNTING
In some vehicles, the dashboard may be the best location to
mount the detector. Use the supplied hook-and-loop tape to
mount your radar detector to the dash.
1. Use a damp cloth to clean the bottom of the detector and the
dashboard. Let both surfaces dry.
2. Remove the tape’s paper backing and stick the tape to the
bottom of the detector.
3. Remove the backing from the other
side of the tape and firmly press your
detector onto the dashboard.
Thank you for purchasing a RadioShack Voice/Text
Radar Detector. Your radar detector can alert you
to many traffic radar and laser systems with its
distinct visual and audio alerts. It receives X-, K-,
and Ka-band radar signals, and detects both the
instant-on and laser systems many law
enforcement agencies use to measure vehicle
speed. Plus, your detector can give you advance
warning of potential road hazards by detecting signals
from transmitters that broadcast Safety Warning
System™ (SWS) alerts.
Voice/Text Radar Detector
22-1697
PACKAGE CONTENTS
Ô Dashboard Mounting Notes Ô
• The tape’s adhesive might not stick to a surface treated with vinyl
cleaner or protectant.
• Do not place the hook-and-loop tape over the detector’s serial
number.
• On a curved dashboard, cut the supplied strip in half and use one
strip on each side of the bottom of the detector.
• Be sure to place the detector out of view when you leave the
vehicle. This keeps the detector out of sight of thieves and prevents
exposure to extremely high temperatures, which can temporarily
impair your detector’s performance.
Ô Note Ô
Before reading this Owner’s Manual, read the supplied
booklet Questions and Answers About Vehicle Speed
Detection to familiarize yourself with the terms and uses
associated with your detector.
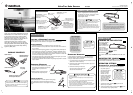
SELECTING A MOUNTING LOCATION
For the best performance, select a location where the detector has a direct view of the
road. The detector’s radar antenna is at the opposite end of the indicators.
Mounting Guidelines
• Choose a location that does not block the driver’s view of the road.
• Mount the detector in a level position with a clear view of both the front and rear
of your vehicle.
• Choose a location that gives the detector a view unobstructed by metal objects.
• Some vehicles have InstaClear
®
or ElectriClear
®
defogging windshields, which
have metal coatings that block signals. Check your vehicle’s owner’s manual to
see if your vehicle has one of these features. A detector installed in a vehicle with
one of these features might not detect a signal.
• Since window tinting reduces the received strength of laser signals, you should
not mount the detector behind heavily tinted glass.
• Do not mount the detector where the driver or a passenger might hit it in a sudden
stop or accident.
WINDSHIELD MOUNTING
1. Clean the selected windshield area, position
the bracket on the windshield. Press firmly
on each suction cup to secure the
bracket.
2. Slide the detector’s bracket slot onto
the bracket until it snaps into place.
! CAUTION !
Do not use the mounting
bracket in a vehicle that
has a plastic safety coating
on the inside of the
windshield designed to
protect passengers during
an accident. If you use the
bracket on this type of
windshield, you might
permanently mar the
windshield’s surface.
Mount the radar detector
on the dashboard instead.
Ô Note Ô
Though the detector has a
360° laser and radar
detection range, the radar
detection is most sensitive
in the front range.
Adjusting the Bracket
If the mounted detector is not at the optimum viewing angle,
you can adjust the mounting bracket for better viewing.
Carefully bend the bracket in or out to adjust it to the desired
angle.
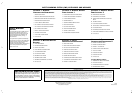
Plug the supplied power cord’s barrel plug into
the detector’s 12V DC jack. Then plug the cord’s
cigarette-lighter plug into your vehicle’s
cigarette-lighter socket.
! CAUTION !
• Use only the supplied 12V DC, Positive (+) Tip power
cord.
• Before plugging the power cord’s cigarette-lighter plug
into your vehicle’s cigarette-lighter socket, make sure
the plug’s tip is screwed firmly onto the plug.
Ô Note Ô
• To prevent the detector from draining your vehicle’s
battery if you leave the detector on when you turn off the
ignition, unplug the power cord from your vehicle’s
cigarette lighter socket.
• If the detector does not operate when you turn it on,
remove the cigarette-lighter plug from your vehicle’s
socket and check the socket for debris. Also, check the
fuse in the detector’s plug and your vehicle’s cigarette
lighter fuse.
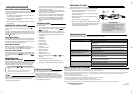
CONTROLS
INSTALLATION
OPERATION
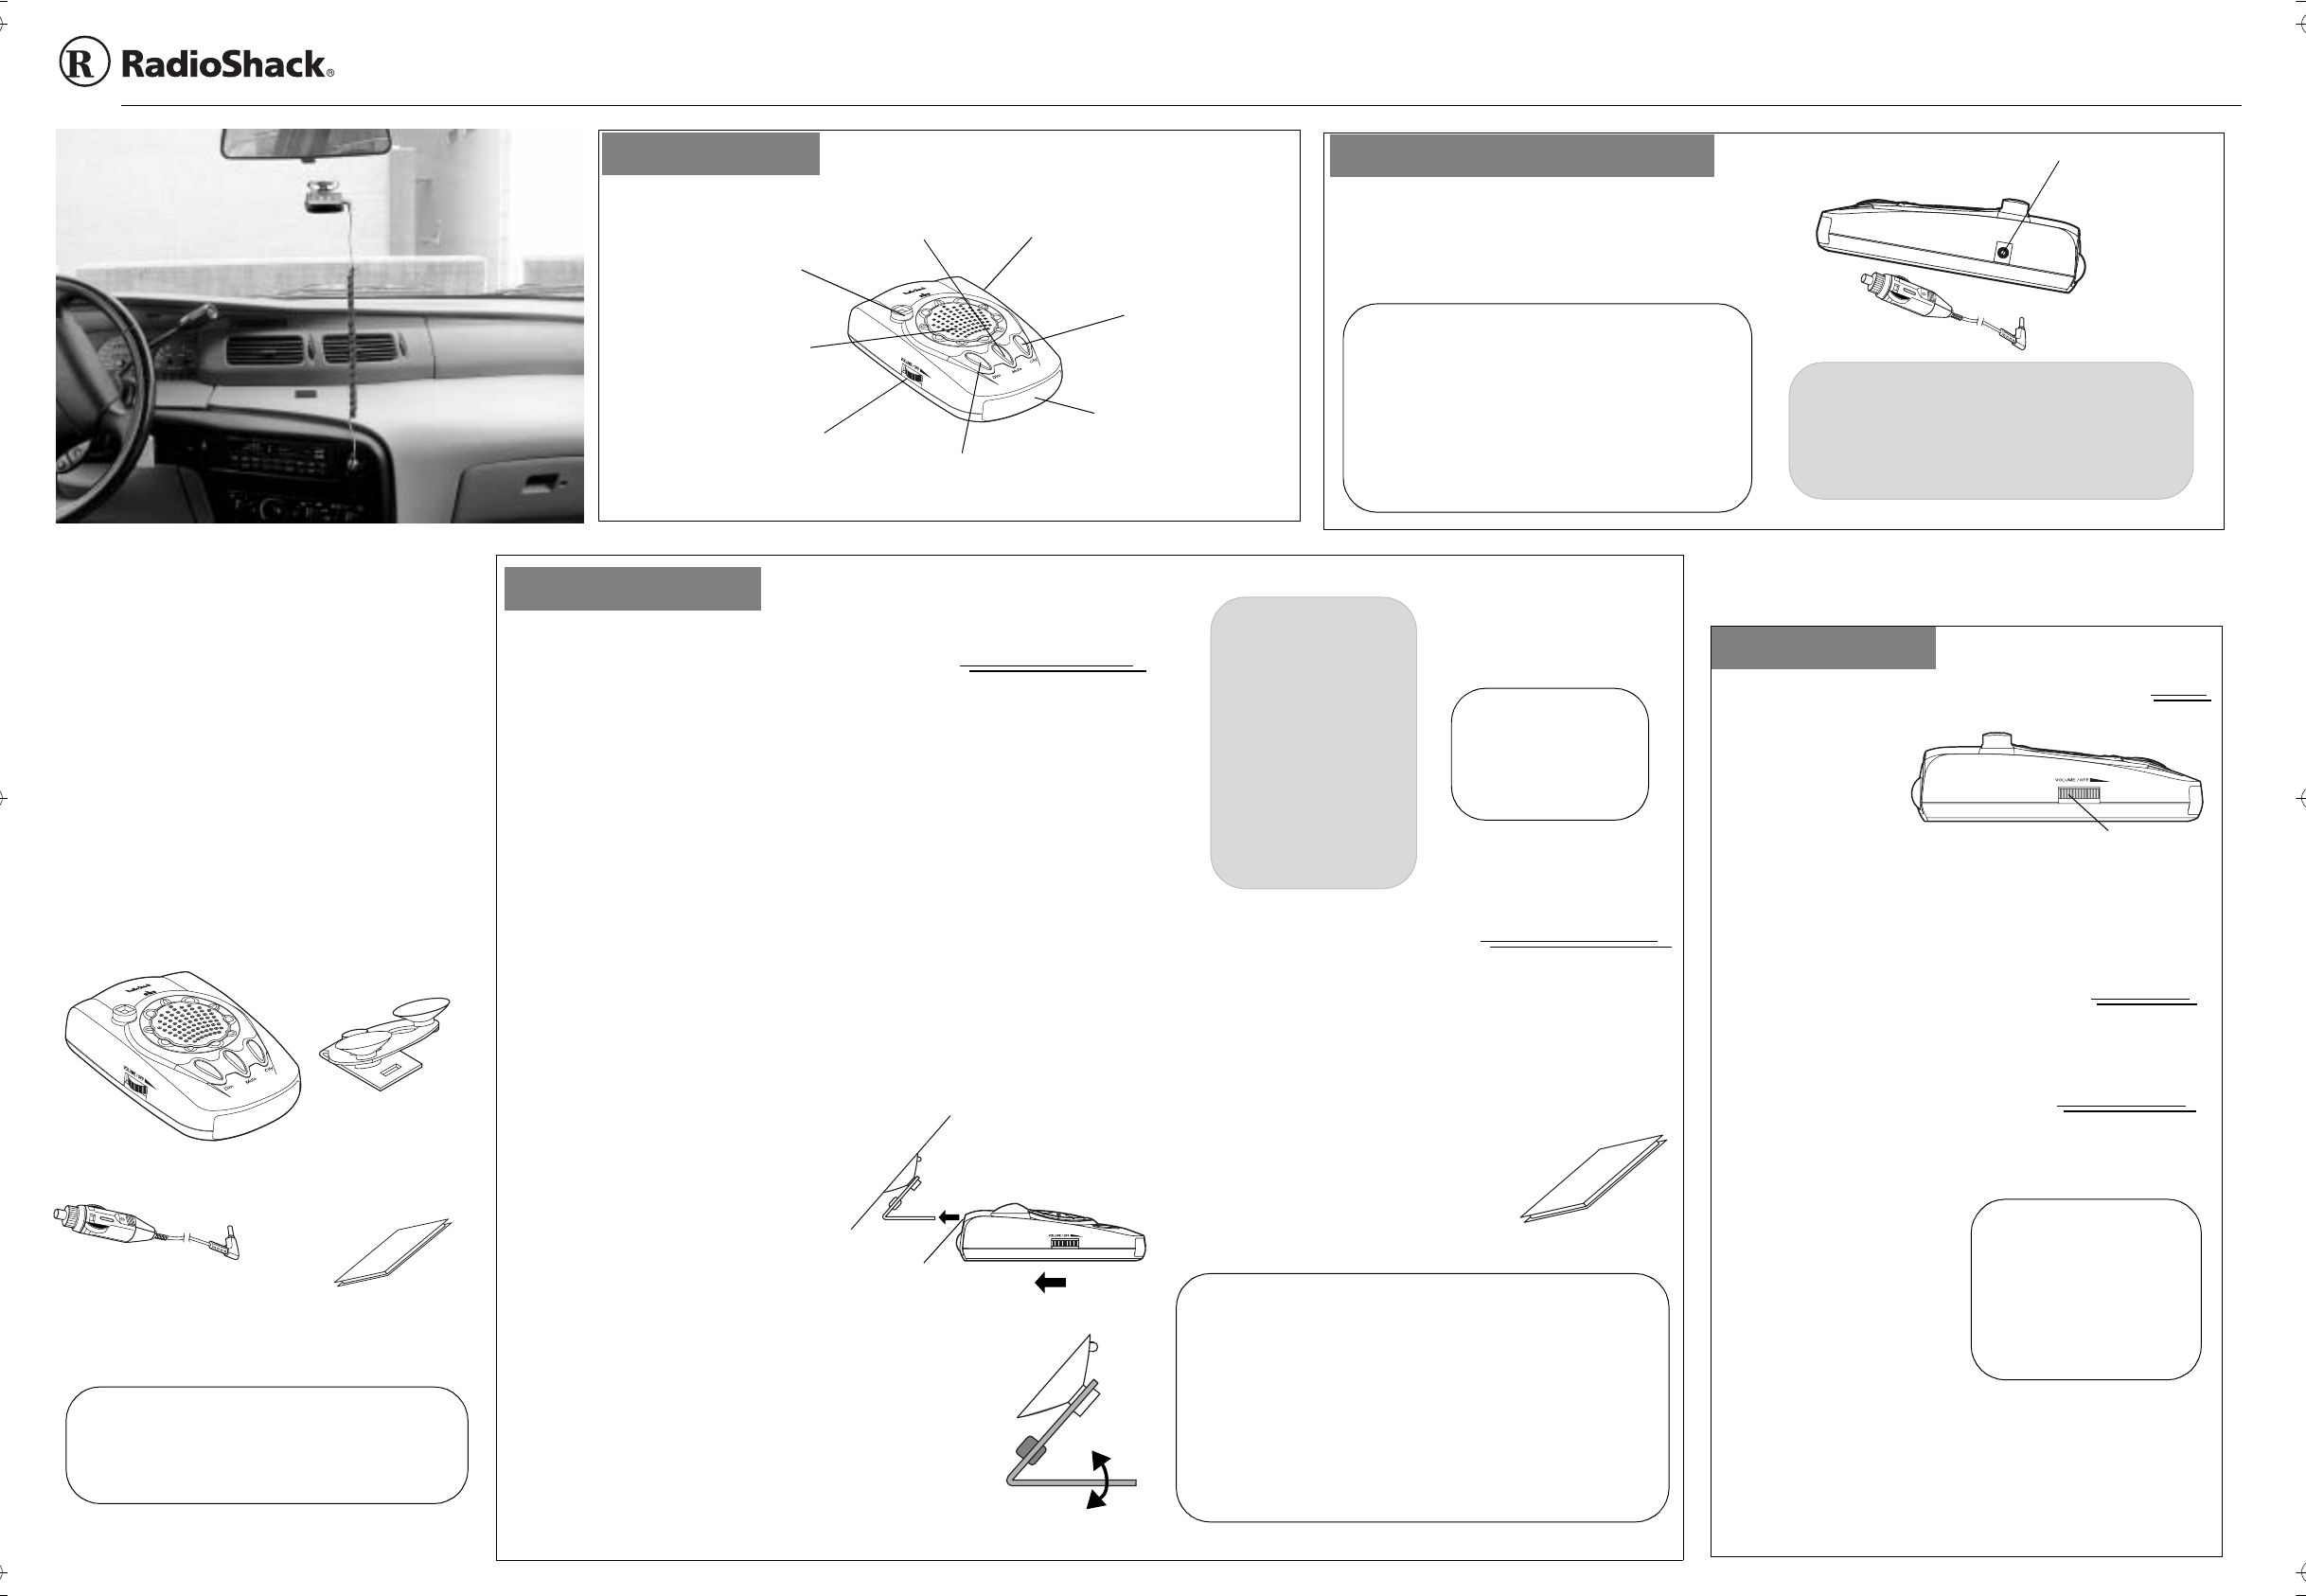
TURNING ON THE DETECTOR
To turn on the detector,
rotate
VOLUME/OFF
toward VOLUME until it
clicks. You hear a tone
and the detector
announces “Welcome!
Buckle your seat belt,”
and a test message of “
WELCOME!” appears.
After self-testing,
HWY appears.
To turn off the detector, rotate
VOLUME/OFF toward OFF until it
clicks.
ADJUSTING THE VOLUME
Rotate VOLUME/OFF toward VOLUME to increase the detector’s
volume.Rotateittoward
OFF to reduce the volume.
OPERATION SETTINGS
S
ELECTING CITY AND HIGHWAY MODES
Your detector has two operating modes: City and Highway.
• City mode requires a
stronger X-band signal
before the detector
sounds, or visually
indicates, an alert.
• Highway mode provides
maximum sensitivity for
open-road driving. The
detector is preset to
Highway mode and
HWY
appears when you turn it on.
1. To select City mode, press
City. CTY appears and the
detector says “City Mode.”
2. To return to Highway mode, press
City again. HWY appears
and the detector says “Highway Mode.”
Ô Note Ô
• City mode helps prevent
false alerts in tightly
populated areas where radar
signals can bounce off
surrounding structures.
• City mode has no effect on
K/Ka-band alerts, laser
alerts, or instant-on radar.
VOLUME/OFF
12V DC Jack
CONNECTING POWER
360° Laser Eye — receives
incoming laser signals
directed at your vehicle from
all directions.
Dim — controls the
brightness of the
indicators
Mute — silences
the alert tone.
City (City/Highway) —
switches between city
and highway modes.
VOLUME/OFF — turns the
detector on and off and lets
you adjust the volume.
High Visibility
Alphanumeric Display —
Provides a good view of the
signal detected and signal
strength and indicates the
selected operating mode.
12V DC Jack — The power
cord plugs in here.
Speaker — sounds a digital
voice alert. Tones let you
know the types of radar and
laser signals detected.
Question and Answer About
Vehicle Speed Detection
Hook and
Loop Tape
Windshield Bracket
with Suction Cups
Radar Detector
Coiled Power Cord