


6
EN
SET CLOCK / CALENDAR
Before you can manually set the clock and calendar, you
must specify the current time zone you live in and the time
format (12- or 24-hour) as follows:
1. Press and hold CLOCK for 2 seconds. The time zone
will flash. When an offset hour has been set (e.g. +1, the
time displayed will be the RF clock time plus 1 hour).
2. Press or to change the setting.
3. Press CLOCK to confirm the setting and move onto the
next one.
4. The settings appear in the following order: Time zone
hour offset, 12 / 24 hour format, hour, minute, year,
MM / DD or DD / MM format, month, day and language
for day of the week and talking clock.
5. Press CLOCK or ALARM to exit the Clock Setting Mode.
NOTE The US time zones are PA (Pacific), MO (Mountain),
CE (Central) and EA (Eastern).
NOTE The talking clock has 4 languages available -
English, Italian, French and Spanish.
Once batteries have been installed in the clock, the reception
icon will flash to indicate it is searching for a signal.
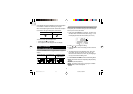
When the reception signal has been received the reception
icon will show the signal strength as shown below:
STRONG SIGNAL NO SIGNAL
To turn the atomic clock reception OFF:
• Press and hold for 2 seconds.
• The reception icon will disappear from the display.
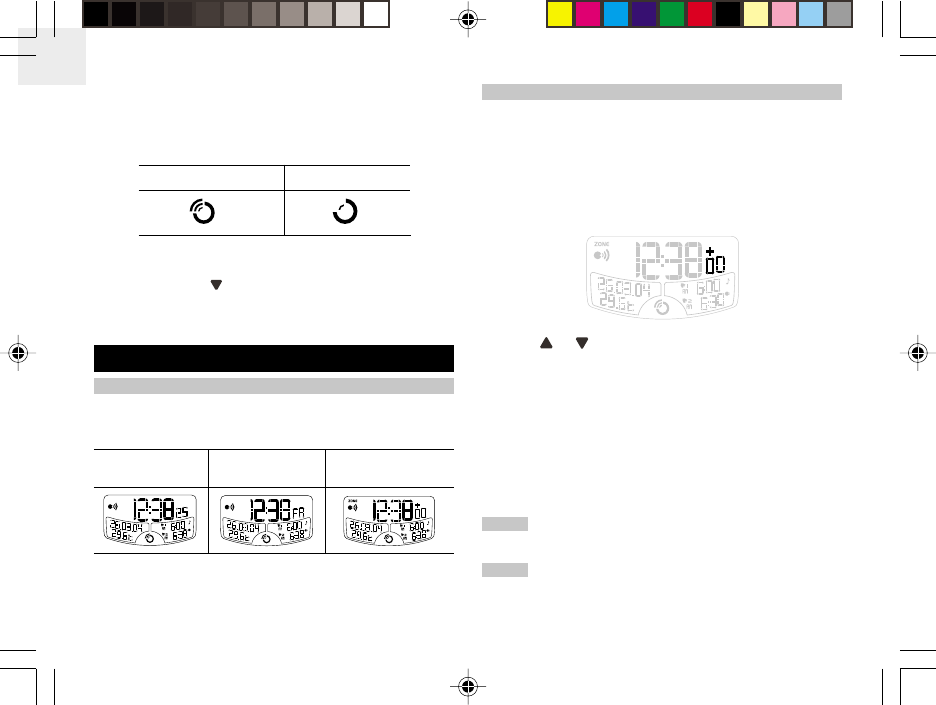
CLOCK / CALENDAR
CLOCK / CALENDAR DISPLAY
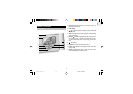
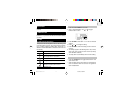
Press the CLOCK button to toggle between 3 types of
display:
CLOCK WITH SEC CLOCK WITH DAY CLOCK WITH ZONE
TIME OFFSET
RM998PAmanual-E 05/1/20, 3:33 PM6