


EN
3
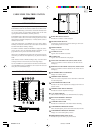
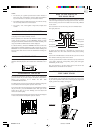
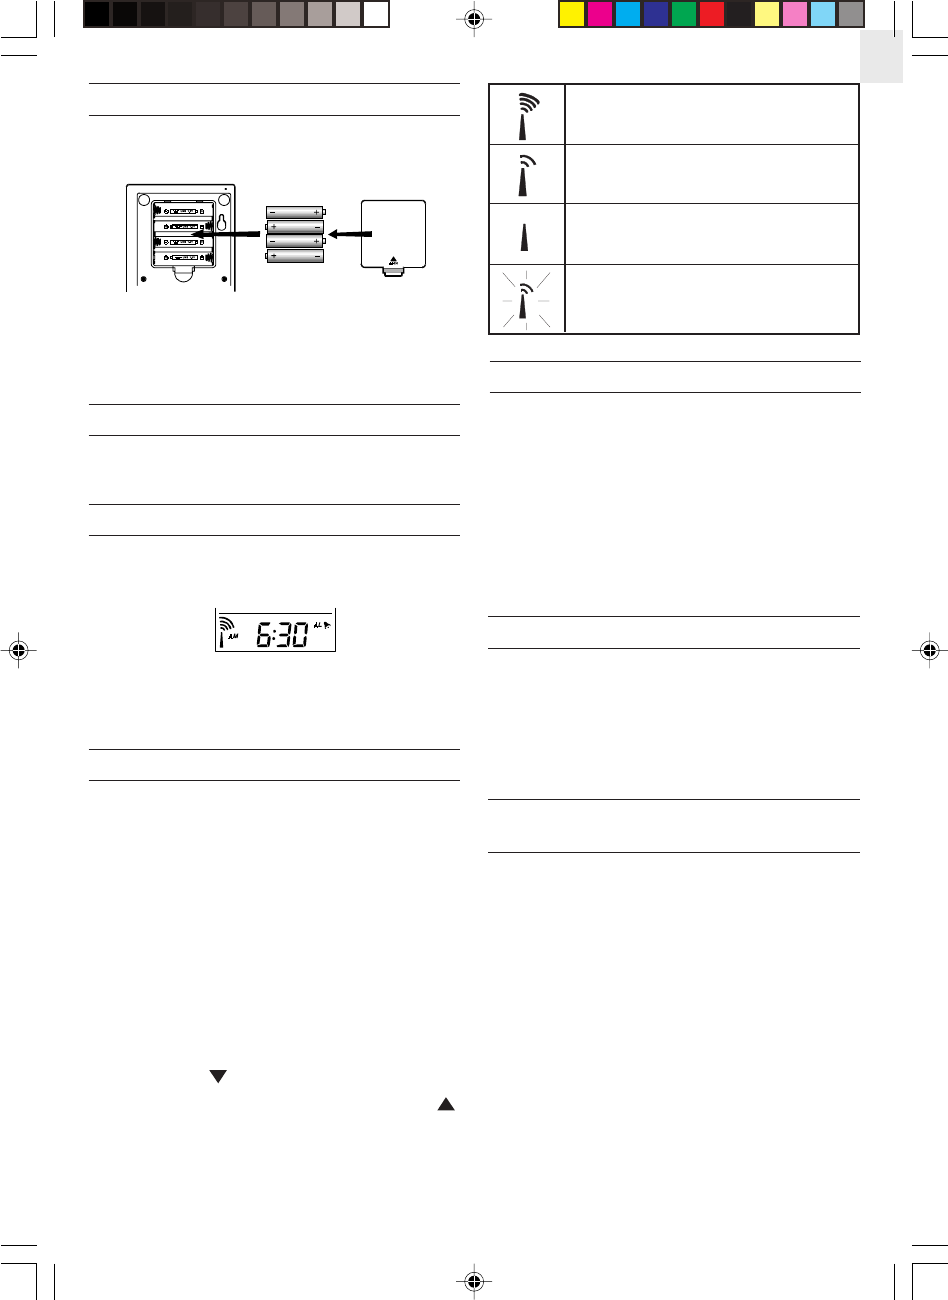
BATTERY INSTALLATION: MAIN UNIT
1. Gently press and lift the tab on the battery compartment door.
2. Insert four UM3 or AA-size batteries.
3. Replace the battery compartment door.
Replace the batteries when the BATT indicator on the weather
forecast window lights up.
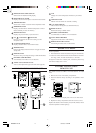
HOW TO USE THE BACKLIGHT
Press the SNOOZE/LIGHT button once. The backlight will be
turned on for five seconds.
TIME DISPLAY MODES
The current time and date can be displayed in three modes: hour-
minute-second, hour-minute-day-of-the-week and day-month-year.
Press the MODE button to change from one mode to the other.
Pressing the ALARM button during any of these modes will display
the alarm time instead. Another press will activate or deactivate the
alarm. To go back to normal time and date display, press MODE.
ABOUT RADIO RECEPTION
The BAR928 is designed to automatically synchronize its calendar
clock once it is brought within range of the Frankfurt DCF77 radio
signal. It will scan and adjust every full hour.
When the BAR928 is within range, its radio-control mechanism will
override all manual settings.
When the unit is receiving radio signal, the RADIO RECEPTION
signal will start to blink. A complete reception generally takes about
two to 10 minutes, depending on the strength of the radio signal.
When the reception is complete, the RADIO RECEPTION signal
will stop blinking. The strength of the reception for the last full hour
will be indicated.
For better reception, place the clock away from metal objects and
electrical appliances to minimize interference.
Should you wish to deactivate the RF controlled function, press
MODE and DOWN(
) button simultaneously.
To reactivate the RF control function, press MODE and UP( )
simultaneously.
HOW TO SET THE CLOCK MANUALLY
When the current time is displayed, press MODE for three seconds.
The 12-hr or 24-hr digits will flash. Use the UP or DOWN button to
select either. If 12-hour clock format is selected, the time will be
displayed with the AM or PM indicator.
Press MODE. The hour digits will flash. Use the UP or DOWN
buttons to enter the hours. Holding down either button will increase
or decrease the value rapidly. Press MODE to go to the minutes. Set
the minutes like you set the hours. Press MODE again to confirm
and exit.
If changes are made during this process, the seconds will start from
zeros.
ABOUT ALTITUDE SETTING
For a correct reading of the local barometric pressure, select 0 for
altitude compensation reading while setting the calendar. (See
HOW TO SET THE CALENDAR for details.)
For users staying at a higher altitude, such as in the mountain area,
sea level barometric pressure applies. In this case, select -100 to
2500 meters, whichever appropriate, when entering the altitude
compensation reading.
HOW TO SET THE CALENDAR
MANUALLY
• When the calendar is displayed, press MODE for three seconds.
The altitude compensation reading on the atmospheric pressure
window will flash. Use the UP or DOWN button to enter the
desired value. (See ABOUT ALTITUDE SETTING for more
information.)
• Press MODE. The year digits will flash. Enter the year using the
UP or DOWN button.
• Press MODE. The D or M indicator will flash. Use the UP or
DOWN button to select D for day-month display or M for
month-day display.
• Press MODE and follow the same procedure to set the month and
day-of-the-month.
• Press MODE. The E, I, D, F or S language indicator will flash.
Use the UP or DOWN button to select E for English, I for Italian,
D for German, F for French or S for Spanish.
• Press MODE. The day-of-the-week will flash. Use the UP or
DOWN button to enter the day and press MODE again to
confirm and exit.
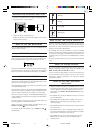
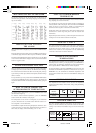
-
Strong
-
Weak
-
No signal
-
Receiving
BAR928-E R1 OP 8/21/04, 11:54 PM3