


EN
9
GETTING STARTED
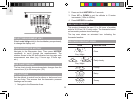
BATTERIES
Batteries are supplied with this product:
• Main unit 3 x UM-4 (AAA) 1.5V
• Remote unit 1 x UM-3 (AA) 1.5V
Insert batteries before first use, matching the polarity as
shown in the battery compartment. For best results, install
batteries in the remote sensor before the main unit. Press
RESET after each battery change.
NOTE Do not use rechargeable batteries. Batteries should
not be exposed to excessive heat such as sunshine or fire.
shows when batteries are low.
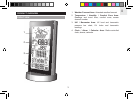
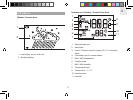
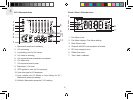
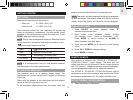
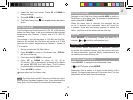
UNIT
LOCATION
Main Weather Forecast Area
Remote Temperature / Humidity Area
UV Sensor UVI / Barometric Pressure Area
NOTE It is recommended that you use alkaline batteries
with this product for longer performance.
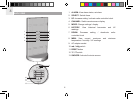
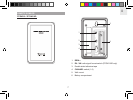
AC ADAPTOR (MAIN UNIT)
The batteries serve as a back-up power supply. For
continuous use, please install the AC adaptor at the base
of the unit.
Make sure the adaptor is not obstructed and the adaptor
socket is easily accessible to the unit.
To be completely disconnected from the power input, the
adaptor should be disconnected from the main unit.
NOTE The main unit and adaptor should not be exposed
to wet conditions. No objects filled with liquid, such as
vases, should be placed on the main unit and adaptor.
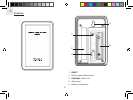
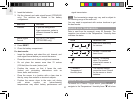
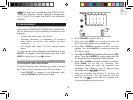
CHANGE SETTINGS
1. Press SELECT to switch between Areas.
indicates the selected Area.
2. Most Areas have alternate display options
(for example, Clock / Alarm or Barometer / UVI).
Press MODE to switch options, or ALARM
to
switch between clock and alarm.
3. Press and hold MODE for 2 seconds to enter setting
mode.
4. Press
UP or DOWN to change settings.
5. Press MODE to confirm.
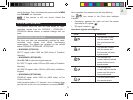
REMOTE SENSOR
This product is shipped with RTGN318 / RTGN318D /
RTGN318A Thermo / Hygro Sensor. The main unit can
collect data from up to 6 sensors (5 Thermo / Hygro Sensors
and 1 UV Sensor). (Additional sensors are sold separately.
Visit www.oregonscientific.com for additional sensors.)
The RTGN318 / RTGN318D / RTGN318A Sensor collects
temperature and humidity readings, and signals from official
time-keeping organizations for the radio-controlled clock.
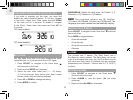
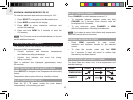
SET UP THERMO / HYGRO SENSOR
1. Open the battery compartment.