


Create Menu 8
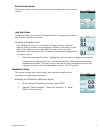
Create Menu
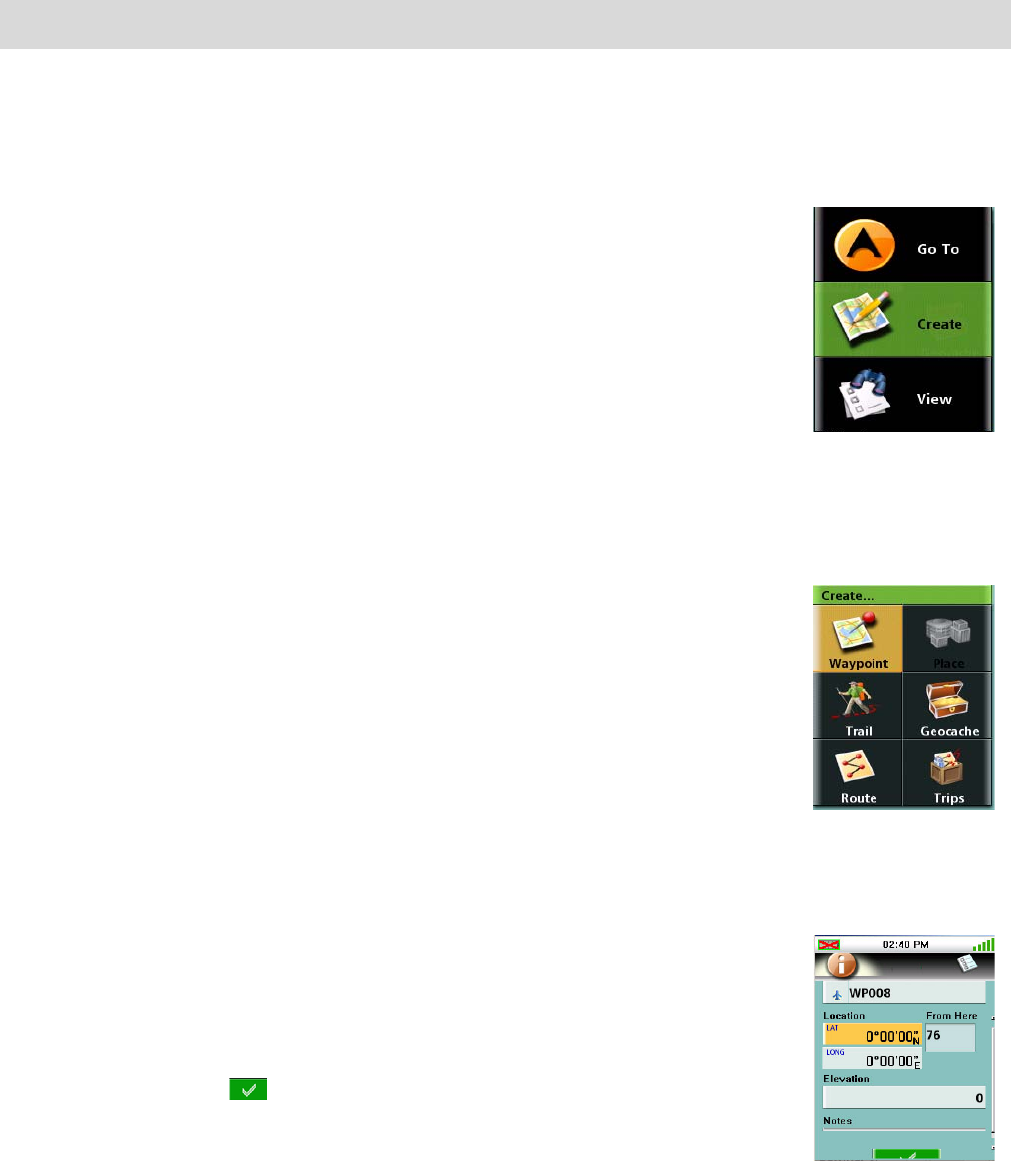
The Create Menu is used to access the functions needed to create waypoints, trails, geocaches and
routes.
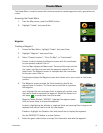
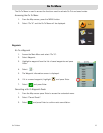
Accessing the Create Menu
1. From the Map screen, press the MENU button.
2. Highlight “Create” and press Enter.
Waypoints
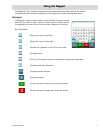
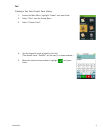
Creating a Waypoint
1. Access the Main Menu, highlight “Create” and press Enter.
2. Highlight “Waypoint” and press Enter.
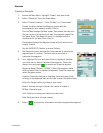
3. Select “Current Location”, “Point On Map”, or “Coordinates”.
Current Location displays the Waypoint screen with the coordinates
for your present location filled in.
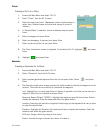
Point on Map displays the Map screen. Pan around the map until the
pan cursor is at the point you want the waypoint created for and
press Enter. The Waypoint screen is displayed with the coordinates
for the pan cursor filled in.
Coordinates displays the Waypoint screen with values set to your current or last known
position.
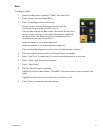
4. The Waypoint screen provides the fields needed to identify the
waypoint and its location. The fields can be modified to customise
the waypoint.
Icon: Highlight the icon and press Enter to display all possible icons
that can be used to represent the waypoint. Select the desired icon
and press to accept and close the window.
Waypoint Name: (Default “WPXXX”). Highlight the waypoint name
field and press Enter to display the keyboard.
Location: Highlighting the latitude or longitude fields and pressing Enter brings up the
keyboard that can be used to enter the coordinates.
Elevation: Highlight the Elevation field and press Enter to display the keyboard.
Use the PAGE/GO TO button to access Options.
5. Select the green check button to accept the information and save the waypoint.