


23
English
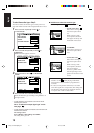
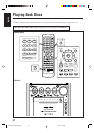
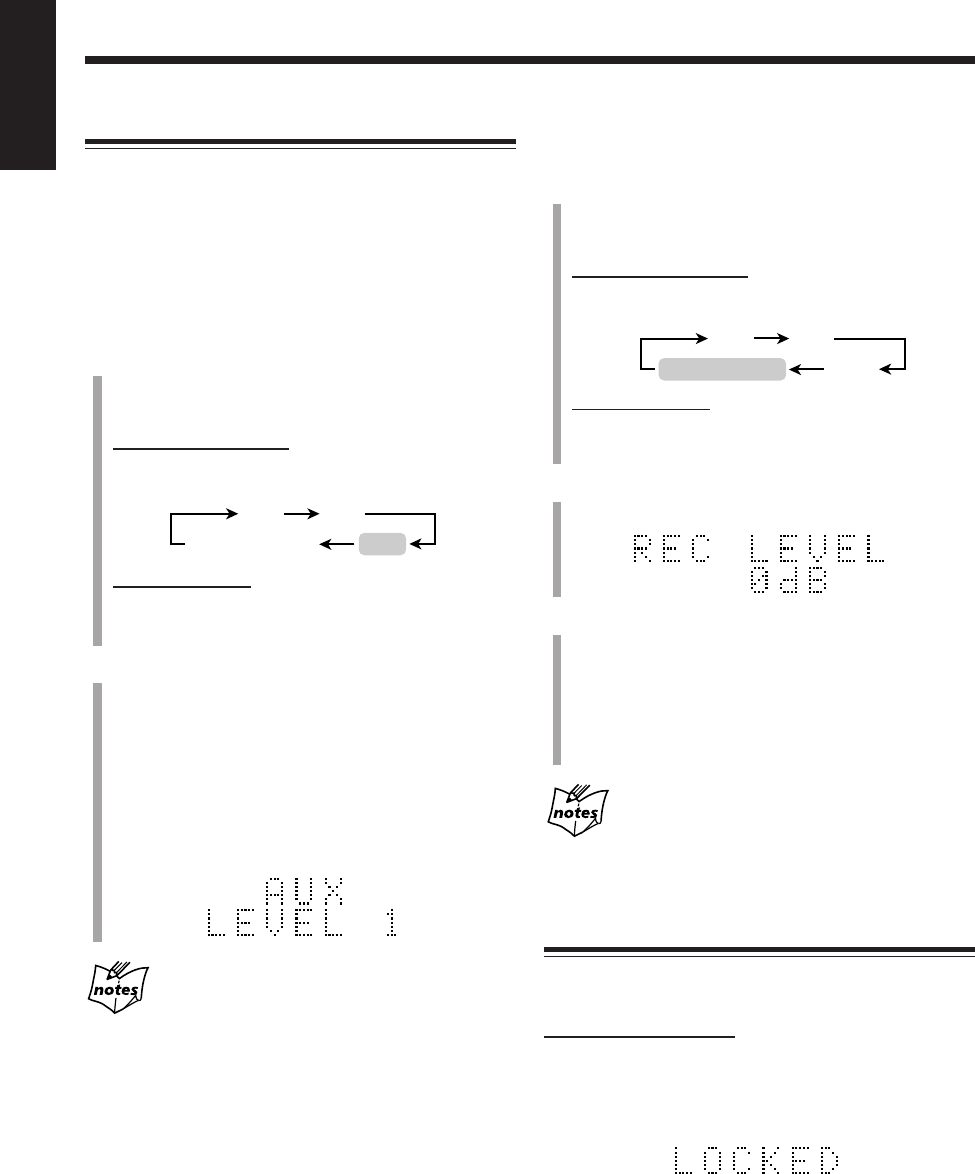
Adjusting the Audio Input Level
If the sound from the component connected to this unit is
too loud or is not loud enough when changing from another
source to “AUX” or “AUX-DIGITAL” (without changing
the volume level), you can change the audio input level
through the AUX jacks or the OPTICAL DIGITAL IN
terminal.
7 Adjusting the audio input level through the AUX jacks
1
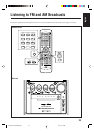
Press FM/AM/AUX (or AUX on the main unit)
repeatedly so that “AUX” appears in the main
display.
On the remote control:
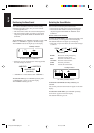
• Each time you press the button, the source changes as
follows:
On the main unit:
• Each time you press the button, the source alternates
between “AUX” and “AUX-DIGITAL.”
2
Press and hold SET on the remote control for more
than 2 seconds.
• Each time you press and hold the button, the audio
input level alternates between “LEVEL 1” and
“LEVEL 2.”
LEVEL 1: Select when the sound is too loud (initial
setting).
LEVEL 2: Select when the sound is not loud
enough.
If you change the audio input level through the AUX
jacks
The recording level through the AUX jacks also changes.
Selecting “LEVEL 2” rather than “LEVEL 1” makes the sound
recorded louder.
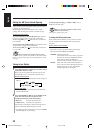
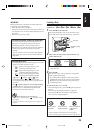
FM
AM
AUX
AUX-DIGITAL
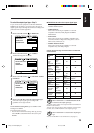
7 Adjusting the audio input level through the OPTICAL
DIGITAL IN terminal
1
Press FM/AM/AUX (or AUX on the main unit)
repeatedly so that “AUX-DIGITAL” appears in the
main display.
On the remote control:
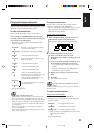
• Each time you press the button, the source changes as
follows:
On the main unit:
• Each time you press the button, the source alternates
between “AUX” and “AUX-DIGITAL.”
2
Press and hold SET on the remote control for more
than 2 seconds.
3
Press Cursor 5/∞ to adjust the audio input level.
You can adjust the audio input level through the
OPTICAL DIGITAL IN terminal within the range from
“–12 dB” to “12 dB” by 2 dB step. (“0 dB” is the initial
setting.)
• To increase the audio input level, press Cursor 5.
• To decrease the audio input level, press Cursor ∞.
If you change the audio input level through the
OPTICAL DIGITAL IN terminal
The recording level through the OPTICAL DIGITAL IN terminal
also changes according to the change of the audio input level.
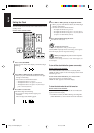
Prohibiting Disc Ejection
You can prohibit disc and MD ejection from the unit and
can lock discs—Disc Lock.
On the main unit ONLY:
To prohibit disc ejection, press and hold 7, then press
REV. MODE when the unit is in standby mode.
“LOCKED” appears in the main display for a while, and
the loaded disc and MD are locked.
If you try to eject the locked discs “LOCKED” appears to
inform you that the Disc Lock is in use.
To cancel the prohibition and unlock the discs, repeat
the above procedure.
“UNLOCKED” appears in the main display for a while,
and the loaded disc and MD are unlocked.
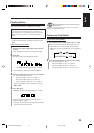
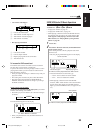
FM
AM
AUX
AUX-DIGITAL
EN18_23UX-A10DVD[UB].pm6 02.10.7, 8:09 AM23