


EN19
RECORDING
Advanced Features
Fade/Wipe Effects
These effects let you make pro-style scene transitions.
Fade- or wipe-in works at recording start, and fade- or
wipe-out works at recording end.
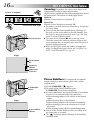
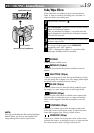
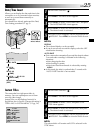
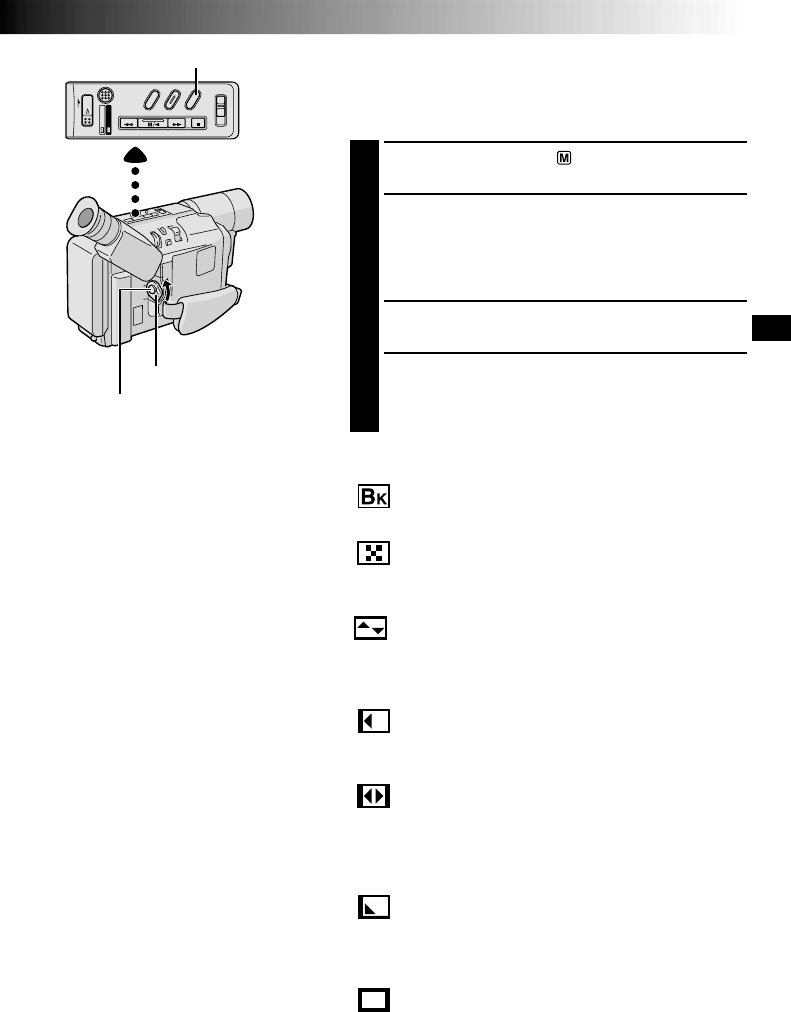
1
Set the Power Switch to “ ”.
2
Press FADE/WIPE repeatedly until the desired mode’s
name and indication appear.
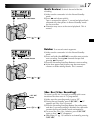
3
They are displayed for approx. 2 seconds, then the
name disappears so that only the indication remains.
The effect is reserved.
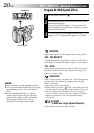
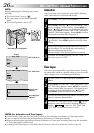
3
Press the Recording Start/Stop Button to activate fade-
in/out or wipe-in/out.
4
To cancel a fade or wipe, press FADE/WIPE
repeatedly until “OFF” appears.
“OFF” is displayed for approx. 2 seconds and the
fade/wipe standby mode is cancelled.
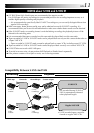
Recording Start/Stop Button
FADE/WIPE Button
Power Switch
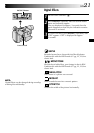
FADER
Fades in/out to a black screen.
MOSAIC (Fader)
Gradually turns/returns the picture into/from a mosaic
pattern.
SHUTTER (Wipe)
A black screen moves in from the top and bottom, closing
over the image like a shutter, or a new image pushes open
the black screen vertically from the centre.
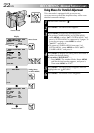
SLIDE (Wipe)
A black screen moves in from the left to gradually cover
the image, or a new image moves in from right to left.
DOOR (Wipe)
Wipes in as the two halves of a black screen open to the
left and right, revealing the scene, or wipes out and the
black screen reappears from left and right to cover the
scene.
CORNER (Wipe)
Wipes in on a black screen from the upper right to the
lower left corner, revealing the scene, or wipes out from
lower left to upper right, leaving a black screen.
WINDOW (Wipe)
Wipes in on a black screen from the centre of the screen
towards the corners, revealing the scene, or wipe out from
the corners to the centre, leaving a black screen.
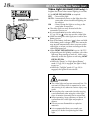
NOTE:
Pressing and holding the Recording Start/Stop
Button allows you to vary the length for the
image during fade in/out or wipe in/out.