


C-AS-MMP ANGLED SERIES CONSOLES
INSTALLATION INSTRUCTIONS
FOR MODELS C-AS-1025, 1325, 1525 & 1725
TOOLS REQUIRED:
Standard and Metric Socket Set with 6” Extension
Standard and Metric Wrench Set
Torx driver #T15 and #T20
HARDWARE:
QTY: DESCRIPTION: PART #:
12 #8 X 3/8 Black Torx Screw CM86508
4 ¼-20 X ½” Pem Stud GSM32220
4 ¼” Lock Washer GSM31026
4 ¼-20 Hex Nut GSM30005
PARTS SUPPLIED
1 CM93569 – Monitor Platform Frame
1 CM93628 – Support Plate
1 Pair of Wire Panels
INSTALLATION: (Refer to pictures on page 2)
1. Turn console over and remove (2) #8 X 3/8” Black torx screws on bottom of console.
2. Place support plate on bottom of console as shown and replace (2) #8 X 3/8” Black torx screws.
3. Turn console back over and place (4) ¼-20 X ½” pem studs on bottom of support plate and insert
(4) ¼” lock washers and (4) ¼” Hex nuts over studs on inside of console housing, then tighten.
4. Place monitor platform on front side of console and secure with (6) #8 X 3/8” Black torx screws.
5. Place wire panels on front sides of console and secure with (6) #8 X 3/8” Black torx screws.
6. Console is ready for mounting in car.
C-AS-MMP
Monitor Mounting Platform
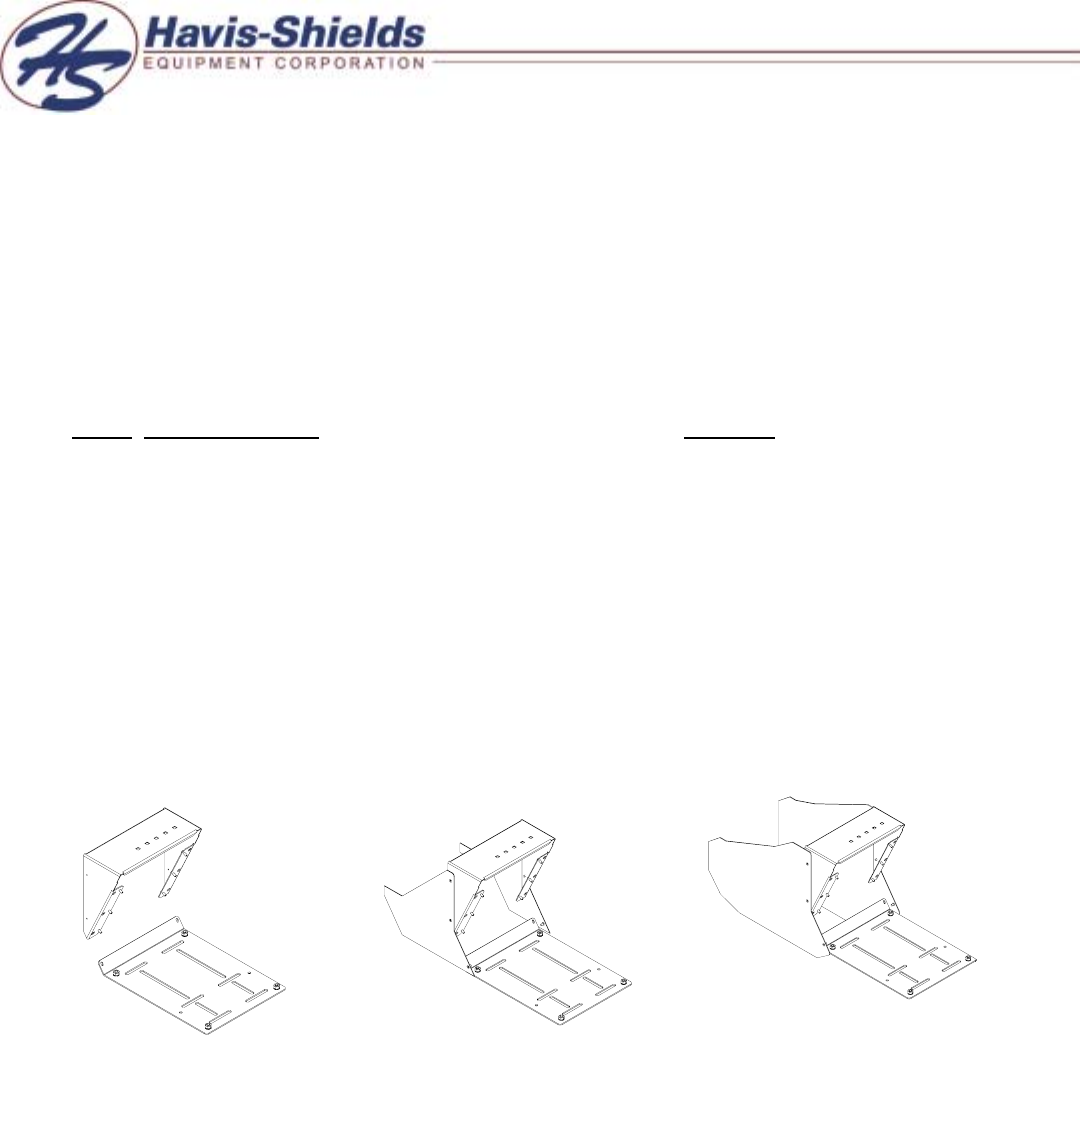
C-AS-MMP-CV
Monitor Mounting Platform
& Wire Panels Crown Vic
C-AS-MMP-IMP
Monitor Mounting Platform
& Wire Panels Impala