


1
INSTALLATION
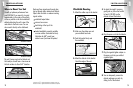
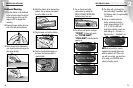
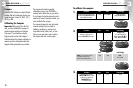
Dashboard Mounting
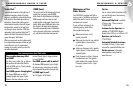
1. Place the detector on the dashboard
to find a location where the unit has
a clear, level view of the road. The
angle can NOT be adjusted after
mounting.
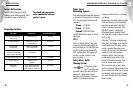
2. Remove the paper backing from one
side of the hook-and-loop fastener.
3. Attach the pad to the dashboard at
your chosen location and remove the
other paper backing.
4. Attach the detector to the hook-and-loop
fastener. You can remove and reattach
the unit as often as you like.
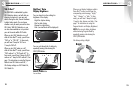
5. Plug the power cord into the detector.
6. Plug the cigarette lighter adapter on
the power cord into your vehicle's
cigarette lighter.
5
2
OPERATION•GETTING STARTED
4
U
L
T
R
A
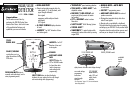
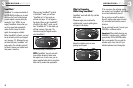
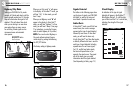
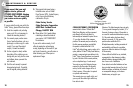
1. Turn on the unit and adjust
audio volume by rotating the
ON-OFF/VOLUME CONTROL DIAL
clockwise (away from you).
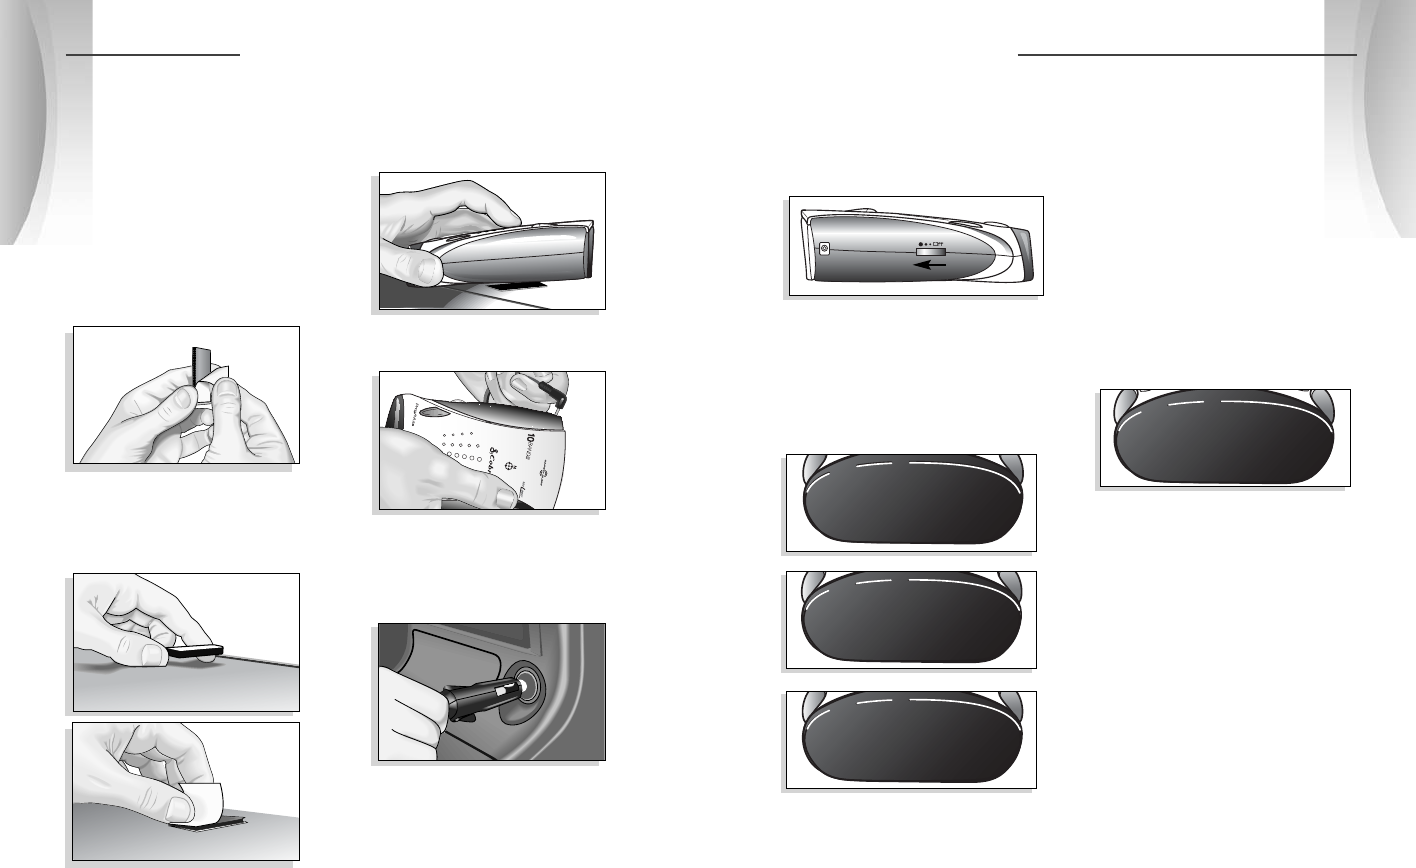
2. You will see and hear the messages
“TESTING” (3 beeps will sound),
then “SYSTEM READY”,
“VOICE ALERT”, indicating that the
power is on.
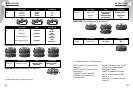
3. The display will cycle through the
user mode settings (SmartMute
™
and
City/Highway status) for approximately
1 second each.
4. Start-up is complete when the
display continuously shows the
current compass direction (N, NE,
E, SE, S, SW, W, or NW) plus
single letters indicating current user
mode settings (c = city mode, h =
highway mode, s = SmartMute
™
on).
NOTE: In some vehicles, power is
supplied to the cigarette lighter even
while the ignition is off. If this is the
case with your vehicle, you should turn
off or unplug your ESD-9860 when
parking for lengthy periods.
NW h
Testing
System Ready
Voice Alert On