


35
Goto and Routes
Reference
When using FIND or automatic routes, you can save the automatically-created
Goto or route from the Current Route Page. This allows you to retrieve the route again
for later use. When viewing saved routes, note that a hiker symbol is used to denote
manual and off-road routes. A car symbol denotes an automatically-created Goto or
route.
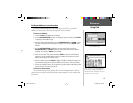
To save a Goto or automatic route:
1. While navigating the route, press PAGE until the Current Route Page is displayed
(see page 40).
2. Press MENU to display the Current Route Page Options.
3. Use the ROCKER KEYPAD to highlight ‘Save Route’ and press ENTER.
Once a route is saved, you can select it for navigational guidance.
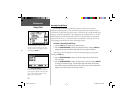
To select and navigate a saved route:
1. Press the MENU key twice to view the Main Menu.
2. Use the ROCKER KEYPAD to highlight ‘Routes’ and press ENTER. A list of all
routes stored in memory is displayed.
3. Use the ROCKER KEYPAD to select a saved route from the list and press ENTER.
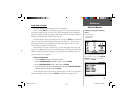
4a. For manual routes, use the ROCKER KEYPAD to select the on-screen ‘Navigate’
button and press ENTER. The unit is now ready to navigate the route.
Or...
4b. For automatic routes, use the ROCKER KEYPAD to select the ‘Yes’ button and
press ENTER.
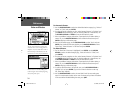
To stop navigating a route:
1. Follow steps 1 through 3 above (under “To select and navigate a saved route”).
2. Use the ROCKER KEYPAD to select ‘Stop’ and press ENTER. The current route
is deactivated.
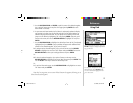
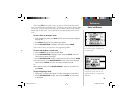
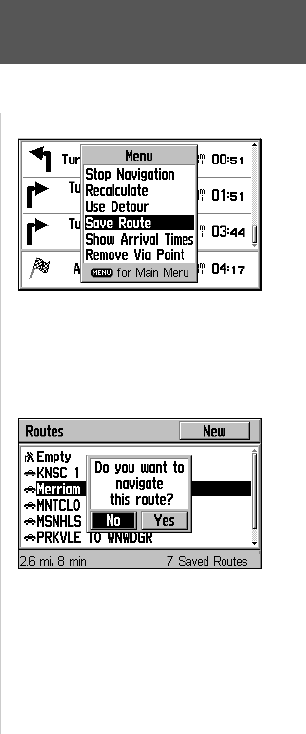
To save the current route for later use, use
the ‘Save Route’ option—available from the
Current Route Page.
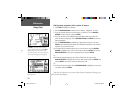
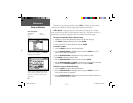
To navigate a saved route, select the desired
route from the route list. (The route list is
displayed when ‘Routes’ is selected from the
Main Menu.)
GPS V OM.indd 35 5/7/2003, 8:53:13 AM