


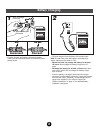

Assembly
Do Not Omit Any Steps
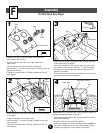
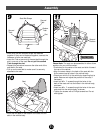
F
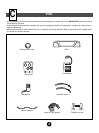
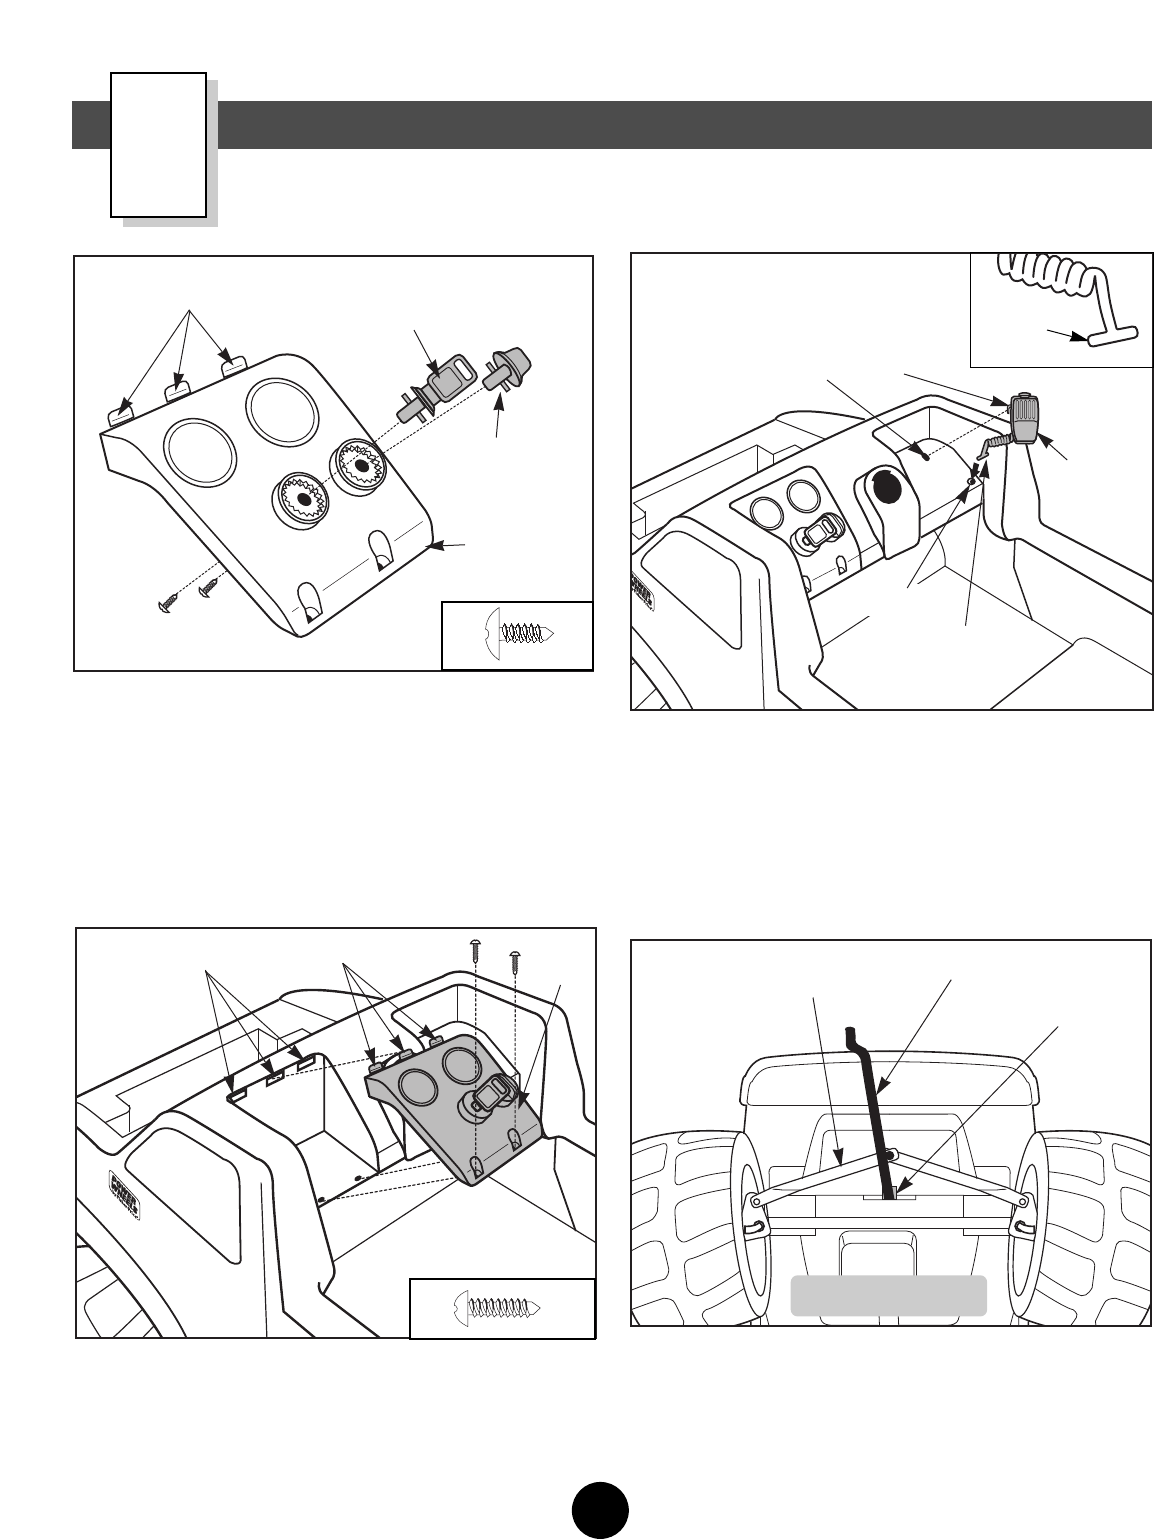
• Position the dash cover as shown. Make sure the
three tabs are at the top.
• Fit the knob into the hole in the right side of the
dash cover.
• Fit the key into the hole to the left of the knob.
• Insert a #6 x
3
/
8
" screw into the back of the knob and into
the back of the key.
• Tighten the screws with a Phillips screwdriver. Do not
over-tighten.
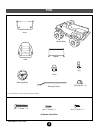
• Insert the tabs on the top of the dash cover into the slots
in the dash.
• Lower the bottom of the dash cover.
• Insert two #6 x
1
/
2
" screws through the dash cover and
into the dash.
• Tighten the screws with a Phillips screwdriver. Do not
over-tighten.
• Insert the end of the microphone cord through the hole
in the right side of the dash.
• From the underside of the vehicle, bend the end of the
microphone cord so that it forms a “T” under the dash.
• Gently pull on the microphone cord to make sure it is
secure in the dash.
• Fit the tab on the back of the microphone into the slot in
the dash to secure the microphone.
Knob
Tabs
Key
Dash Cover
Tabs
Slots
Dash
Cover
1
2
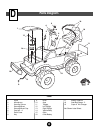
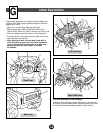
Steering Column
Slot
Front Axle
Helpful Hint: You may want the help of another person to
complete assembly steps 4 through 7.
• Wipe the steering column with a paper towel to remove
any excess lubricant.
• Carefully lift the front end of the vehicle.
• Insert the straight end of the steering column under the
front axle, through the slot in the vehicle body and out
through the large hole in the center of the dash.
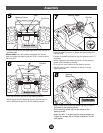
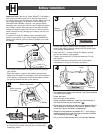
“T” End
Hole
Microphone
Tab
Slot
Bottom View
3
4
9
“T” End