


1
MAN#650333:A
MCL-36K-SPD
Thank you for purchasing the Dakota Digital MCL-36K-SPD gauge for your Harley Davidson Touring bike. This kit is
designed to be a direct, plug in replacement for all touring models from 2004 – 2011. This is part of a six gauge
package for touring models so you can add additional gauges as you choose.
INSTALLATION
First read and familiarize yourself with all of the components and this manual. The first step is to remove the
seat and disconnect the negative side of the battery, as with any electronic install. Once the battery is disconnected you
are ready to start.
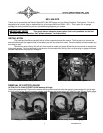
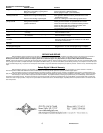
Remove the outer fairing; this will vary from model to model, so please follow the service manual to expose the
wiring and gauges. Don’t be alarmed by the amount of wires behind the fairing, this is a direct plug in gauge and these
detailed instructions will guide you through it.
Street Glide with outer fairing removed Road Glide with outer fairing removed
REMOVAL OF FACTORY GAUGE
ULTRA FLHT & FLHX (STREET GLIDE batwing fairings)
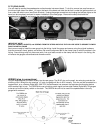
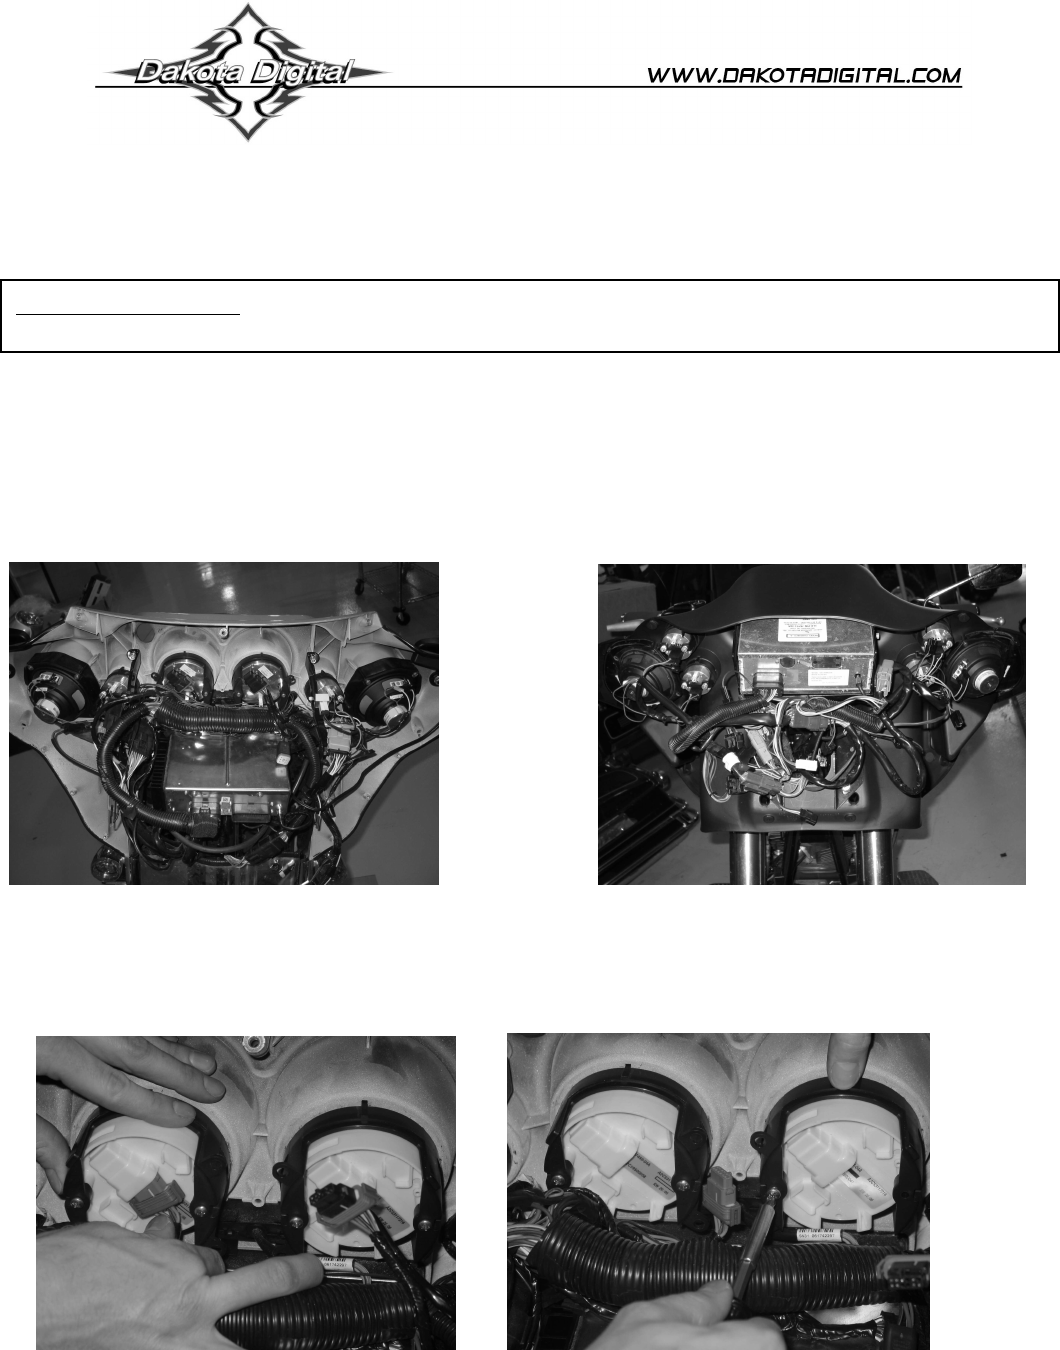
Unplug the speedometer. Remove the screws securing the clamp that holds the gauge in place and pull it out through
the front of the fairing. Save the screws, gasket, and clamp to be reused when you install the new Dakota Digital gauge.
Unplug the factory speedometer Unscrew the clamp and remove gauge
IMPORTANT NOTE!
This gauge has an odometer preset option that is only available for the first
100 miles (160km) of operation. See ‘‘preset odometer’’ for instructions.