


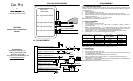
Car-Pro
By:
Professional Vehicle Security
CPX-2300
INSTALLATION & OPERATIONS
MANUAL
AUTOPAGE INC.
1815 West 205
th
Street Suite 101
Torrance, California 90501-1525
Main Office: 310-618-2002
Customer Service: 800-262-2527 Ext. 462
www.autopageusa.com
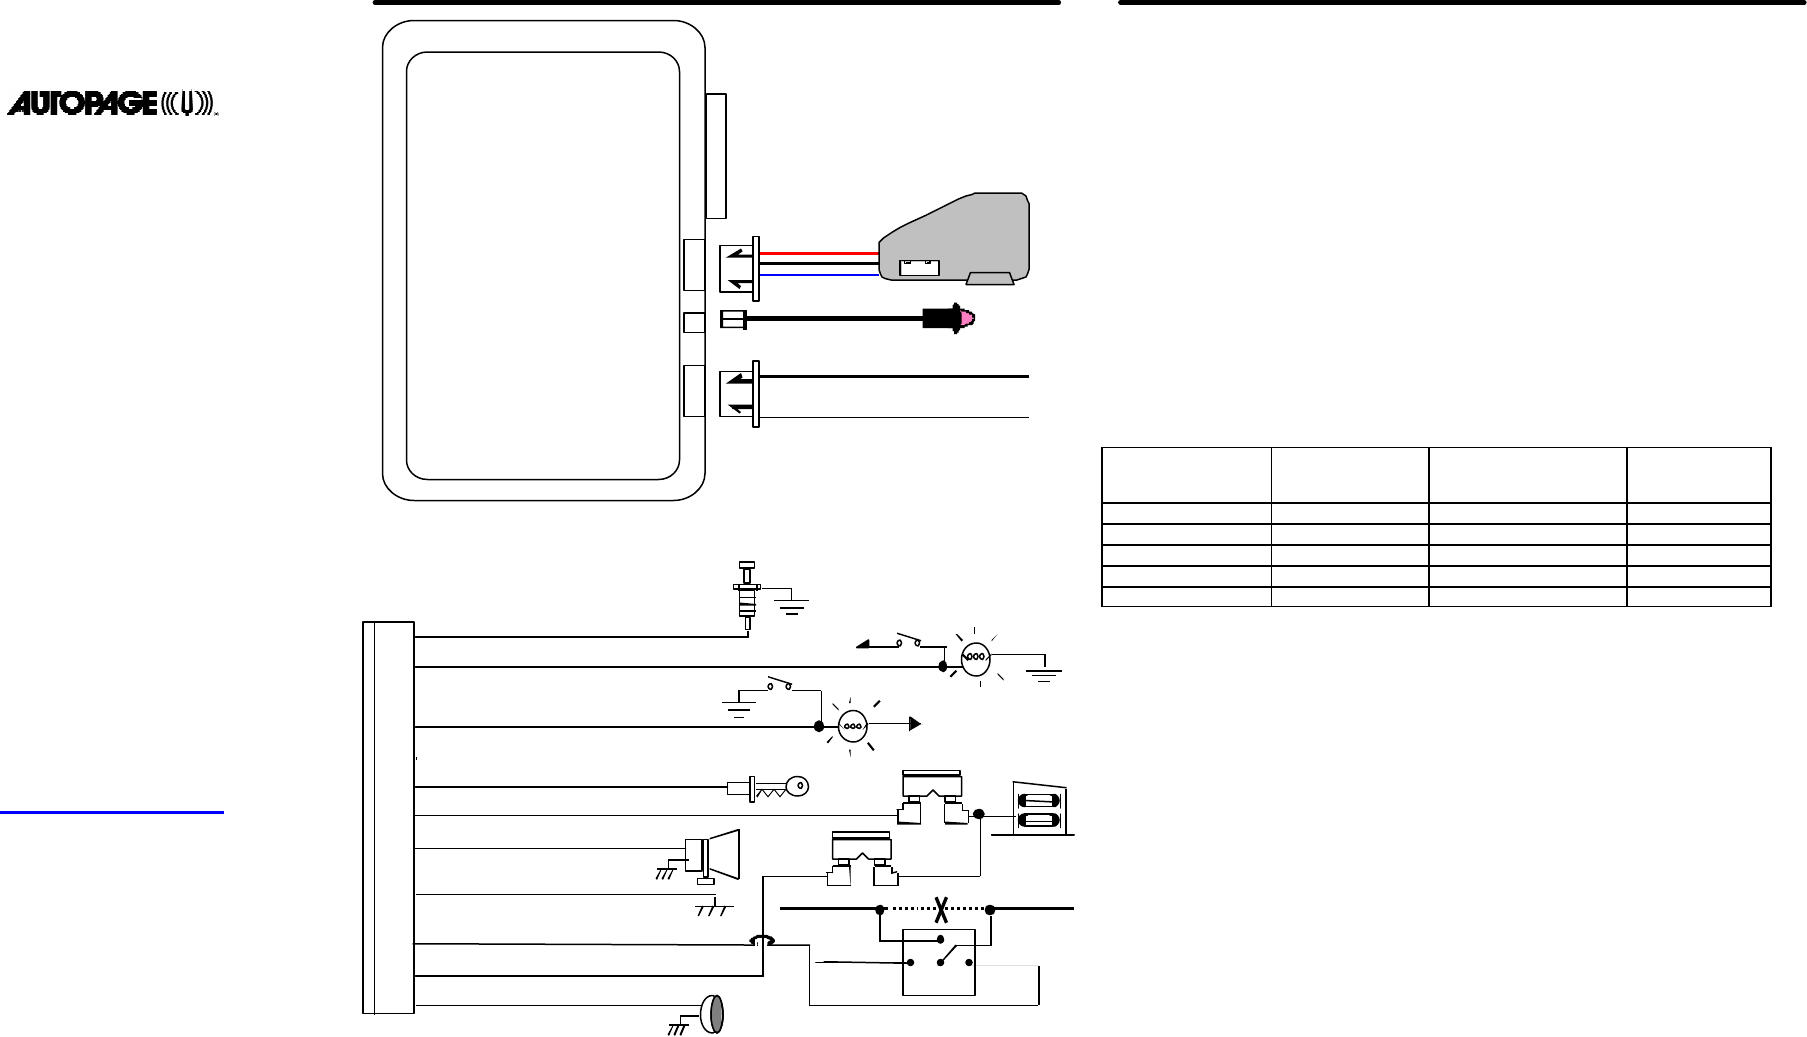
CPX-2300 WIRE DIAGRAM
H1: 10 PIN HARNESS
10A Fuse
3A Fuse
5.
Red
wire: to
constant battery +12v
7.
Black
wire: Ground to vehicle
8, Orange wire: 200 mA Ground output when arm
10.
White
wire: Parking light relay output
6.
Brown
wire: Positive output to siren
9.
Red/White
wire: Parking light relay power input
4.
Yellow
wire: To Ignition switch + 12V
3.
Green
wire: Negative door trigger input
2. Violet wire: Positive door trigger input
1. Blue wire: Instant trigger ground input
85
86
30
87a
87
T
o start solenoid
From ignition switch
12V
12V
To ignition
switch +12v
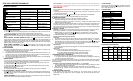
PROGRAMMING
A. TRANSMITTER CODE LEARNING:
Note: This security system will only retain the last 4 remote transmitters programmed. If the
transmitter memory is exceeded, the security system will start deleting transmitters from memory in
chronological order.
1. Disarm the system.
2. Open the Door and keep the door open
3. Turn the ignition key “ OFF / ON “ 6 times, keep at “ON” position at 6
th
time switching
4. Within 15 seconds press & hold any button for transmitter code learning, a long chirp confirm
transmitter programmed.
5. Apply steps 4 – 5 to program 2
nd
, 3
rd
and 4
th
transmitter.
Exit: Turn the ignition off, 3 long chirps confirm exit.
B. FEATURE PROGRAMMING
1. Disarm the system.
2. Open the Door and keep the door open.
3. Turn the ignition key “ OFF / ON “ 3 times stay in on position. (3 chirps to confirm in
programming mode)
4. Within 15 seconds press button “ I + II “ to select the feature which you want to program. See
the features programming table below to select the desired features, which you want to
program. Note the number of siren chirps to confirm the selected feature(s).
5. Press the button “ I “ or “ II “ on the transmitter to enable or disable the specific feature.
6. Repeat steps 4 - 5 for any other features you wish to program.
Number of pressing
button I + II & chirps
Program feature Press button “ I “
/ one long chirp
Factory Setting
Press button “ II “
/ Two long chirps
1
Time for door lock
0.9 sec. 3.5 sec.
2
Passive Door Lock
Disable Enable
3
Ignition lock
Enable Disable
4
Anti car
-jacking Disable Enable
5
Door Ajar Warning
Enable Disable
Exit: Turn the ignition off, or close the door, 3 long chirps confirm exit.
C. PASSWORD SETUP:
1. Disarm the system.
2. Open the Door and keep the door open
3. Turn the ignition key “ OFF / ON” 9 times for “New Password Pin Code Setting” and keep at
“ON” position at 9
th
time switching.
4. After 2-second pause, the siren will chirp 9 times to confirm entry.
5. Within 15 seconds, begin to enter your chosen 1 – 9 digit by pressing and releasing the
transmitter button “I” from 1-9 times
6. Press button “ II ” to get out of password setup mode, corresponding to the new password code
report by siren chirp confirmation.
Note: Default setting of password code from the factory is “ 1”.
oooo
Blue (-) 200mA Unlock
Green (-) 200mA Lock
Car-Pro
CPX-2200
H1: 10 pin main harness
H2: 3-pin sensor harness
H3: 2-pin LED harness
H4: 3-pin door lock harness
Car–Pro
CPX
–
2300