


SAFETY ALERT SYMBOLS
Safety Symbols alert you to potential personal safety hazards.
Obey all safety messages following these symbols.
ƽ WARNING ƽ CAUTION
avoid possible avoid possible
injury or death injury and/or property damage
FOR YOUR SAFETY
READ ALL INSTRUCTIONS BEFORE OPERATING JACKS
Installer: Provide these instructions to the consumer.
Consumer: Keep documents for future reference.
Atwood Stabilizer Jacks are designed to be used only on lightweight
campers with a GVWR less than 1,500 lbs. The maximum static load
and lifting capacity is:
Capacity Lifting Static
Stabilizer Jack 650 lbs. 1,000 lbs.
ƽ WARNING
PERSONAL INJURY & PRODUCT DAMAGE
•
Never exceed the rated camper capacity. Camper can collapse
or tip over.
• Soft or spongy areas may allow jacks to sink, causing camper to
tip over. Additional support may be necessary.
• Do not place blocks under the jack foot for additional ground
clearance.
• Put stabilizer jack in stored position before moving camper or trailer.
• Be sure the drop leg is retracted before releasing stabilizer jack
from operating position to storage position to prevent injury from
sudden trailer movement.
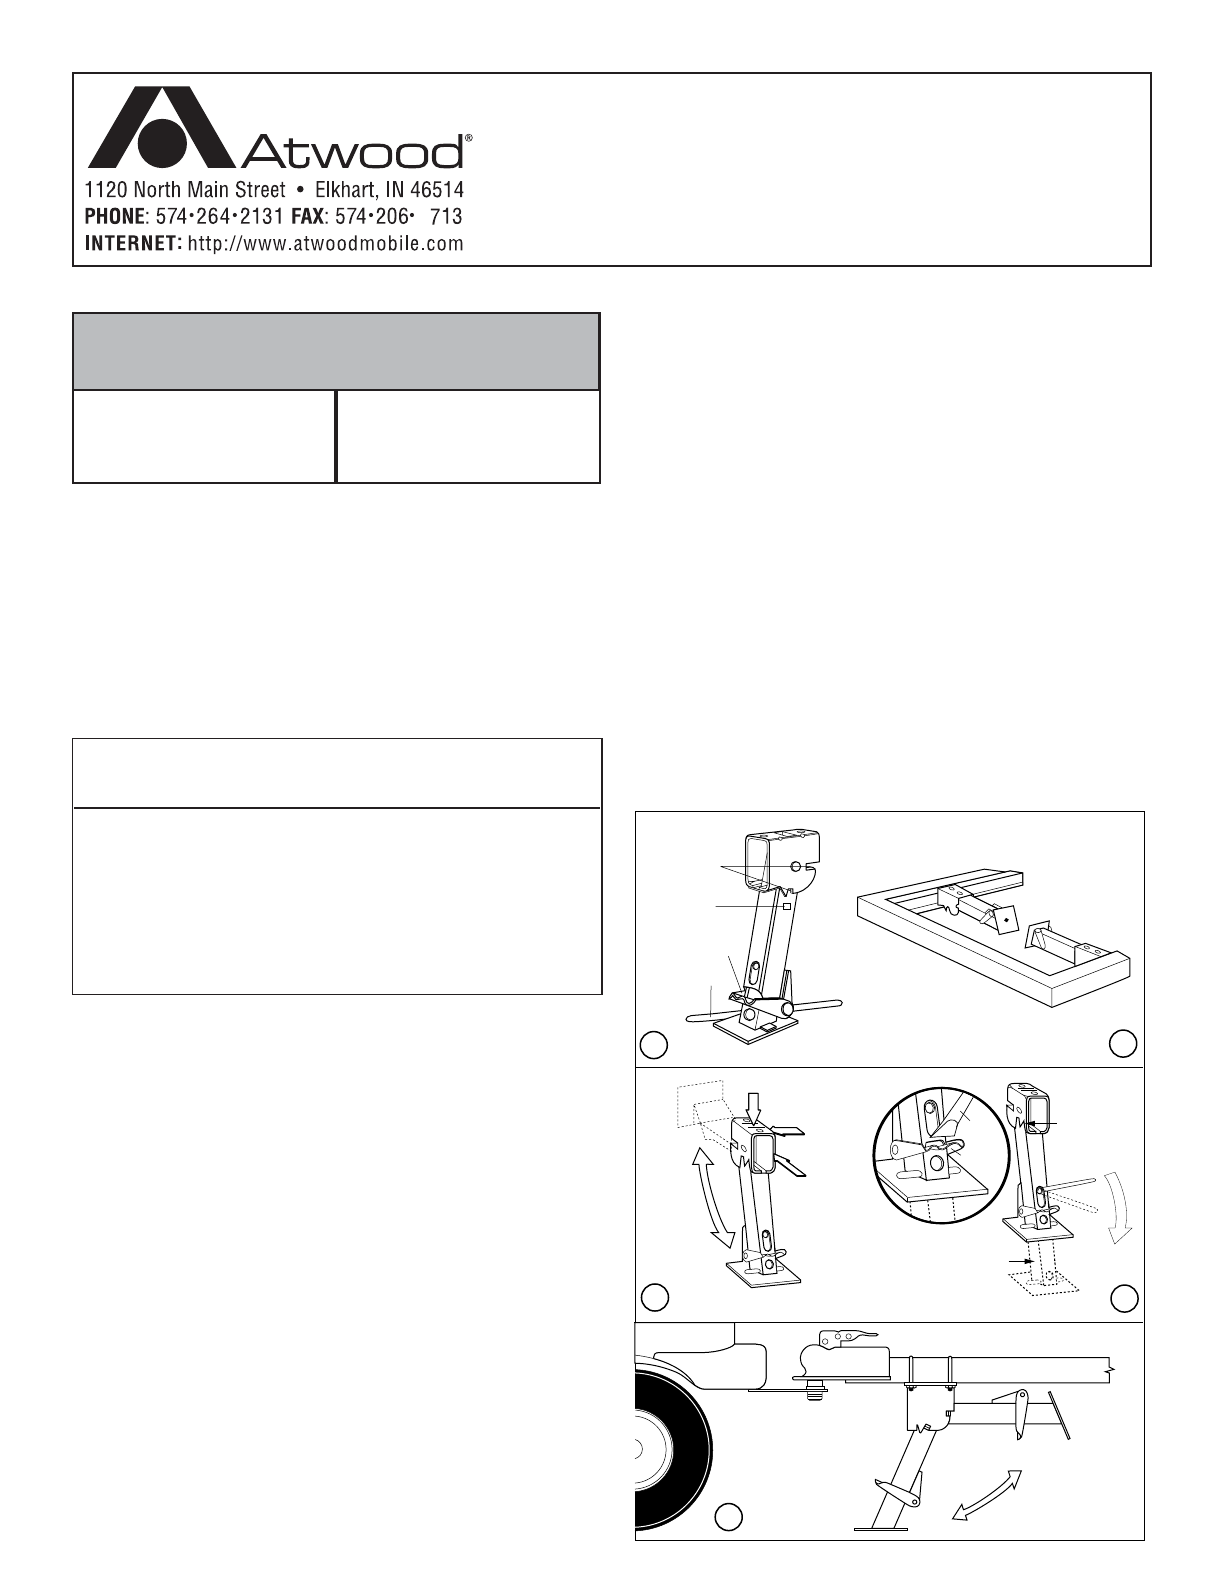
INSTALLATION
BOLT ON METHOD: see ➂
1. Use two 3/8˝ - 16 x 3/4˝ Grade 5 hex head cap screws, nut and lock
washer (not furnished).
2. Bolt to trailer side rails, under side rails, or to under side cross
members. Torque bolts 15-20 ft. lbs.
3. For U-bolt stabilizer jack, place the U-bolts over the trailer tongue
frame rail. Slip the ends of the U-bolts thru the stabilizer jack top
plate. Fasten the lock washers over the bolt ends and then the nuts.
Torque the nuts to 25-30 ft. lbs. see -➄
WELD ON METHOD: see ➂
1. Use 1/8˝ fillet weld No. E6011 A.W.S. welding rod (AC or DCRP) 1/8˝
diameter.
2. Machine amps 105-115 with 18-22 volts.
3. Weld full length both sides.
OPERATION
1. Extend leg of jack toward center of trailer.
2. Swing leg downward until the tabs engage in the locking slots-➀.
3. Press on release lever-➀. This will allow the drop leg of the
telescoping jack to slide down to the ground.
4. Insert the jack rod end securely through the holes in the leg and
through the rear hole-➃.
5. Crank the jack rod for desired leveling-➃.
6. For “U-Bolt” stabilizer jack ONLY, secure coupler to ball of tow
vehicle and remove load from stabilizer jack before proceeding to
step 7.
7. To remove load and store jack:
a. Press down on the release lever for a quick release, or insert
one end of the rod between the release lever and the bottom of
the outer housing for a slower release.
b. Slide the drop leg up into main body.
c. Pull jack toward ground to disengage tabs from slots.
d. Rotate upward until jack snaps into the stored position-➁.
MAINTENANCE
1. Lubricate jack at least every six months in the following manner:
a. Extend jack as far as possible.
b. Clean dirt, mud, tar, etc. from jack.
2. Oil pivot holes and rivet of release lever every six months.
3. Should jack become difficult to operate, clean and oil as detailed in
Step 1 and 2 above, and inspect for bent or worn parts. Use only
factory supplied parts for replacement.
NOTE: If it is not possible to get jack to operate freely, replace jack.
4. Should problems or questions arise, contact your dealer, the camper
manufacturer, or the Atwood Service Department 574-264-2131.
5. The Stabilizer Jack has a two year warranty from date of purchase
to the original owner. For complete warranty information contact
Atwood before having any work done 574-264-2131.
Out-of-the-way storage
Jack stores out
of the way. Ready for
instant use when needed.
Swings
up for
Storage
Swings
down
for Use
Weld
Mounting
Bolt or Weld
Mounting
Weld
Mounting
Push
Down
Only
Drop Leg
Extends
Downward
Tab
Locking
Slots
Locking
Tab
Jack Rod
1
3
2
4
Release Lever
5
Jack
Rod
Release
Lever
LITERATURE NUMBER
MPD 85860
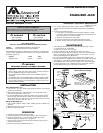
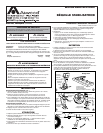
STABILIZER JACK
9
ENGLISH, FRANÇAIS (et Canada) •Installation •Operation •Maintenance
Effective 11/21/07